That annoying creak every time you walk to the bathroom at night isn’t a sign your house is falling apart. A squeaky floor is almost always caused by simple friction and movement between boards, nails, and joists. The good news? You can often fix squeaky floorboards in under an hour with basic tools like a cordless drill, wood screws, and some lubricant.
This guide covers everything from diagnosing the cause of your squeaky noise to quick above-floor fixes, permanent screw-down methods for both bare and carpeted floors, and humidity solutions for seasonal creaks. We’ll focus on common UK and US timber floor constructions found in homes built between roughly 1950 and 2020, with notes for older properties.
What Causes Floors to Squeak?
Squeaks happen when wood rubs against wood, wood rubs against metal, or gaps open and close as you walk. It’s friction, not structural failure.
The most common culprits include:
-
Loose nails backing out – Repeated foot traffic flexes boards thousands of times yearly, gradually pulling nails from joists
-
Boards shrinking away from joists – Timber moisture content drops from 12-15% at installation to 8-10% in heated homes, creating 1-3mm gaps
-
Subfloor movement – Research from flooring manufacturers like Hartco shows 70% of complaints trace to subfloor gaps rather than surface wear
-
Board-to-board rubbing – Tongue-and-groove joints rub when expansion gaps are too tight
-
Contact with pipes or cables – Boards touching hidden services can squeak as you walk
Age plays a significant role. In homes older than 20-30 years, timber dries and warps while fixings loosen, making squeaks more likely.
To find the exact location, walk the room slowly in socks, shifting your weight heel-to-toe. Mark each squeaky board with masking tape or chalk. For a carpeted floor, pull back a small corner in a discreet area to check whether the noise comes from loose floorboards, underlay, or gripper rods.
Tools and Materials You’ll Need
Gather everything before starting so you can work efficiently.
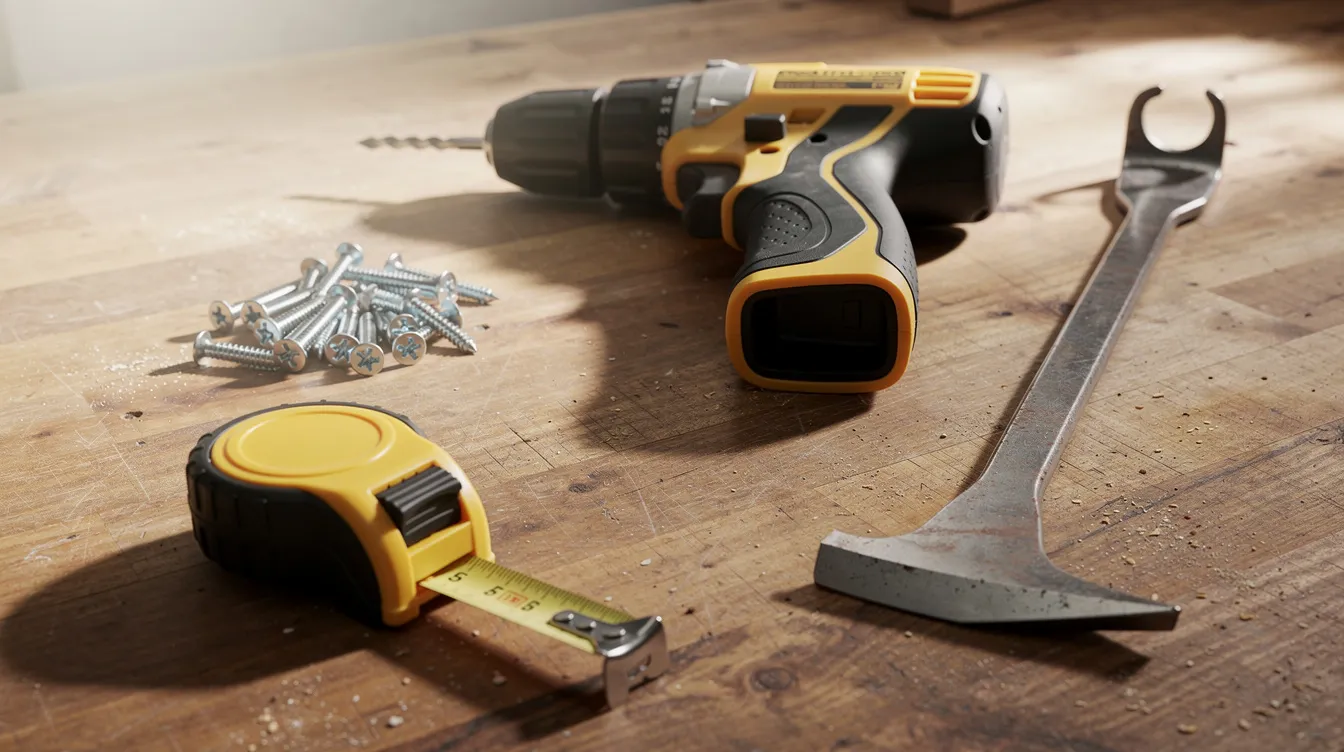
Hand and power tools:
-
Cordless drill/driver with torque settings
-
Wood drill bits (2-3mm)
-
Stud/joist finder
-
Tape measure
-
Hammer
-
Pry bar or flat screwdriver
-
Safety glasses
Fixings: | Floor Type | Screw Length | Notes | |————|————–|——-| | Standard 18-22mm boards | 40-50mm | No.8 gauge, coarse thread | | Thinner boards/plywood | 30-35mm | Avoid piercing services below | | Through carpet | Breakaway head kits | Heads snap flush at 1.5mm |
Lubricants and fillers:
-
Powdered graphite or talcum powder
-
Construction adhesive cartridges
-
Wood filler (colour-matched)
-
Sandpaper (120-180 grit)
Optional gear: Torch or headlamp for working underneath, knee pads, dust mask for sanding or lifting older boards.
Quick Fixes for Squeaky Floors (No Lifting Required)
These above-floor methods work well for light squeaks or when you can’t access the underside. They’re fast and low-mess but may need repeating over time—tests suggest 3-12 months of effectiveness in high-traffic areas.
Always test in an inconspicuous spot first, especially on finished hardwood. Vacuum or wipe excess product to avoid slippery surfaces.
Use Graphite or Talcum Powder as a Dry Lubricant
A dry lubricant reduces friction between boards that move slightly but aren’t structurally loose. This works best for hairline gaps in tongue-and-groove hardwood or engineered boards.
How to apply:
-
Sprinkle 5-10g of powdered graphite or talcum powder along visible floorboard seams
-
Walk on the area or gently flex boards to work lubricant into the joints
-
Vacuum or sweep excess to prevent residue on socks
This temporary fix can reduce friction coefficient from 0.4 to 0.1, but you may need to reapply every few months in busy areas or during dry seasons when gaps widen.
Drive Screws Through the Floor from Above
A single well-placed screw can silence a persistent squeak where a board has lifted off the joist. This easy fix takes minutes.
Steps:
-
Use a stud finder or measure from walls (joists typically sit 400mm or 16 inches apart) to locate the joist line
-
Mark the joist position with pencil or masking tape
-
Drill a 2-3mm pilot hole straight down through the board into the joist
-
Drive a wood screw until just flush with the surface
For bare timber floors, countersink slightly and fill later. For finished hardwood, apply masking tape around the drill point to prevent chipping.
Avoid overtightening—this can cause a dip in the board or split older, brittle timber.
Permanent Fix: Screwing Floorboards Down (Exposed & Carpeted Floors)
Properly securing boards to joists is the most reliable long-term solution. Screws provide 200-300kg of pull-out force compared to nails’ 100kg, meaning no more squeaking for years.
These steps apply to both exposed floorboards and carpeted rooms. Work systematically, treating all nearby squeaks while tools (and carpet) are already up.
Find and Mark the Squeaky Boards
Walk the room slowly, using your body weight to isolate individual boards or sections that creak. Mark each location clearly.
For carpet, peel back a corner along a wall by lifting gently off the gripper rods. Fold the carpet back without creasing. Mark troublesome boards and joist positions directly on the subfloor with chalk.
Check whether the noise comes from underlay or loose gripper rods rather than the boards themselves—common in modern carpeted rooms.
Locate the Joists Under the Floor
Screws must go into joists or solid framing for a lasting repair, not just into thin boards.
Methods to find joists:
-
Run a stud finder across the marked area and mark joist lines
-
Measure typical 400mm (16-inch) spacings from a known joist location
-
Tap gently with a hammer—joists produce a solid sound versus hollow between them
Double-check before drilling to avoid wasted holes.
Choose the Right Screws for Your Floor
Use wood screws around 40-50mm long for standard 18-22mm floorboards into timber joists. Choose shorter screws for thinner boards.
Screws beat nails because they pull boards tight and resist working loose. For carpeted floors, use low-profile or breakaway-head floor screws that sit below the surface so carpet lays flat without bumps.
Avoid screws so long they risk piercing pipes or cables hidden beneath joists—especially in bathrooms and kitchens.
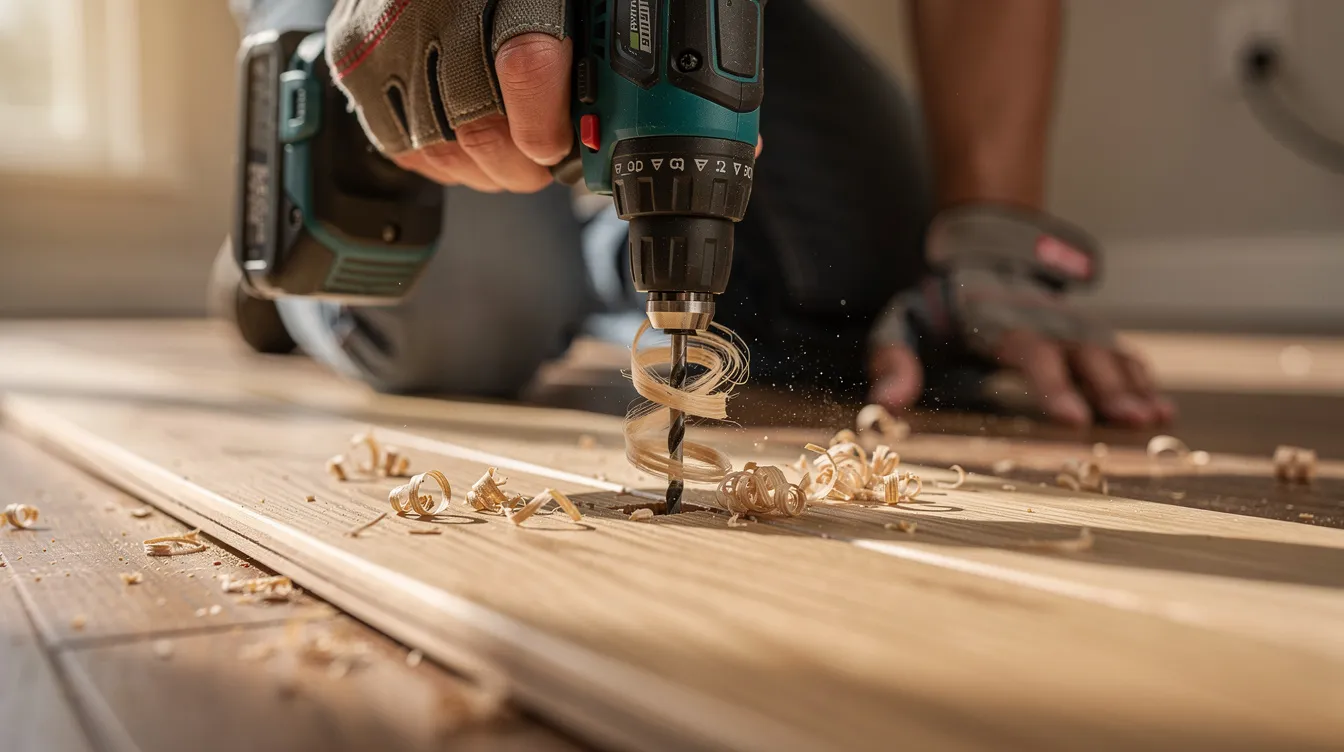
Pre‑Drill Pilot Holes
Pre-drilling prevents splitting old or dry boards and helps screws drive straighter.
-
Drill a pilot hole slightly smaller than the screw shank (2-3mm) at your marked joist line
-
Go just deep enough to pass the board and bite into the joist
-
Keep the drill vertical for maximum grip
-
For exposed floors, countersink the top so the screw head sits just below the surface
Drive the Screws and Test
Use a cordless drill or screwdriver bit to drive each screw until snug—don’t crush the timber.
After each screw, stand and rock on the area to test. If any movement remains, insert another screw along the same joist line. For carpeted floors, use a depth stop to avoid raised heads or punching through.
Space screws neatly along the joist for a tidy finish on exposed boards.
Fill, Sand, and Finish (for Exposed Boards)
-
Fill each countersunk screw head with wood filler matched to your floor colour
-
Let dry completely (1-2 hours for most fillers)
-
Sand lightly with 120-180 grit sandpaper to level with the board surface
-
Touch up with matching stain, oil, or varnish using a small brush
For painted floors, simply prime and repaint the repaired patches to hide the repair.
Relay Carpet and Underlay (for Carpeted Floors)
Smooth underlay back into place, ensuring no ridges or folds sit over your repairs.
Re-hook carpet onto gripper rods along the wall edge, stretching gently by hand or using a knee kicker. Check for tell-tale bumps where screws might be too high and correct these before fully securing the carpet.
Walk the repaired area to confirm the squeak has gone.
Moisture and Humidity Fixes for Seasonal Squeaks
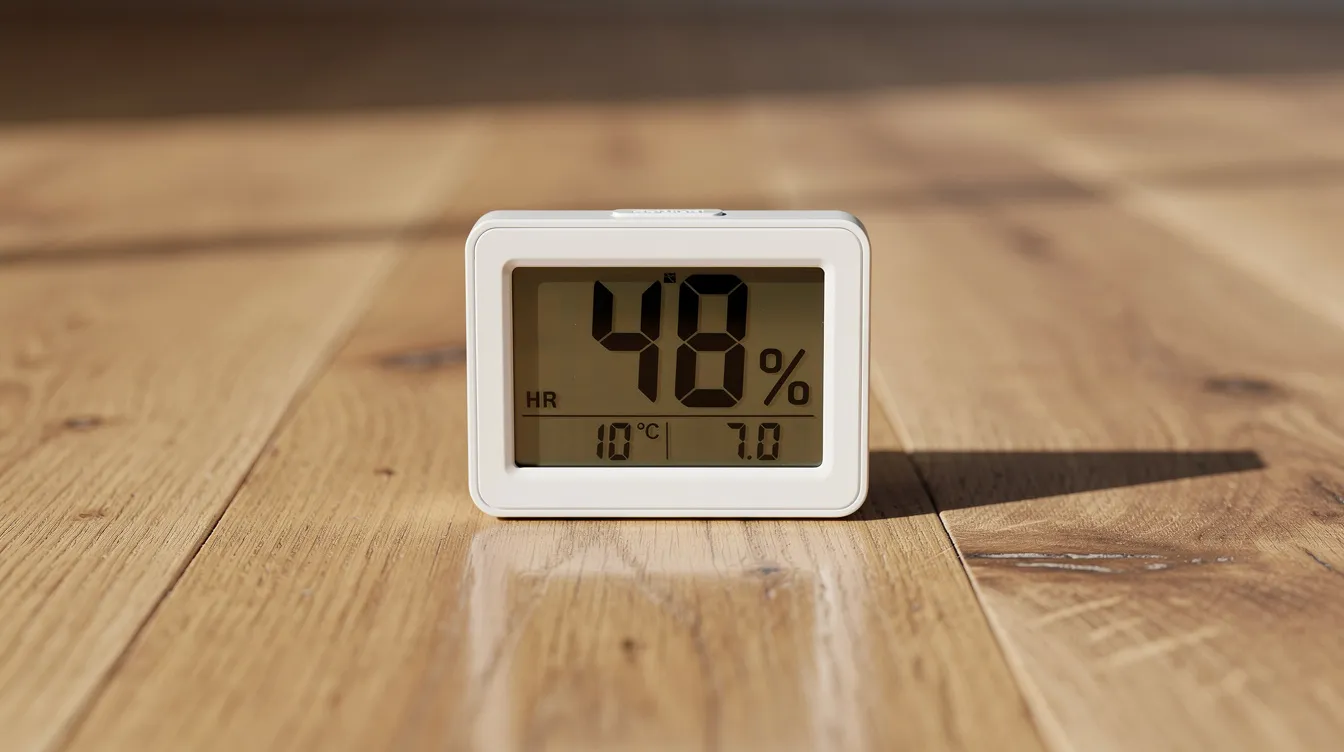
Some squeaks appear only in very dry winters or humid summers as boards shrink and swell. Wood expands approximately 0.2% for every 1% rise in relative humidity.
|
Humidity Level |
Effect on Timber |
|---|---|
|
Above 60% RH |
Boards swell, rub tight, create friction |
|
Below 40% RH |
Boards shrink, gaps form, movement increases |
|
40-55% RH |
Optimal range for timber floors |
Use a dehumidifier in damp rooms like basements where moisture consistently exceeds 60% RH. In dry homes with heavy heating, a portable or whole-house humidifier helps protect floors.
Combining humidity control with physical fixes like screws or glue delivers the best long-term results.
Preventing Squeaky Floors in the Future
When renovating or replacing carpet, take the opportunity to re-screw any slightly loose boards before new flooring goes down.
Prevention tips:
-
Use construction adhesive beads between subfloor and joists during new builds or major refurbishments
-
Maintain indoor humidity between 40-55% year-round
-
Address leaks quickly to prevent moisture damage
-
Avoid repeated heavy impacts on suspended timber floors
-
Place rugs in high-traffic zones like hallways and landings to reduce wear and micro-movement
When to Call a Professional
Most squeaks are simple friction issues. But persistent or widespread noises can sometimes indicate deeper problems.
Warning signs requiring professional assessment:
-
Floors that feel bouncy with deflection exceeding 5mm
-
Visibly sagging sections
-
Cracks appearing in adjacent walls or ceilings
-
Squeaks combined with damp or rot
-
Whole-room squeaking despite several DIY attempts
In pre-1950 properties with original pine or oak boards, a qualified carpenter or structural engineer can protect both safety and period character.
For the vast majority of modern homes built between 1950 and 2020, the DIY methods in this guide will restore quiet, solid-feeling floors. Start by walking your room tonight to locate those squeaky spots, gather your tools, and enjoy peace underfoot by the weekend.