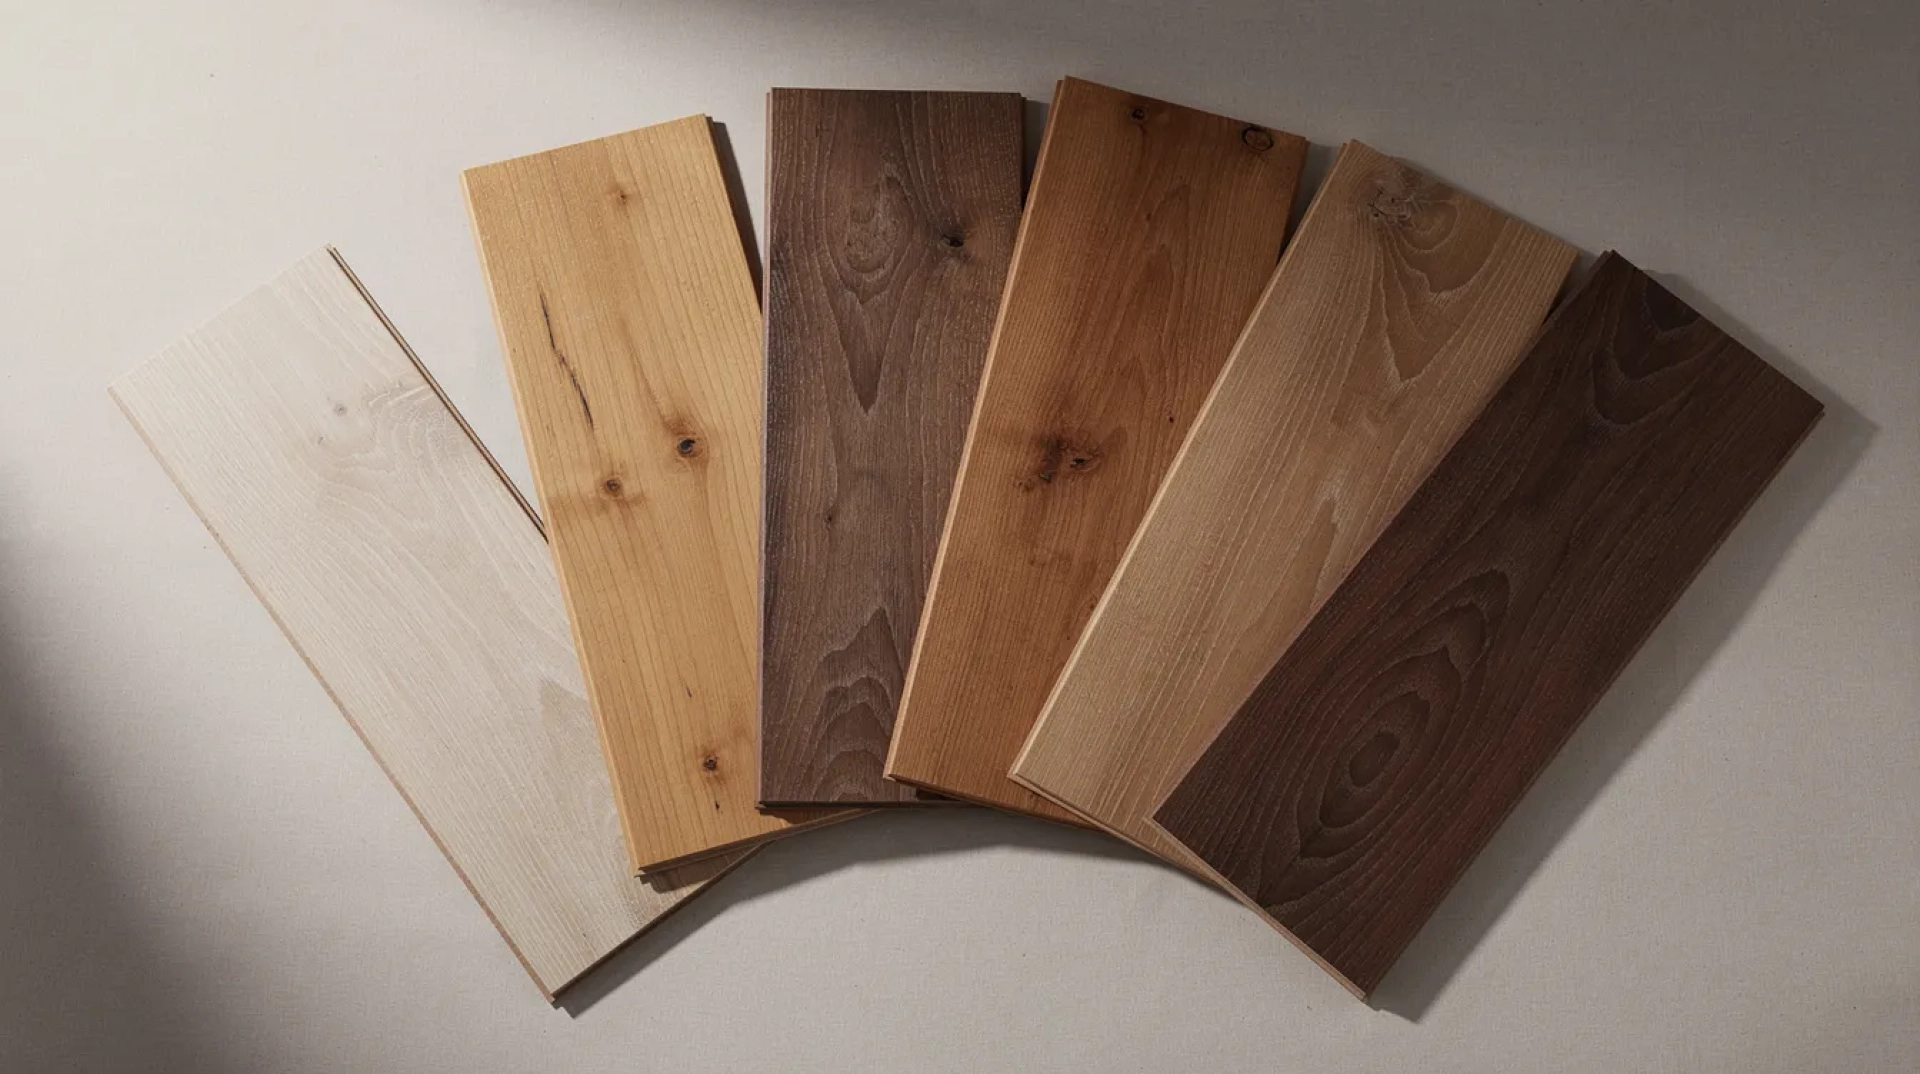
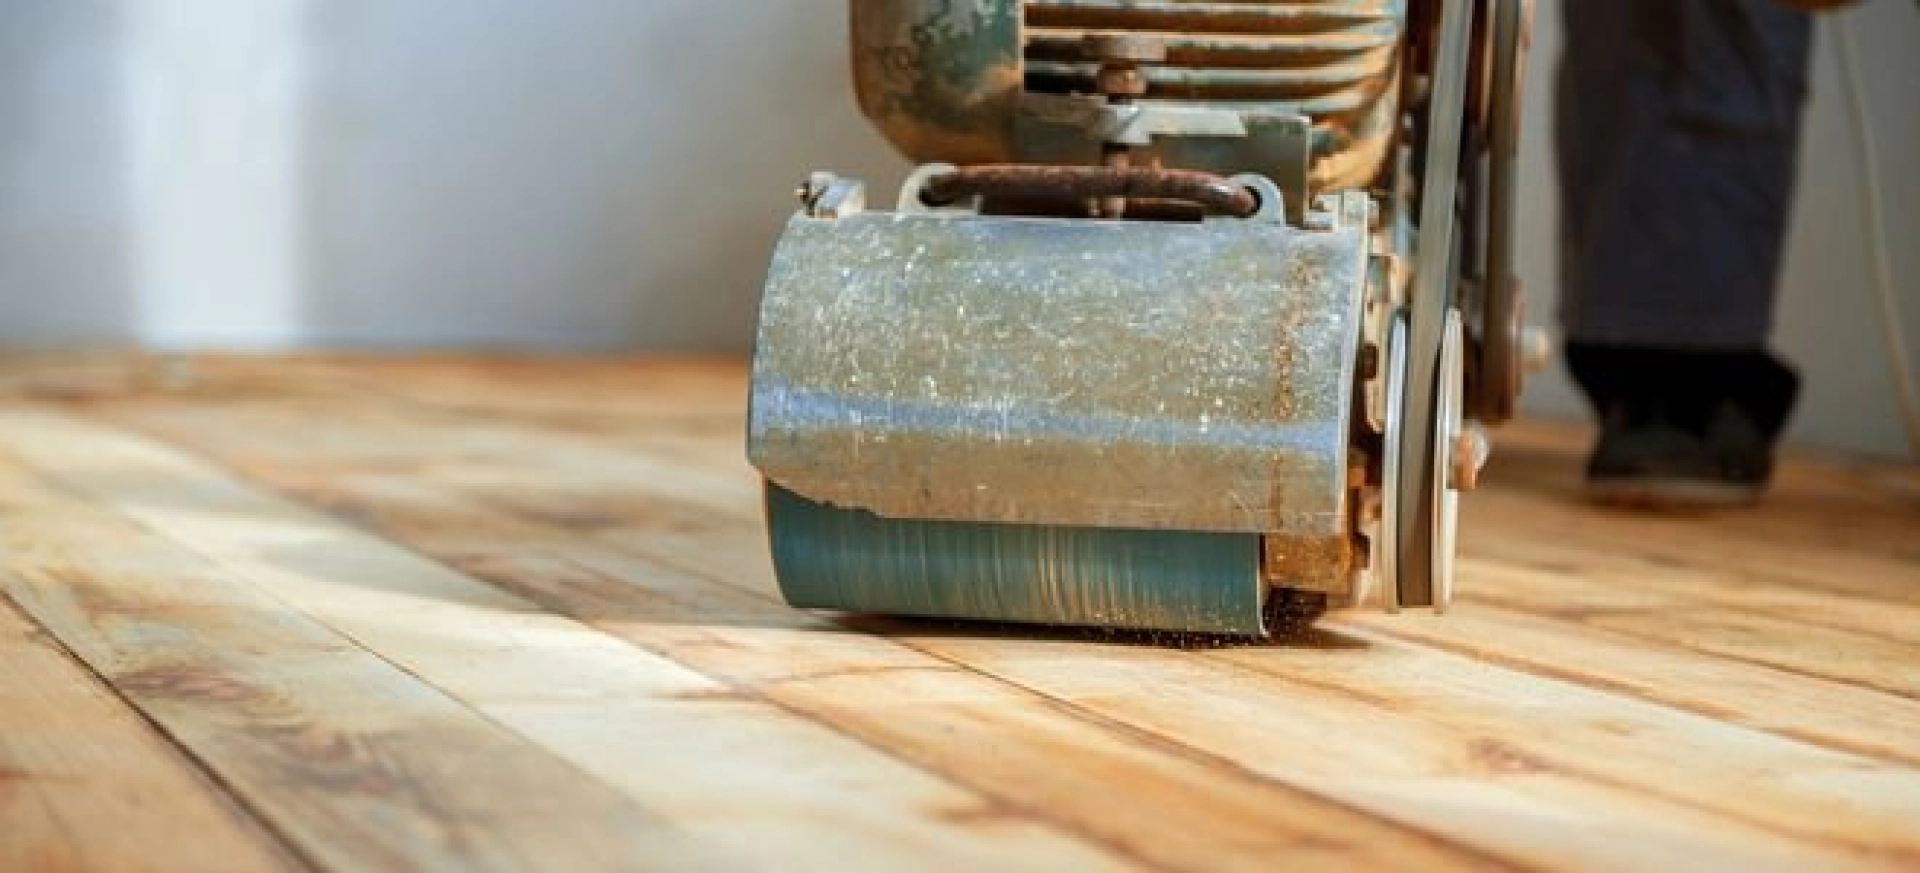
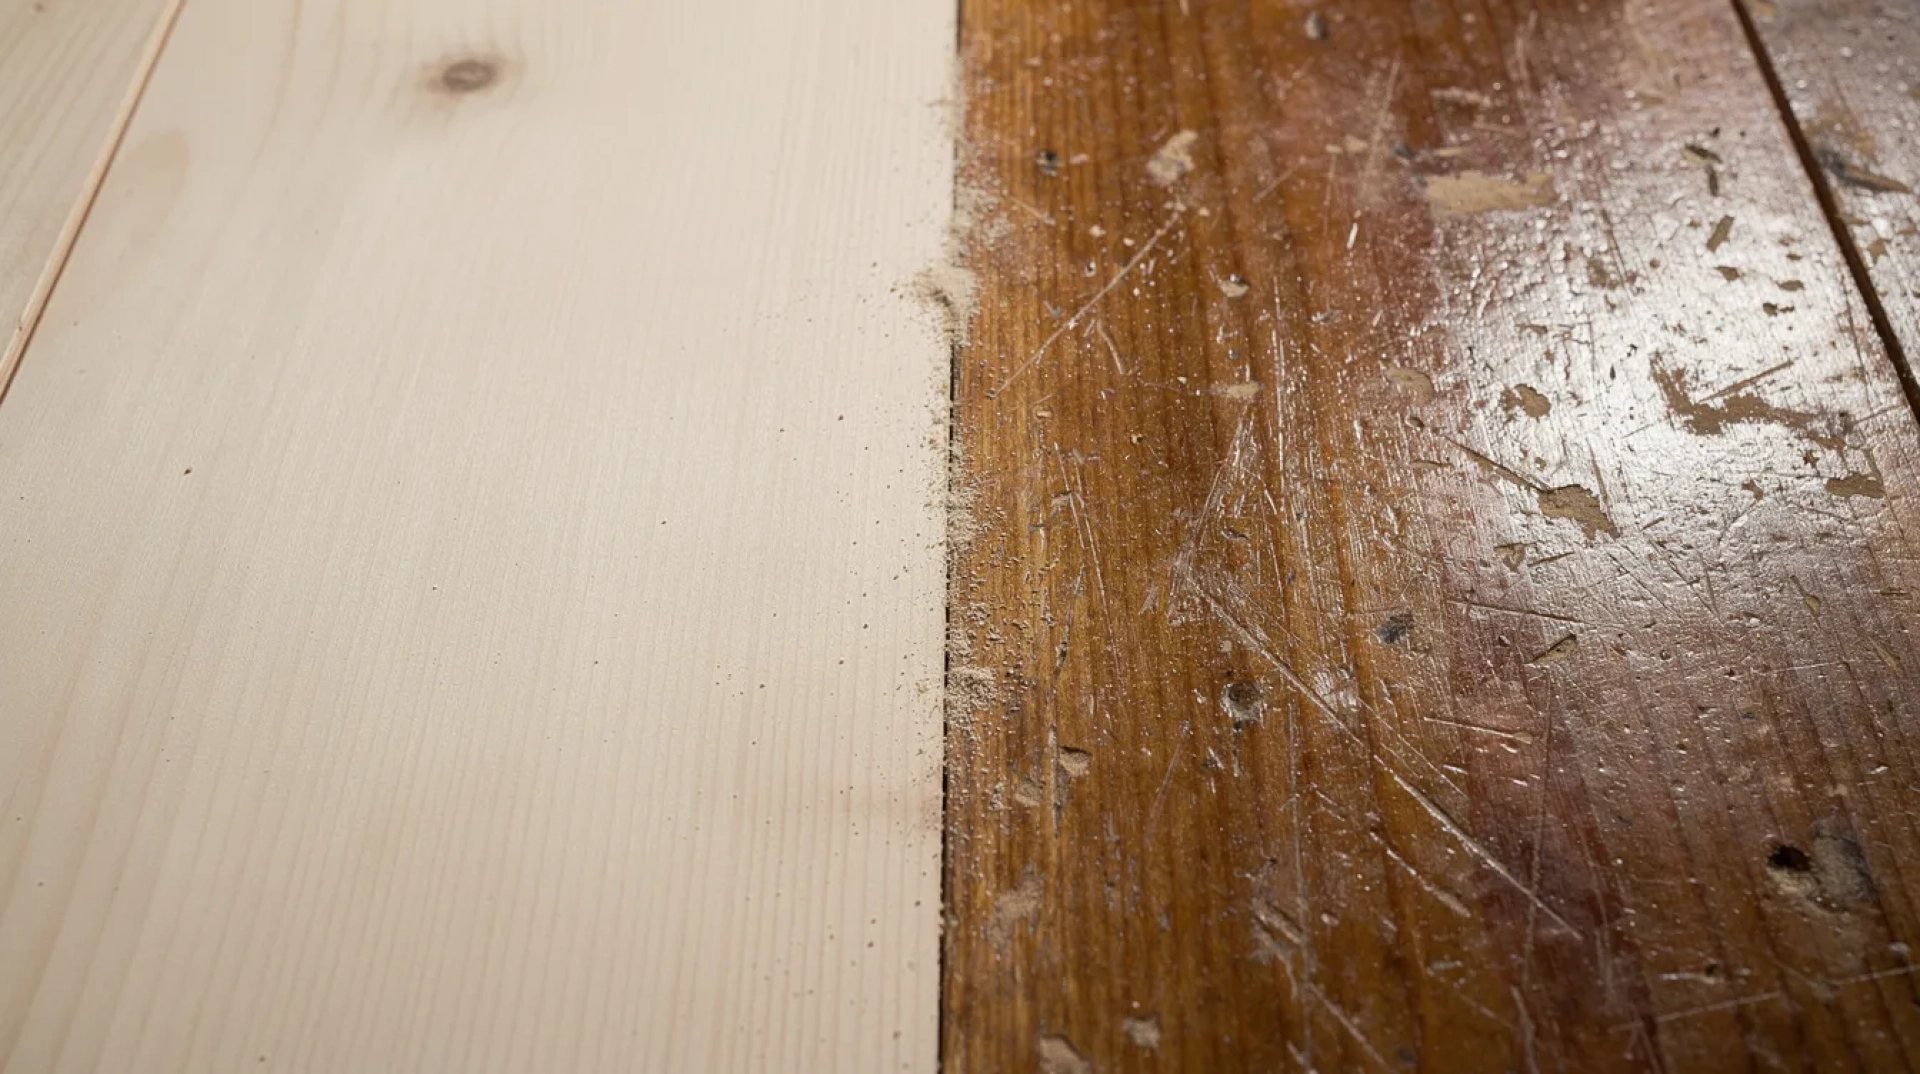
If you own a home with parquet flooring, you’ve likely wondered whether those beautiful geometric wood blocks can be brought back to life. The good news is that refinishing parquet is not only possible—it’s often the smartest way to preserve your floor’s original beauty while adding decades to its lifespan.
Can Parquet Flooring Be Refinished? (Quick Answer)
Yes, most solid wood parquet floors can be sanded and refinished multiple times. The process involves removing the old finish through careful sanding, then applying a new protective coating such as lacquer, oil, or hardwax oil to restore both colour and protection.
Original solid parquet from the 1930s through 1980s, as well as modern engineered parquet with a thick wear layer of 3–6 mm, is generally an excellent candidate for parquet floor restoration. These floors were built to last and designed with enough material to withstand multiple sandings over their lifetime.
However, very thin engineered parquet with wear layers under 2.5 mm, badly water-damaged blocks, or loose blocks fixed with degraded bitumen adhesive may require repairs or partial replacement rather than a standard refinish. When refinishing is viable, a professional job combined with good maintenance can realistically extend your floor’s life by 10–20 years.
Understanding Parquet Flooring and Its Refinish Potential
Parquet flooring consists of small wood blocks or strips arranged in geometric patterns such as herringbone, chevron, basket weave, and mosaic designs. Originally a luxury feature in European palaces during the 16th and 17th centuries, parquet became widespread in residential construction from the 1920s through 1980s across the UK, Europe, and North America.
The distinction between solid parquet and engineered parquet matters significantly for refinishing. Solid parquet blocks, typically 15–22 mm thick, were commonly laid over black bitumen adhesive on concrete subfloors. These respond exceptionally well to sanding due to their density. Oak, with its interlocking grain direction, resists splintering during multi-directional sanding, while walnut, maple, and beech each offer their own characteristics that skilled restorers can work with effectively.
Refinishing means sanding away the old finish to bare wood, repairing any loose blocks, filling gaps with wood filler, and applying a fresh protective finish.
A common misconception is that small parquet tiles cannot be sanded or that the sanding process will destroy the pattern. This simply isn’t true when the work is done correctly with appropriate specialist sanding equipment.

When Can Parquet Definitely Be Refinished?
Refinishing is almost always possible when you have solid oak parquet that’s 15–22 mm thick, engineered parquet with at least a 3 mm wear layer, or floors showing cosmetic wear like scratches, dullness, and light stains without structural failure.
You can perform a simple self-assessment at home. The coin test involves tapping a coin across blocks to detect hollow sounds indicating loose adhesion or subfloor voids. The fingernail test scratches the surface to gauge whether damage penetrates beyond the finish into bare wood.
If your entire floor has been sanded fewer than 3–4 times historically, there’s usually enough material left for another refinish. You can often verify this by checking thinner edges at radiator pipes or thresholds where prior sanding ridges may be visible.
When Is Refinishing Risky or Not Recommended?
Refinishing may not be viable when parquet blocks are lifting from the subfloor, when there’s extensive water damage causing cupping or rot, when heavy infestation has occurred, or when you have very thin engineered parquet that risks irreparable damage from sanding.
Old black bitumen adhesive, common under mid-20th-century installations, can complicate restoration significantly if many blocks have detached. The adhesive may need specialist removal, and damaged areas might require reclaimed blocks to replace missing sections.
In these situations, a specialist inspection is essential to decide between repair, partial replacement, or complete replacement.
Attempting aggressive DIY sanding on compromised wood floors can turn a salvageable situation into one requiring full replacement.
Signs Your Parquet Floor Needs Refinishing
Parquet usually loses its shine gradually, which means homeowners often delay refinishing longer than ideal. Learning to recognise the signs helps you act before minor wear becomes major work.
Common visual signs include widespread dullness across the surface, finish worn away to bare wood in high-traffic lanes, deep scratches that don’t buff out, stubborn stains that cleaning won’t shift, and colour bleaching from UV exposure. Functional signs include splintering edges, a rough feeling underfoot, and difficulty cleaning because dirt sticks into open grain and gaps.
A reliable test: if water droplets soak into the wood rather than beading on the surface, your protective finish is exhausted and refinishing is due. At this stage, a screen-and-recoat may suffice, but if bare wood is exposed, full sanding becomes necessary.
Issues That Require Immediate Attention
Red-flag problems demand quick action: loose or rocking blocks, wide gaps collecting grit, hollow sounds when walked on, and large areas of black moisture staining.
Continuing to walk on loose parquet accelerates future damage, can break tongues and grooves, and significantly increases repair costs. If your floor moves underfoot or shows signs of subfloor moisture like a musty smell or persistent dark patches, contact a parquet specialist immediately.
Early intervention preserves your options. Waiting until the floor is beyond saving means losing the original character that replacement wooden flooring can never replicate.
How Parquet Refinishing Works: Step-by-Step Overview
Understanding the refinishing process helps you plan realistically and communicate effectively with contractors. Parquet sanding is more complex than straight plank refinishing because the grain changes direction in every block.
A typical room of 15–25 m² can usually be fully sanded and finished within 1–3 days of active work, plus curing time depending on the products used. Here’s what each phase involves.
Inspection, Preparation, and Repairs
Initial inspection assesses the thickness of blocks, the number of previous sandings, the presence of bitumen adhesive, and overall stability. Professionals check edges at radiator pipes and thresholds where prior sanding leaves visible evidence.
Room preparation involves removing furniture, carpets, and thresholds, then fixing any loose boards or nails in the subfloor. Door frames and skirtings are masked to limit dust and splashes during the sanding process.
Common repairs include re-gluing loose blocks with modern PVA or epoxy adhesives, replacing missing or badly damaged blocks with reclaimed blocks matched to the original wood type, and levelling lifted edges. A good restorer aims to save as much original parquet as possible rather than replacing large sections.
Sanding Parquet Without Damaging the Pattern
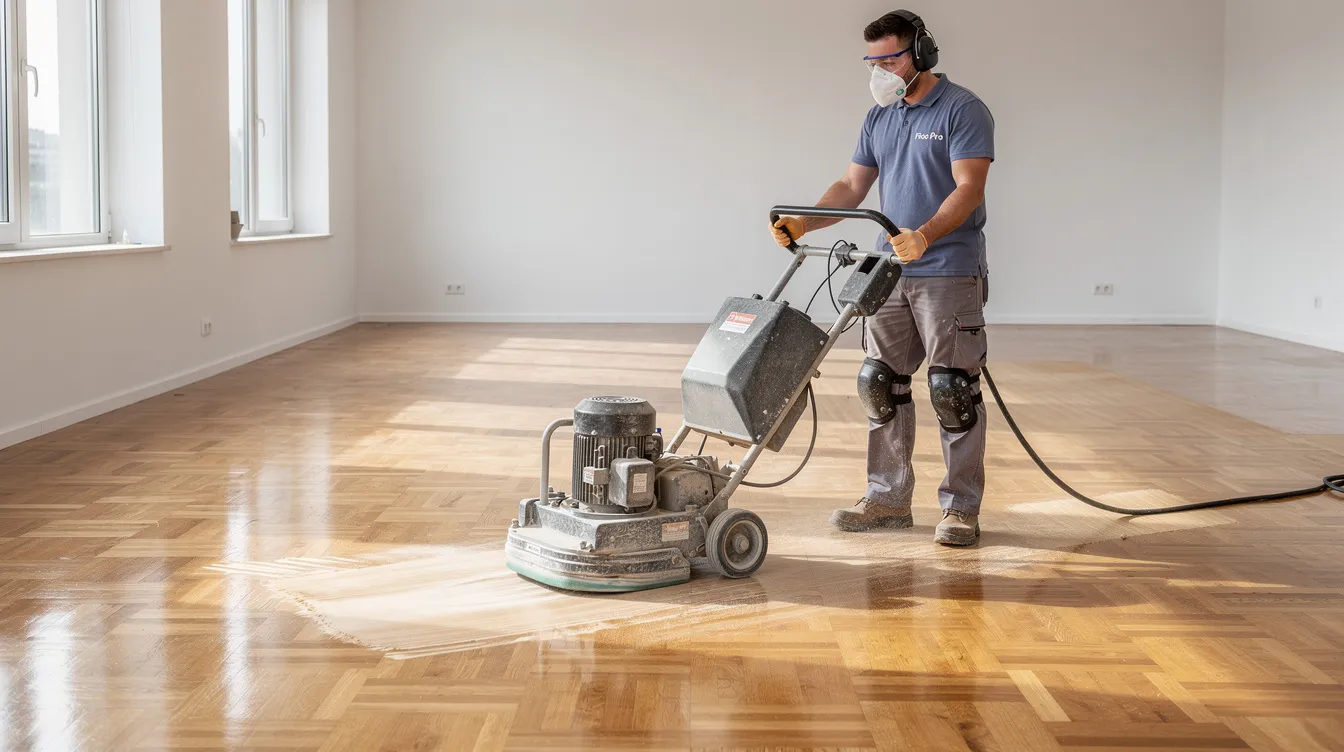
Professionals avoid using a heavy drum sander on parquet and instead use multi-directional planetary or orbital sander equipment to follow the pattern and prevent scratches across the grain.
The typical grit progression moves from coarse (36–60 grit) to remove the old finish, through medium (80 grit) to refine the surface, to fine (100–120 grit) to smooth and prepare for finishing. Each pass overlaps in alternating directions, and vacuum cleaning with a microfiber mop between grits helps prevent scratches from trapped particles.
Edge sanders and detail tools reach around radiators, under stairs, and at thresholds to keep the floor level and the pattern crisp. A dust mask is essential even with modern dust-extraction equipment.
DIY sanding at the wrong angle or with too much pressure can leave swirl marks, dish out soft areas, or sand through thin blocks—damage that’s extremely difficult to repair.
Choosing and Applying a New Finish
The right finish depends on your priorities and lifestyle. Main options include:
-
Water-based lacquer: Low-VOC, dries in 2–3 hours per coat, offers durability and easy cleaning
-
Solvent-based lacquer: Superior hardness, longer drying time, stronger odour during application
-
Penetrating oil: Natural look, breathable, allows spot repairs but requires more frequent maintenance
-
Hardwax oil: Combines oil penetration with surface protection, bonds molecularly to eliminate lap marks common in traditional stains
For family homes with pets and children, modern low-VOC water-based lacquers remain popular in 2026 due to quick drying and minimal odour. The application process involves thorough vacuuming, tack-clothing, then applying 2–3 coats with intermediate buffing for adhesion and smoothness.
Drying, Curing, and When You Can Use the Floor Again
Understanding the difference between dry to walk on and fully cured prevents damage to your refinished floor. Most lacquers allow light sock traffic after 24 hours, but full hardness typically takes 5–7 days at ideal humidity of 40–60%.
Practical guidance for the curing period:
-
Keep furniture off the floor for at least 24–48 hours
-
Avoid heavy items and rugs for approximately one week
-
Use felt pads under all furniture feet when moving items back
-
Avoid wet mopping for the first 10–14 days
-
Maintain consistent room temperature during curing
DIY vs Professional Parquet Refinishing
While small repairs and light maintenance can be DIY projects, full parquet refinishing is usually better left to specialists. The changing grain in every block creates challenges that require experience and specialist sanding equipment to navigate without causing damage.
Professional advantages include pattern expertise, access to dust-controlled equipment, product knowledge, and the ability to diagnose hidden subfloor issues. They can handle complications like stubborn old finishes that may require starting at 24 or 36 grit to remove.
DIY risks include uneven sanding, visible swirl marks, sanding through the wear layer (especially on engineered parquet), poor finish adhesion, and lap marks. Forum discussions frequently document cases where overzealous amateurs ruined floors that professionals could have saved.
Cost Expectations for Refinishing Parquet in 2026
Professional parquet sanding and refinishing in the UK and Europe typically ranges from £40–£50 per m² for standard jobs. Complex patterns, heavy damage, or extensive repairs involving loose blocks, bitumen removal, or replacing missing pieces can increase costs by 20–50%.
Additional potential costs include carpet removal, furniture moving, subfloor repairs, and upgrading from old solvent finishes to modern low-VOC systems. When comparing quotes, ensure they specify sanding stages, number of finish coats, products used, and estimated project duration.
This investment remains highly cost effective compared to full replacement, which loses original character and typically costs significantly more while delivering a floor without the same heritage value.
How Often Can Parquet Be Refinished and How Long Does It Last?
Solid wood parquet can typically be fully sanded 4–6 times over its lifespan, assuming each sanding removes no more than 1–2 mm from the original 15–22 mm thickness. Engineered parquet depends entirely on wear layer: 3 mm supports 1–2 sandings, while 4–6 mm allows 2–3.
Realistic lifespan between refinishes varies by use:
-
Light domestic foot traffic: 10–15 years from quality lacquer
-
Busy households with pets, children, shoes worn indoors: 5–8 years
-
Commercial or high-traffic spaces: May need attention more frequently
Screen-and-recoat—a light abrasion with fresh topcoat—can extend finish life without full sanding, making it a practical interim option for early wear stages.
Factors That Affect Longevity After Refinishing
Key factors determining how long your refinished floor lasts include foot traffic levels, whether you have pets or children, whether shoes are worn indoors, presence of rugs or runners in high-traffic areas, and cleaning frequency.
Correct humidity control at 40–60% reduces seasonal wood movement and stress on joints. Chair glides, felt pads under furniture, and entrance mats significantly slow wear where it matters most, protecting your investment through regular maintenance rather than expensive interventions.
Looking After Refinished Parquet: Maintenance Tips
A simple maintenance plan protects your investment and extends the years before your next refinish:
-
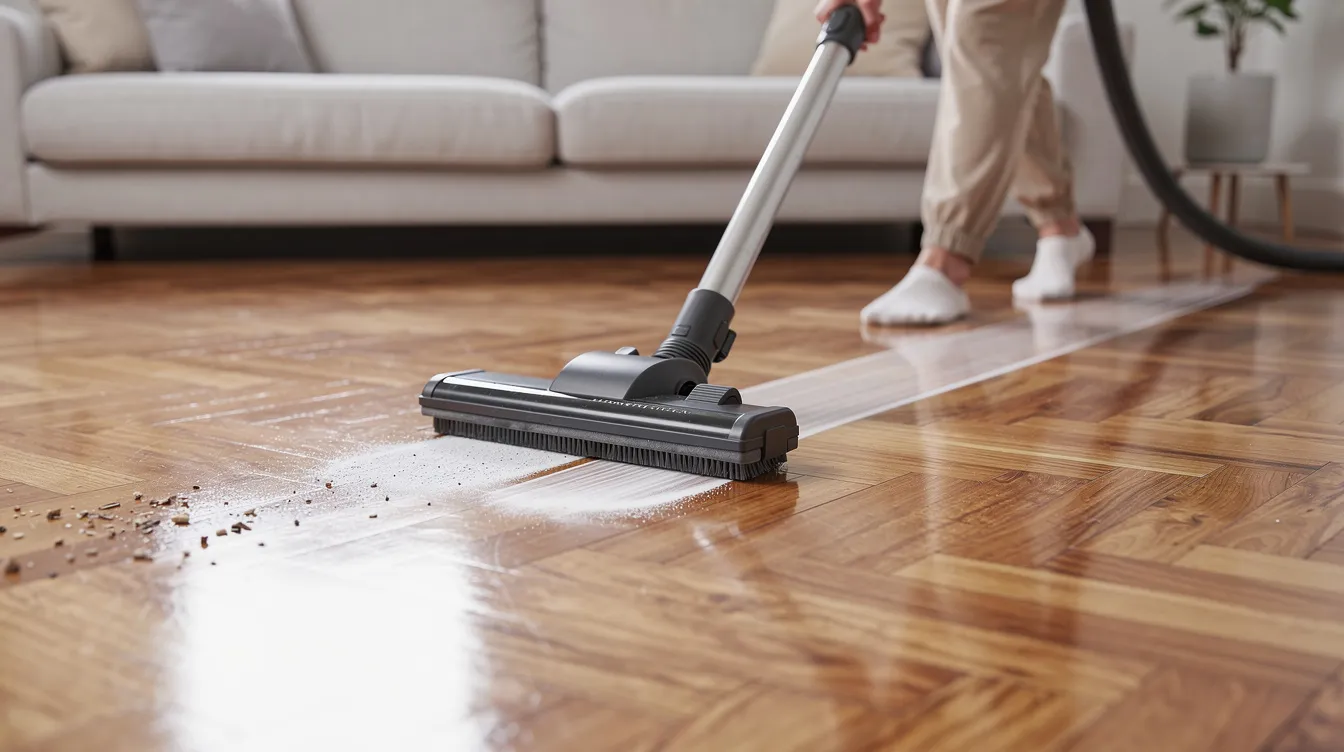
Sweep or vacuum daily or weekly with a soft-brush head to remove grit before it can scratch
-
Damp mop occasionally with pH-neutral wood-safe cleaner
-
Never use steam mops, harsh chemicals, or soak the floor
-
Place protective mats at entrances (ensure backings are non-staining)
-
Use chair mats under office chairs to avoid damaging high-use areas
-
Wipe spills immediately to prevent moisture damage
-
Maintain consistent humidity with dehumidifiers if necessary
When to Call a Professional After Refinishing
If scratches, dents, or white water marks appear soon after refinishing, contact your contractor while the work is still recent. Issues that may indicate a coating problem include peeling, flaking, cloudy patches, or poor adhesion within the first year—these warrant investigation, not acceptance.
For older parquet over 50 years old, periodic professional inspections help catch movement, moisture problems, or failing finishes before they cause future damage requiring more extensive restoration.
Conclusion: Refinishing Keeps Parquet Flooring Alive for Decades
Yes, parquet flooring can almost always be refinished, restoring both its protective finish and its visual impact. The process extends your floor’s life by decades, preserves original patterns and character, and boosts property value—all while being more cost effective than replacement.
Assess your floor using the signs and tests described above, then consult a parquet specialist for a tailored plan if refinishing looks appropriate. Request multiple quotes that detail the complete process from inspection through sealing.
With proper refinishing and regular maintenance, well-installed parquet laid in the mid-20th century can remain in service well into the 2050s and beyond. Restoring your house’s original wooden flooring preserves something that new materials simply cannot replicate.