Polished wood floors transform a house. They reflect natural light, make rooms feel larger, and add undeniable beauty to any space. In 2026 homes and apartments, maintaining that lustrous appearance has become essential for both comfort and property value.
Polishing is a maintenance step—not a full sand-and-refinish project. It restores gloss and adds a protective layer to your floor’s existing finish, protecting it from daily wear without the disruption or expense of major renovation. Cleaning removes dirt and debris from the surface. Polishing adds a thin protective coat atop an existing finish. Waxing applies paste or liquid wax for specific floor types. Refinishing involves sanding away old finish entirely and applying new stain and topcoat.
This guide covers when to polish, how to choose the right product, and a clear DIY process you can complete in an afternoon.
What Does It Mean to Polish Wooden Floors?
Polishing hardwood floors involves applying a thin, transparent protective coating on top of the floor’s existing finish. Whether your wooden floor has polyurethane, varnish, or another surface finish, polish refreshes the sheen and masks minor surface imperfections.
Polish does not remove wood or old finish like sanding does. It works exclusively on the surface, restoring shine to dull areas and providing a hard wearing layer against everyday wear.
Modern water-based acrylic polishes differ significantly from traditional paste wax or hard-wax oils. Acrylic polishes work on sealed floors with polyurethane finishes, while waxed or oiled floors require their own maintenance systems. Most contemporary polishes are low-VOC formulations, making them suitable for occupied homes when used as directed with proper ventilation.
Why Polish Instead of Fully Refinishing?
Polishing costs less, takes hours instead of days, and causes minimal disruption. Where refinishing requires multiple sanding passes with progressively finer grits, sealer application, stain coats, and 24-hour drying between each layer, polishing typically needs just 2-4 hours of dry time.
Polish when you see light surface scratches, dull high traffic areas, or general loss of gloss while the underlying finish remains intact. These scenarios indicate the finish is still protecting the wood—it just needs a refresh.
Polishing cannot fix deep gouges that expose bare wood, gray or black water stains, or peeling finish. These problems require professional sanding and refinishing. Use polishing as part of a regular maintenance cycle—applied every 6-12 months, it can delay costly refinishing by several years.
High-Gloss vs Low-Gloss vs Satin: Choosing Your Shine Level
The gloss level you choose affects appearance, not protective strength. High-gloss finishes create a mirror-like surface that reflects light dramatically but shows dust and micro scratches prominently. Satin offers moderate reflection with a contemporary feel. Matte or low-gloss options diffuse light and hide imperfections better.
For busy family homes with pets and children, satin or low-gloss finishes prove more practical—they mask daily wear effectively. Reserve higher gloss for formal rooms with controlled foot traffic where you can maintain a strict cleaning routine.
How Sheen Affects Room Appearance
High-gloss polish makes compact or north-facing rooms feel brighter by bouncing natural light throughout the space. This amplifies available daylight and creates an expansive feel.
Low-gloss or satin finishes suit open-plan living areas where glare reduction matters. They create softer, more relaxed aesthetics that complement contemporary décor. Consider your wall color, window size, and existing furniture when selecting sheen—then test a small patch in a hidden area to see how it looks at different times of day.
When Should You Polish Wooden Floors?
Your floors signal when they need attention. Look for dull patches in traffic lanes, fine surface scratches becoming visible as protective layers wear, and uneven sheen where some areas appear glossy while others look matte.
Typical homes benefit from polishing every 6-12 months. Busy households with pets or children may need repolishing every 3-6 months. Many people choose spring or early autumn when windows can remain open for ventilation during the drying phase.
Avoid over-polishing. Excessive application causes buildup, leading to cloudiness and streaking. Follow manufacturer guidance on frequency strictly.
How to Check If Your Floor Is Suitable for Polishing
Inspect your entire floor for deep damage once it’s clean and bare. Gray or black spots indicate water damage. Flaking or peeling finish means the floor needs sanding, not polishing.
Perform a water bead test in an inconspicuous area—if water beads up, the finish still seals the wood effectively. If it soaks in, the finish may be compromised.
Waxed or oiled floors require wax or oil maintenance rather than acrylic polish. Mixing systems causes adhesion problems. Contact a flooring professional if you’re unsure about your existing finish type.
Prep Work: Getting Wooden Floors Ready for Polish
Preparation is the most important part and usually takes longer than applying polish itself. Your goal is a clean, dry, smooth surface free from dust, grease, and residue so polish bonds evenly and dries without imperfections.
Clear the Room of Furniture and Rugs
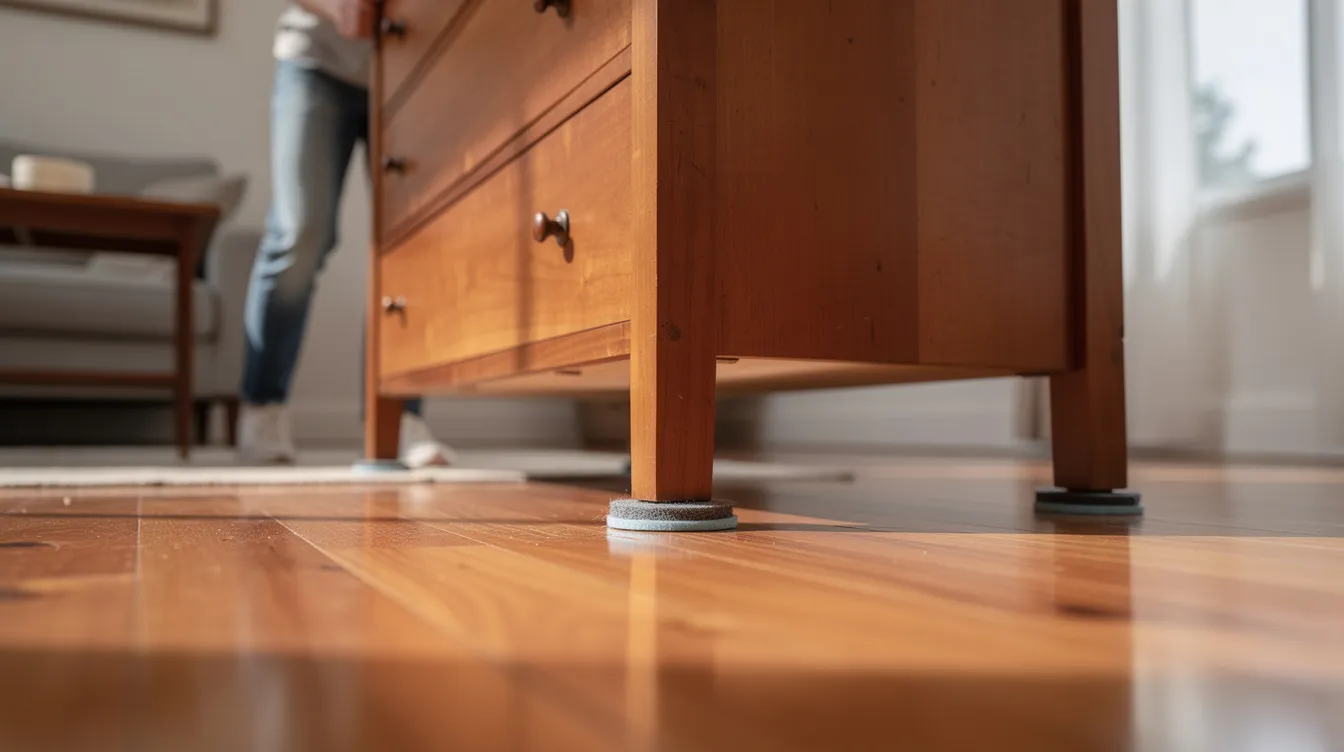
Remove all movable furniture, area rugs, mats, and floor lamps ideally the day of polishing. Use felt sliders or blankets under heavy pieces to prevent scratches while moving items.
In small apartments, work in room halves while maintaining clean boundaries between polished and unpolished sections. Remove doors if possible to maximize maneuverability.
Sweep and Vacuum Thoroughly
Start with a soft-bristle broom or dust mop to remove visible debris, pet hair, and grit. Follow with a vacuum using a hard-floor or parquet setting with a soft brush attachment.
Clean gaps between boards and along skirting thoroughly. Avoid using a beater bar or rotating brush—these scratch delicate finishes.
Damp Mop with a Wood-Safe Cleaner
Use a microfiber mop slightly dampened with a pH-neutral hardwood floor cleaner. Diluted dish soap (1/4 cup in 1 gallon of warm water) works as an alternative cleaning solution.
Caution against excessive water and homemade mixtures with strong vinegar, lemon juice, ammonia, or olive oil that damage finishes. Work with the wood grain and allow at least an hour for floors to dry completely before polishing. Wipe spills immediately during this process.
Spot-Clean Stubborn Marks and Residue
After general cleaning, identify sticky spots, old spills, shoe marks, and stubborn stains that remain. Use a microfiber cloth with a small amount of wood-safe cleaner to gently agitate these areas.
Avoid abrasive pads or harsh chemicals that leave dull patches polish cannot hide. Expert advice confirms that targeted, gentle cleaning preserves the floor’s finish better than aggressive scrubbing.
Check for Damage Before You Polish
Inspect for deep scratches, gouges, loose boards, lifted edges, or peeling finish once the floor is dry and bare. Shallow white scratches may be masked by polish, but deep cuts exposing bare wood require sanding or professional repair.
Address movement or creaking boards before proceeding. Fill deeper chips with appropriate wood filler to restore a smooth finish before polish application.
Choosing the Right Floor Polish for Your Wooden Floors
Selecting a compatible polish prevents streaks, hazing, and adhesion problems. Common types include water-based acrylic polishes for polyurethane finishes and suitable maintenance products for oil or wax systems.
Read labels carefully to ensure the product is made for real hardwood or engineered wood—not laminate or vinyl. Sheen level, drying time, and VOC content vary by product.
Identify Your Existing Floor Finish
Determine if floors are finished with polyurethane, varnish, or wax using a simple test. Scrape a sharp knife blade across an inconspicuous area—if clear material comes up, you likely have a surface finish suitable for polishing.
High-build glossy film typically indicates modern varnish or polyurethane. Lower-luster surfaces that mark easily may be waxed or oiled. Older homes (pre-1990s) often have wax finishes incompatible with acrylic polish directly.
Match the Polish Formula to Your Floor
Choose polish from reputable brands that explicitly list compatibility with polyurethane or varnished wood floors. Waxed floors should be maintained with paste wax or liquid wax only—water-based polish causes smearing and clouding.
Some polishes contain micro-filling technology that softens the appearance of fine scratches and wear marks, adding cosmetic benefits beyond simple glossing.
Read Labels, Reviews, and Test First
Follow manufacturer instructions on coverage rate, drying time, and number of coats. Reading recent product reviews reveals real-world performance on similar floors.
Test polish in a small, inconspicuous area—behind a door or under removable furniture—and wait the full cure time before treating the entire floor. This patience prevents costly mistakes.
How to Polish Wooden Floors: Step-by-Step Application
This section provides a complete DIY sequence from final dust removal through drying and buffing. Instructions assume a modern sealed wooden floor (solid or engineered) with compatible polish.
A typical room (20-30 m²) can often be polished in under an hour of active work, plus drying time.
Final Dust Removal Before You Start
After prep and product choice, make a final pass with a clean, dry microfiber dust mop to remove lingering fine dust or pet hair. Pay attention to corners, under radiators, and along skirting where dust settles.
Apply the First Coat of Polish
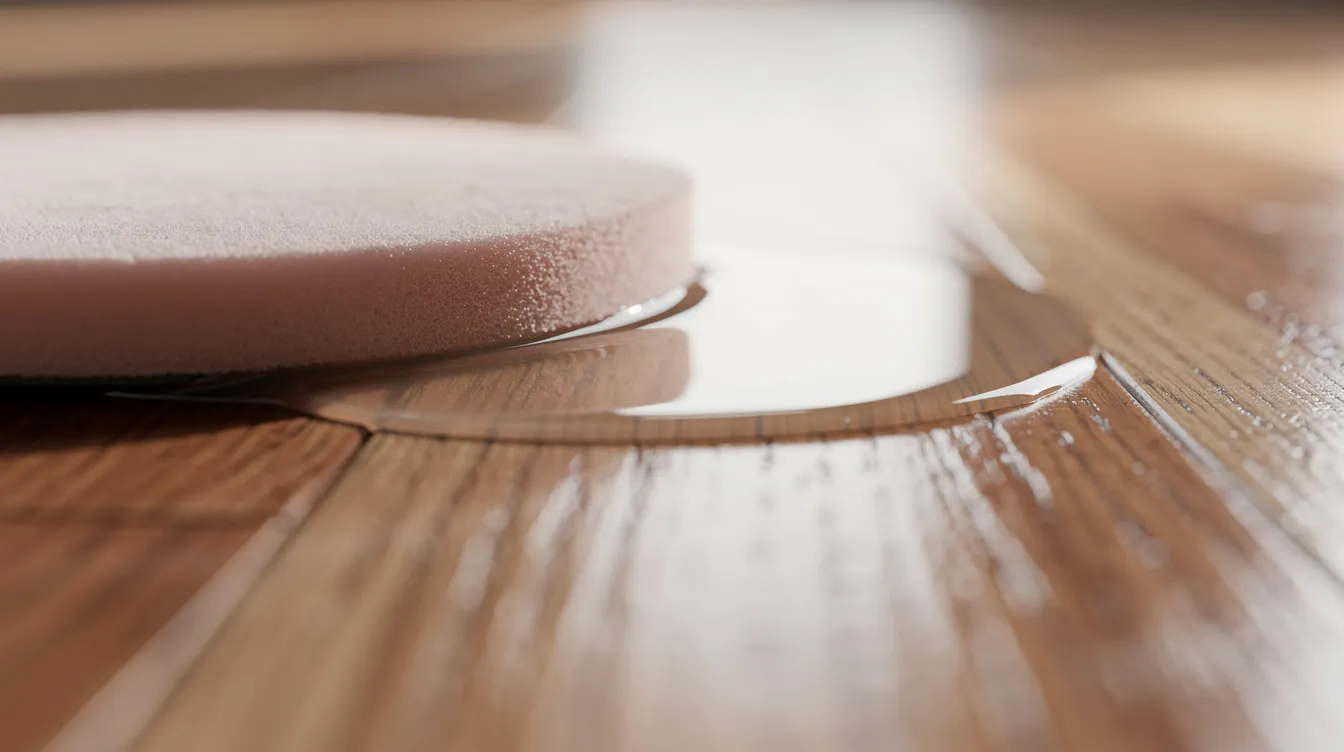
Pour a small amount of polish directly onto the floor or into a tray per product directions. Using a clean applicator pad or flat mop, work the polish in an S-pattern, then smooth with the grain.
Work in small sections of approximately 3-5 feet, maintaining a wet edge to prevent streaks. Thin, even application is essential—heavy coats dry unevenly and may remain tacky.
Allow Proper Drying Time
Many water-based polishes are touch-dry in 30-60 minutes and ready for a second coat after 1-2 hours. Keep windows slightly open for ventilation where climate allows.
Keep people and pets off the floor until fully dry. Footprints and smudges become permanent marks on skinned-over polish.
Apply a Second Coat for Extra Protection
A second thin coat deepens sheen and adds durability. Repeat the same application pattern, ensuring the first coat is completely dry before starting.
A third coat benefits very high-traffic zones, but confirm with product guidelines to avoid buildup and cloudiness.
Buffing and Light Traffic Reintroduction
Lightly buff the dried surface with a clean, dry microfiber pad if product instructions allow. This evens out residual streaks and enhances shine.
Light foot traffic is often safe after a few hours. Replace furniture and rugs after 24 hours or as product directs. Attach felt pads under furniture legs when returning items to prevent scratches on the new polish layer.
Common Mistakes to Avoid When Polishing Wooden Floors
Careful prep and following instructions prevent most problems. These common errors lead to streaks, haze, or premature wear.
Polishing the Wrong Type of Floor or Finish
Never use wood floor polish on laminate, vinyl, or tile—it causes slipperiness and residue that’s difficult to remove. Applying polish over waxed or oiled floors creates peeling, smearing, or uneven sheen.
Confirm floor material type in rental properties or older homes with unknown flooring before applying anything.
Skipping Cleaning and Drying Steps
Polishing over dust and grit traps particles under the film, leaving bumps and cloudy patches. Residual moisture from mopping dilutes polish and creates streaks.
Allow sufficient time between cleaning and polishing, especially in humid climates where surfaces need longer to dry completely.
Using Too Much Product or Working Too Slowly
Thick layers dry unevenly, remain tacky, and scuff easily. Stopping mid-room or letting edges dry before overlapping creates visible lap marks.
Plan your route through the room so you can exit without stepping on freshly polished areas. Maintain steady, consistent pacing.
Walking on Floors Too Soon
Footprints, pet paw marks, and dragged chair legs permanently mark polish that hasn’t cured. Wear clean socks only—no shoes—once floors are ready for very light traffic.
Follow the longest cure time on the label before replacing rugs or heavy furniture.
Maintaining the Shine After You Polish Wooden Floors
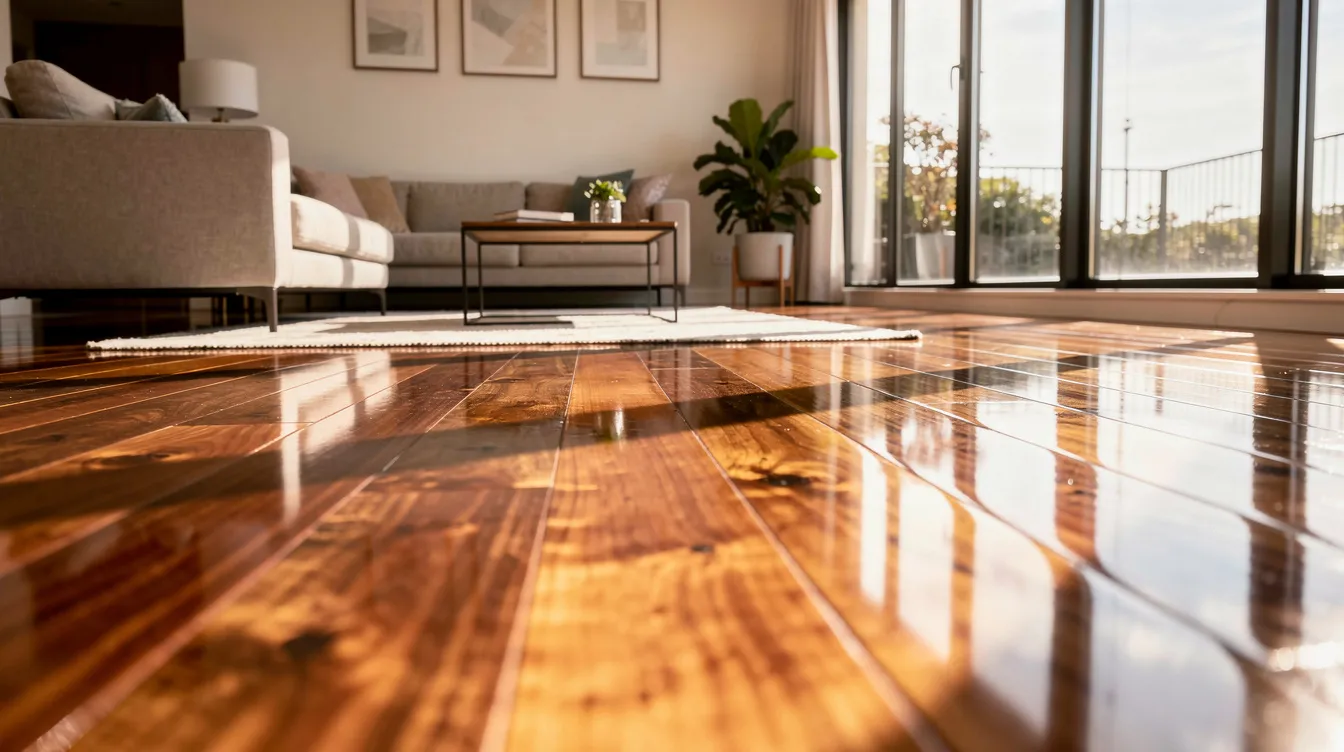
Gentle, regular care preserves the freshly polished look longer than infrequent, aggressive cleaning. These habits extend the life of both the polish layer and underlying finish.
Daily and Weekly Cleaning Habits
Dry dusting or a quick sweep with a soft mop daily removes grit that causes scratches. Vacuum weekly with a hard-floor setting to clean joints and edges.
Use a slightly damp microfiber mop with wood-safe cleaner when wet cleaning is necessary. Avoid soaking floors or using steam mops.
Protecting High-Traffic Areas
Use doormats at entrances and runners in hallways to minimize tracked-in dirt and moisture. Felt pads under all chair and table legs protect against scratches.
Trim pet nails regularly and avoid heeled shoes—especially stilettos—to reduce concentrated impact on the surface.
When to Re-Polish and When to Refinish
When dullness returns uniformly, another polish cycle using the same compatible product restores appearance. Widespread bare patches, deep discoloration, or flaking finish indicate time for professional refinishing instead.
Document dates of each polishing session to judge how long applications last in your specific environment. This record helps predict future maintenance needs and keeps your floors looking their best year after year.