Installing parquet flooring yourself can save you a hefty fee compared to hiring professionals, and with the right preparation, it’s entirely achievable for most UK homeowners. This guide walks you through every stage of the process, from choosing your materials to laying the final block and applying a protective finish.
Whether you’re working with reclaimed parquet salvaged from a Victorian hallway or new engineered parquet flooring designed for modern homes, this guide covers what you need to know. It’s written for properties built between 1900 and 2020, with concrete or plywood subfloors typical of UK construction. By the end, you’ll understand the key decisions around material type, parquet pattern, laying direction, and whether to glue down or opt for a floating installation.
Key Decisions Before You Lay Parquet Flooring
Getting these choices right at the start prevents expensive problems later. Movement, large gaps, squeaks, and moisture damage typically trace back to poor decisions made before a single block was laid.
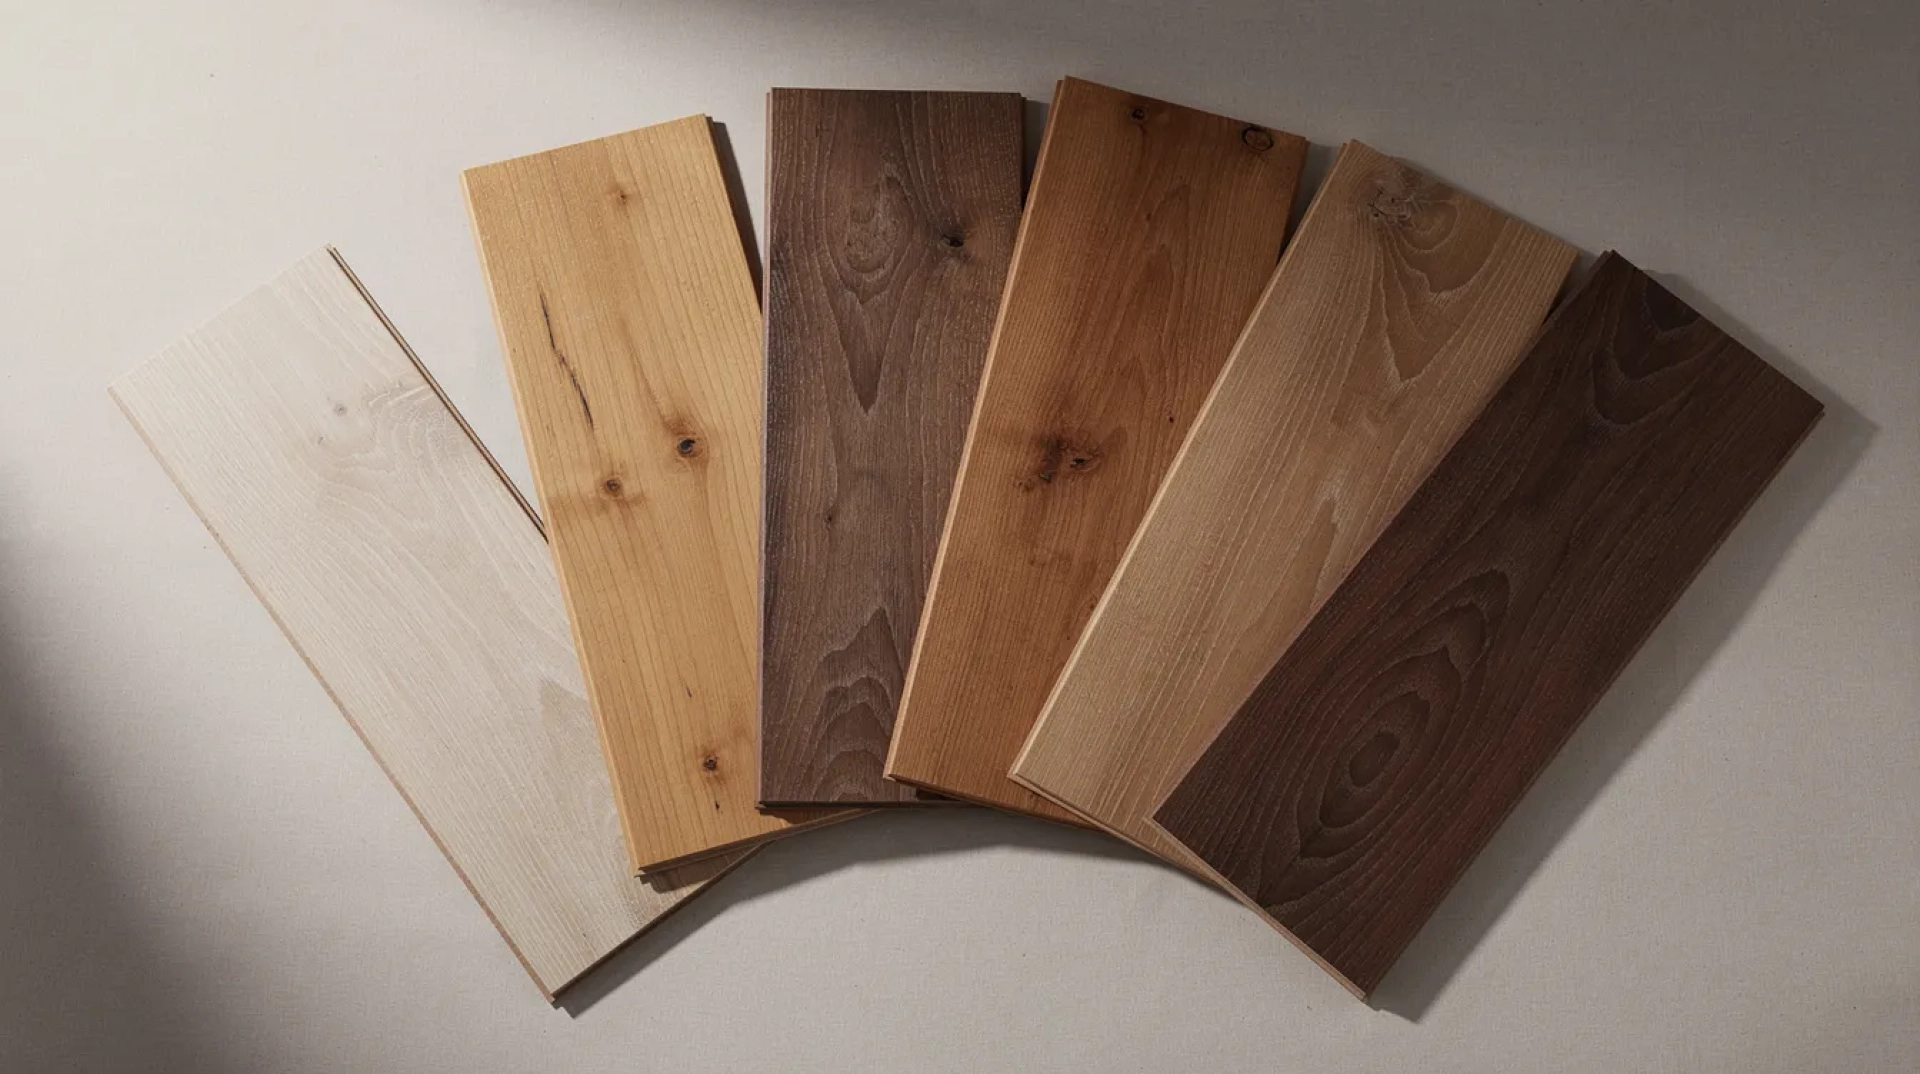
Choosing your parquet type:
-
Solid wood blocks (e.g., 70mm x 230mm oak) suit dry, stable environments like living rooms and bedrooms but require full glue-down installation
-
Engineered herringbone/chevron (e.g., 90mm x 500mm with 4mm wear layer) offers stability for underfloor heating systems running up to 27°C floor temperatures
-
Laminate parquet at £15–£25/m² provides budget-friendly acoustic insulation but lacks the natural feel of real wood
-
LVT herringbone excels in basements and kitchens with 100% waterproofing and humidity tolerance above 75% RH
-
Reclaimed blocks (typically £25–£50/m² for oak or elm) deliver period authenticity but demand extra prep time for bitumen removal
Room type matters. Kitchens, basements, and utility spaces need moisture-tolerant options like engineered flooring or LVT. Living rooms, dining rooms, and bedrooms handle solid or engineered wood well. Hallways with heavy foot traffic benefit from glued-down installations.
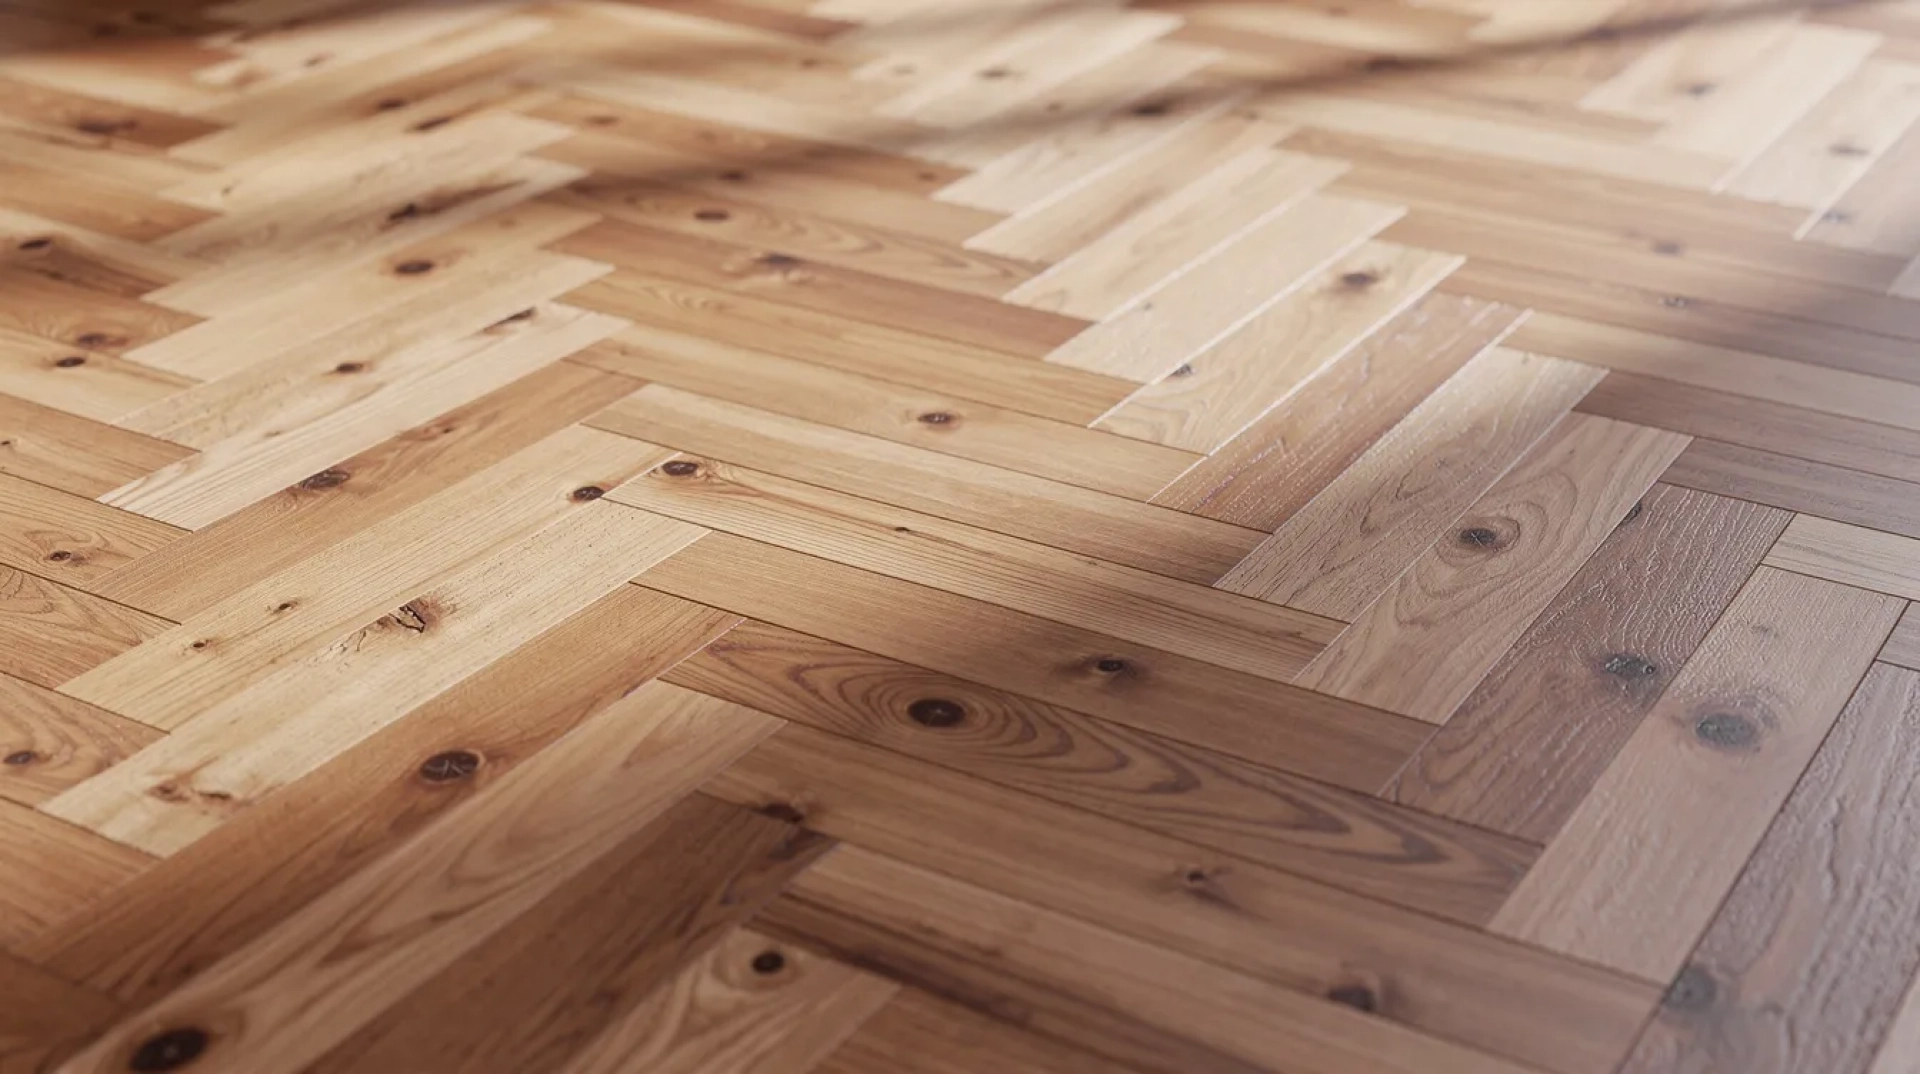
Pattern selection affects both complexity and wastage. The herringbone pattern remains the most DIY-friendly choice with 5–8% typical wastage. Chevron increases waste to 12–15% due to angled cuts. Basket weave and brick bond are simpler alternatives for novices wanting a classic style without the complexity.
Budget examples for 2026:
-
Entry-level laminate: £18–£25/m²
-
Engineered oak herringbone: £45–£75/m²
-
Solid oak blocks: £60+/m²
For properties with underfloor heating, engineered wood performs best (maximum 80% RH, 18–27°C output). Solid wood risks gapping if moisture content varies more than 5%.
Can You Realistically DIY Parquet Flooring?
A competent DIYer can complete a 15–20m² room in a long weekend—typically 2–3 days—if the subfloor is properly prepared beforehand.
Skills you’ll need:
-
Accurate measuring to 1mm tolerance
-
Confident use of a mitre saw for 45° cuts
-
Basic understanding of adhesive open times (typically 20–40 minutes)
-
Patience for repetitive pattern work—a 2mm error compounds to 25mm drift over 10 rows
Realistic time estimates:
-
1 day for subfloor preparation
-
1–2 days for parquet installation
-
Additional 8–12 hours if sanding and finishing unfinished blocks
DIY-friendly rooms: Rectangular spaces like a 4m x 5m living room, bedroom, or dining room on level concrete or plywood.
Better for professionals: Open-plan areas over 30m², L-shaped hallways with multiple doorways, uneven 1930s timber floors needing 18mm ply overlays, and complex layouts where pattern drift becomes critical.
Safety considerations:
-
Dust extraction is essential—sanding generates substantial fine particles
-
Knee pads for 4–6 hours of crouching
-
NIOSH-approved respirators for silica in levelling compounds
-
Ventilation when using adhesives (most MS polymers emit under 5g/L VOCs)
If you’re unsure about sanding, consider pre-finished engineered boards that skip this time consuming step entirely.
Tools, Materials, and Pattern Planning
This section serves as your shopping checklist for a 2026 project, not a generic wish list.
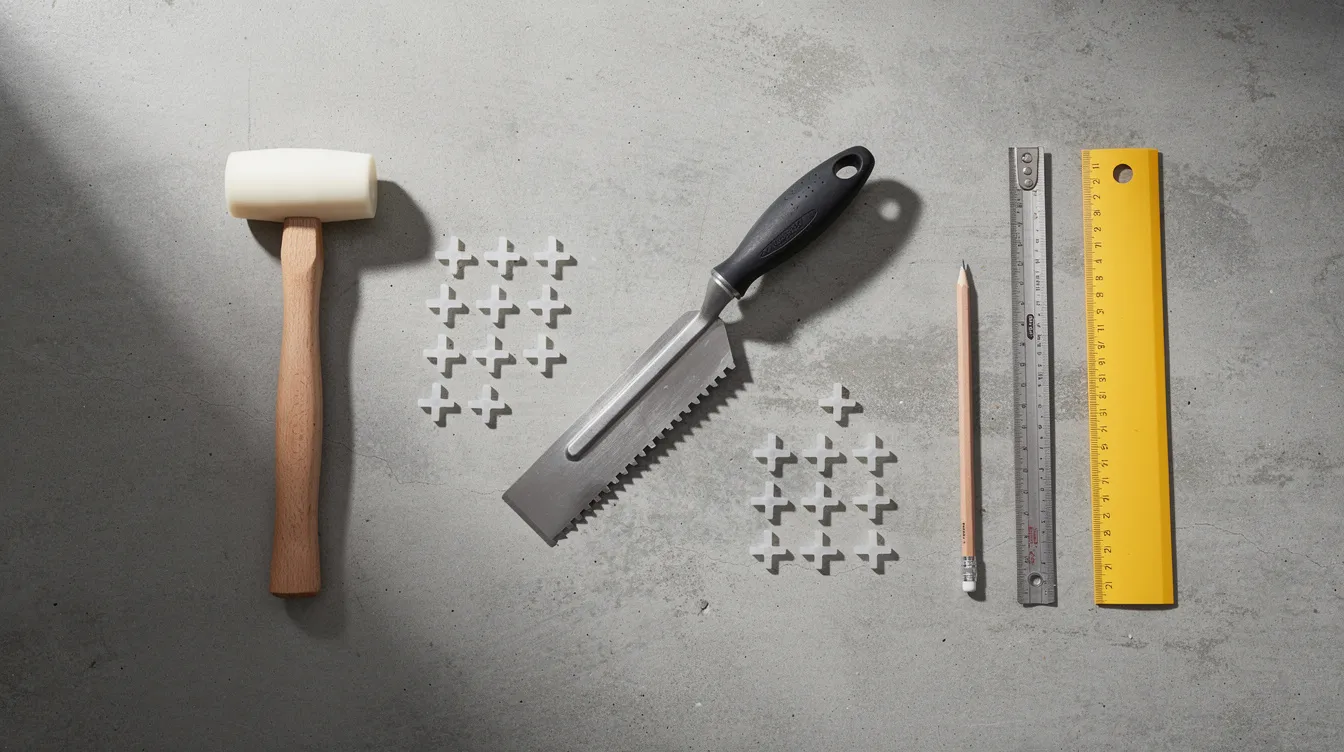
Essential tools:
-
5m tape measure and sharp pencil
-
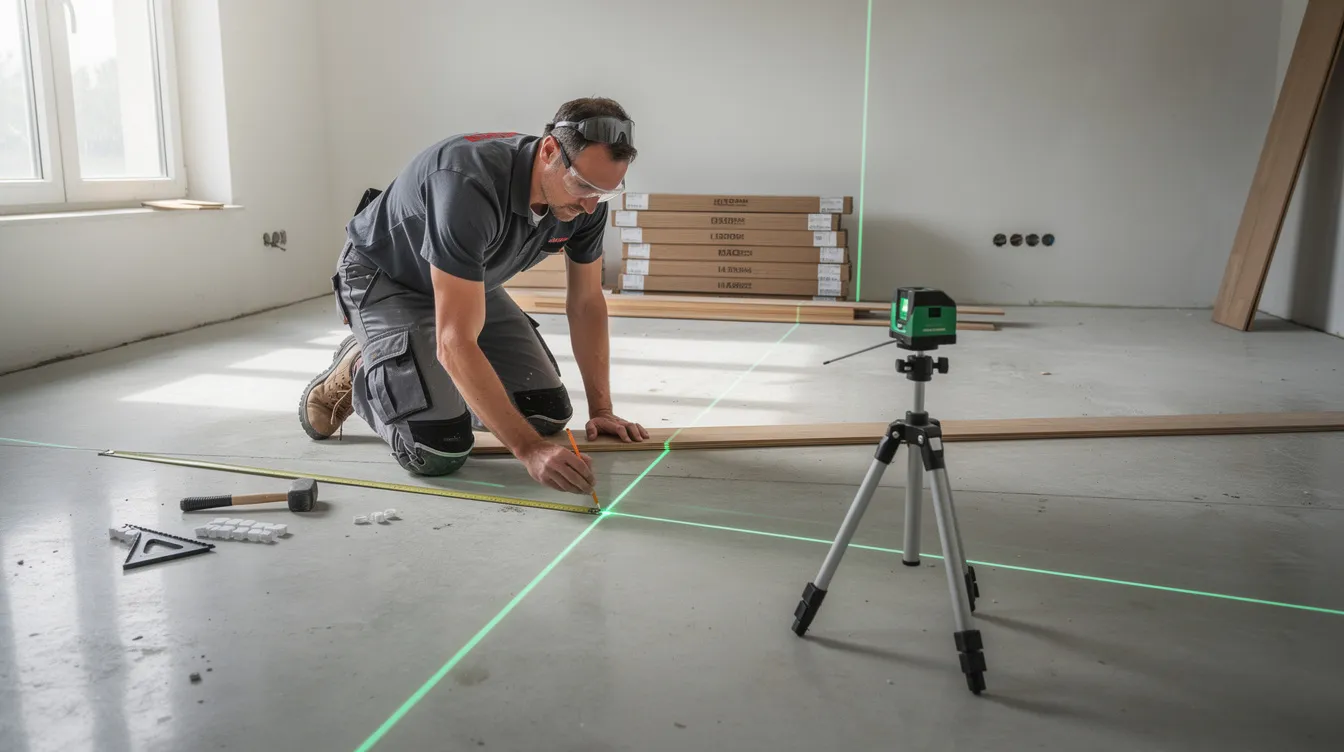
Laser level or chalk line for establishing your centre line
-
Set square or 3-4-5 triangle for checking perpendiculars
-
Mitre saw (2500rpm blade) or circular saw with guide rail
-
Rubber mallet (500g head) and tapping block
-
Notched trowel (B2/B11 depending on adhesive)
-
Pull bar for edge pieces
-
10–12mm spacers
-
Industrial vacuum (HEPA-filtered for sanding)
-
Floor sander and edge sander if finishing unfinished wood (hire at approximately £50–£60/day)
Key materials:
-
Parquet blocks or planks (allow 5–10% extra for wastage, up to 15% for bay window areas or complex rooms)
-
Flexible MS-polymer adhesive for glue down installation (e.g., approximately £20 per 7kg tub covering 2–3m²)
-
Damp proof membrane for concrete without existing DPM
-
Self levelling compound (3–10mm depth, walkable in 3–4 hours)
-
Acoustic underlay (2–3mm foam) for floating systems
-
Wood filler for small gaps
-
Finishing products: hardwax oil or water-based lacquer
Acclimatisation is critical. Leave parquet unopened or loosely opened in the room for 48–72 hours at 18–20°C and 45–60% relative humidity. This stabilises moisture content to 7–9%, preventing post-installation movement.
Pattern planning basics:
-
Mark your main control line from the room’s middle point or a focal feature like a fireplace or large window
-
Snap a perfectly straight pencil line or use a laser
-
Dry lay 3–5 rows without glue to check border sizes—aim for cuts wider than 50mm to avoid slivers
Preparing the Subfloor for Parquet (Concrete and Timber)
A flat, dry, and stable subfloor is non-negotiable. Expect preparation to consume 40–50% of your total project time—rushing this stage guarantees problems with your new floors.
Flatness testing: Use a 2m straightedge or spirit level. Variations should stay under 3mm over 2m to meet most manufacturers’ warranty requirements. Mark high spots for sanding and low spots for filling.
Moisture checks: For concrete, perform a plastic sheet test—tape down a 1m² sheet and check for condensation after 48 hours. Condensation indicates moisture above 75% RH, requiring a moisture barrier. For timber, check for damp or rot around external walls and under radiators.
Preparing a Concrete Subfloor
-
Sweep and vacuum thoroughly to create a clean subfloor
-
Mechanically remove loose paint, tiles, or old adhesive residue
-
Patch obvious cracks and holes with epoxy mortar
-
Apply liquid damp proof membrane on pre-1970s slabs lacking original DPM (e.g., Bostik 30-minute cure)
-
Prime if your adhesive manufacturer requires it
-
Apply self levelling compound to fill dips (typical products are walkable in 3–4 hours)
Example scenario: A 1960s concrete flooring living room requiring one coat of epoxy DPM plus 4mm levelling compound, drying 48 hours before laying parquet at £55/m² engineered oak herringbone.
Curing rule: Allow 1 day per mm of slab thickness up to 40mm before adhesive application.
Preparing a Timber or Plywood Subfloor
-
Check existing tongue-and-groove boards for bounce and creaks
-
Screw loose boards into joists at 300mm centres to stiffen the floor
-
Install 6–12mm plywood overlay (or 18mm if boards are poor), screwed every 150–200mm with staggered joints
-
Leave 2–3mm expansion gap at the room perimeter
-
Countersink and sand all screw heads flat
-
Vacuum thoroughly and prime if adhesive requires it
Example: A 1930s suspended timber floor with draughty boards benefits from an 18mm T&G plywood overlay (approximately £12 per sheet) before laying engineered parquet.
Floating laminate or click-engineered systems may only need underlay over well-fixed boards, while glue-down typically demands a full ply overlay.
Glue-Down vs Floating: Choosing Your Installation Method
Your installation method depends on subfloor type, parquet product, room usage, and whether underfloor heating is present.
Glue-down overview: Ideal for solid blocks and traditional herringbone patterns. Provides maximum stability, solid feel underfoot, and optimal heat transfer. Usually recommended over both concrete and well-prepared plywood.
Floating overview: Better suited to click-system engineered or laminate parquet. Quicker to lay, easier to remove, relies on underlay with integrated DPM over concrete.
Many manufacturers of traditional parquet blocks explicitly forbid floating installation. Check your product specifications—warranties often require full-surface adhesive bonding.
When to Use Glue-Down Installation
-
Mandatory for classic small blocks (e.g., 70mm x 230mm solid oak) and reclaimed parquet lacking click mechanisms
-
Uses flexible, solvent-free parquet adhesive applied with the correct notched trowel size
-
Reduces hollow sounds underfoot
-
Provides better heat transfer for underfloor heating systems
-
Less susceptible to movement or creaking over time
Downsides: Higher material cost (add £5–10/m²), more labour, and difficult removal if you want to change the floor later.
Always confirm adhesive, primer, and trowel specifications with your parquet manufacturer to keep warranties valid.
When a Floating Parquet Floor Makes Sense
-
Suitable for click-together engineered boards and laminate planks, not loose individual wood blocks
-
Boards lock together over continuous underlay with expansion gap (10–12mm) at all walls and door frames
-
Faster installation with minimal mess
-
Easier replacement of damaged boards
-
Less dependence on perfect adhesive technique
Limitations: Slightly “springy” feel if subfloor isn’t completely level, and not recommended under heavy fixed loads like stone kitchen islands.
Example: A 12m² bedroom with level chipboard flooring where click-engineered herringbone on acoustic underlay completes in approximately 4 hours.
Step-by-Step: How to Lay Parquet Flooring
This section follows the real installation order for a typical 4m x 4m room with prepared, dry subfloor. The steps assume glue-down herringbone engineered parquet—the most common scenario—with notes where floating systems differ.
Read your specific product’s installation leaflet alongside this guide. Different manufacturers have varying requirements for pattern starting points and expansion gaps.
Step 1 – Layout and Pattern Planning
-
Find the true centre line of the room or align with a visually important feature (large window, main doorway, fireplace)
-
Snap a chalk line or use a laser to create your first line as a perfectly straight reference
-
Check squareness using the 3-4-5 triangle method: measure 3m along one line, 4m along the perpendicular, and confirm the diagonal measures exactly 5m
-
Dry lay several herringbone “V” patterns along this line to confirm sensible border cuts at each end
-
Adjust the line slightly if dry laying reveals narrow slivers at walls
-
Mark additional guide lines perpendicular to your main line to prevent pattern drift
-
Consider laying direction relative to natural light and adjacent different rooms—maintain consistency if parquet continues through doorways
Step 2 – Installing the Main Field of Blocks
-
Spread parquet adhesive over 1–1.5m² at a time using the correct notched trowel, observing open time (typically 20–40 minutes)
-
Lay your first row of herringbone directly along the reference line, carefully aligning each “V” formation
-
Check alignment frequently with a straightedge to ensure the row stays straight
-
Press each block firmly into adhesive, using a rubber mallet and tapping block—avoid sliding planks as this displaces glue
-
Periodically lift a block during the first square metre to verify 90%+ adhesive coverage on the back; add more glue or adjust technique if bare patches appear
-
Work outwards from the centre spine in both directions, adding 2–3 rows at a time
-
Check alignment every 3 rows using a string line along the same direction
For floating/click systems: Skip adhesive. Click boards together over underlay while following the same reference lines and pattern checks.
Wipe adhesive squeeze-out immediately before it skins over. Keep movement deliberate—rushing creates compounding errors.
Step 3 – Cutting Around Edges and Tricky Areas
-
Stop the main field a short distance from walls, then measure each remaining gap individually
-
Cut edge pieces with your mitre saw, maintaining 10–12mm expansion gap at all walls, pipes, and columns
-
Undercut door frames and architraves with a multi-tool so parquet slides underneath for a clean finish
-
Scribe around radiator pipes using cardboard templates, then drill or jigsaw boards before fitting
-
For bay window areas, expect 15% extra cuts and measure each piece individually
-
Dry-fit all complicated cuts before applying adhesive or locking them in
UK-specific note: Victorian and Edwardian properties often have chimney breasts and alcoves requiring careful templating. Reclaimed or brittle woods need extra support when cutting to avoid splintering—use sharp blades and backing boards.
Step 4 – Borders, Drying Time, and First Clean
Optional parquet border designs add a professional finish—a single or double frame plank around the room in contrasting wood, or matching an original hallway style.
-
Mark desired border width (e.g., two board widths from walls)
-
Cut main field back if necessary
-
Infill border pieces with precision cuts, maintaining consistent expansion gap
-
Edges will be hidden by skirting boards or beading
Adhesive curing:
-
Light foot traffic: 12–24 hours
-
Full furniture load: 48–72 hours (check your specific product data)
First clean: Once adhesive is fully cured, vacuum with a soft brush attachment. Wipe with a barely damp microfibre cloth to remove installation dust. Postpone rugs and heavy furniture until after any sanding and finishing.
Sanding and Finishing Your Parquet Floor
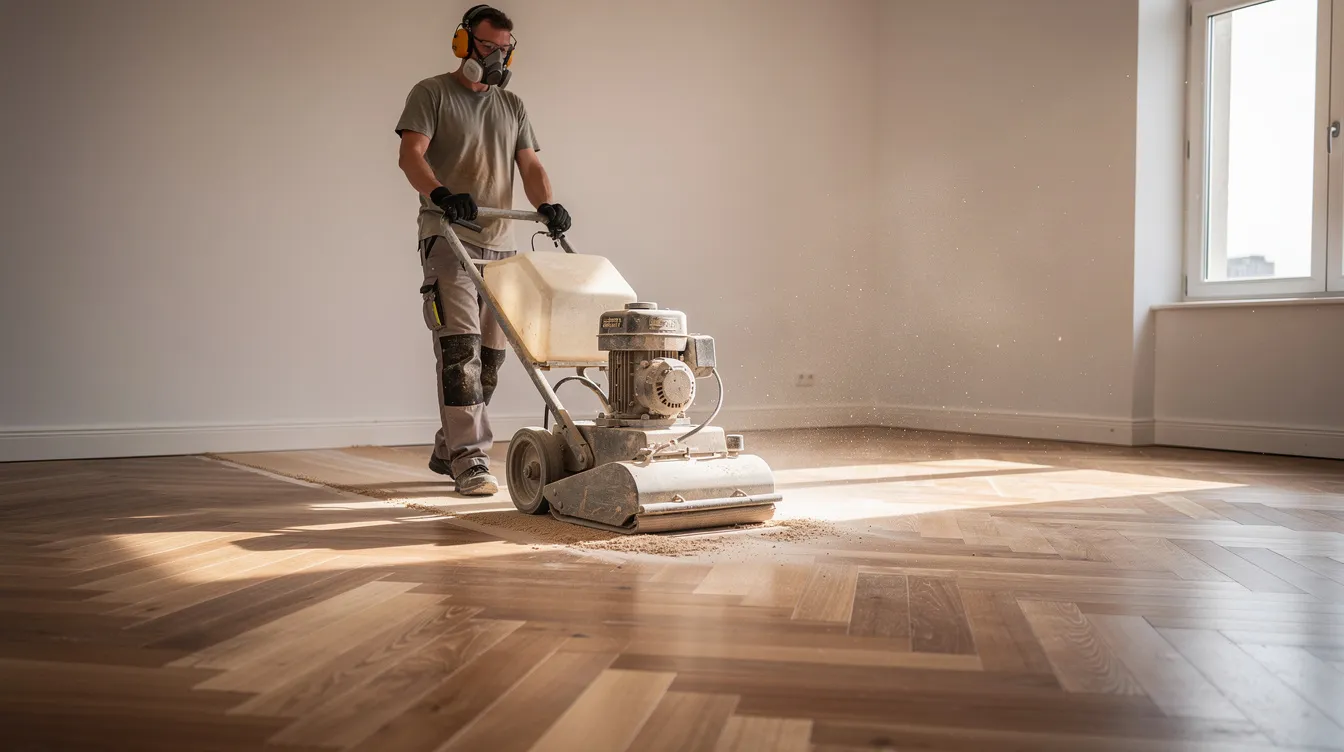
Pre-finished engineered or laminate parquet typically needs only a light clean. Unfinished solid or engineered blocks require sanding and a protective finish.
Sanding sequence:
-
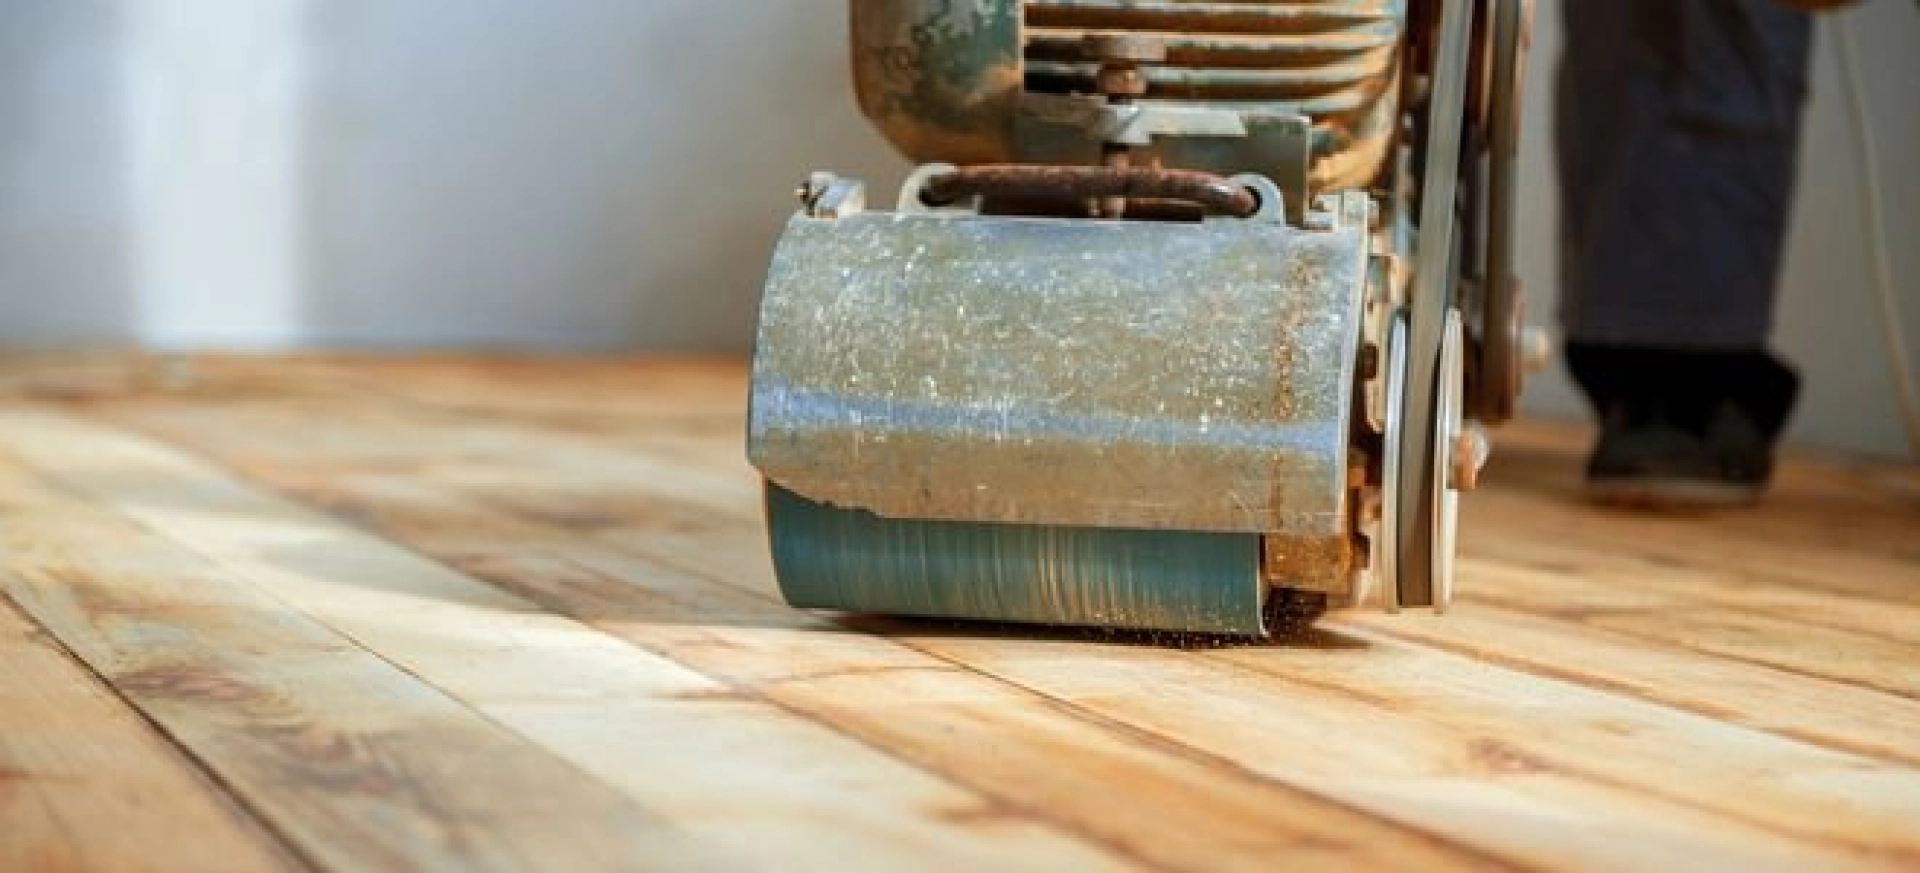
Use a drum or belt floor sander for the main area, edge sander for perimeters
-
Start with 40–60 grit, progress through 80 grit, finish with 120 grit
-
For herringbone, sand on a slight diagonal to avoid deep cross-grain scratches
-
Vacuum thoroughly between grits
Finishing options:
-
Hardwax oil (e.g., Osmo): Warm, natural feel; easier spot repairs; 24-hour dry time, 5–7 day full cure
-
Water-based lacquer: Higher durability; 2-hour recoat between 3 coats; 50% better abrasion resistance
Keep rooms dust-free and well-ventilated during finishing. Protect freshly coated floors from pets, shoes, and dragged furniture for the full curing period.
Hiring professional sanders from UK hire shops (approximately £60/day for belt sander) is far more effective than small DIY sanders for rooms over 10m².
Common Mistakes and When to Hire a Professional
Understanding common pitfalls helps you avoid them—and recognise when a project exceeds DIY scope.
Key mistakes to avoid:
-
Poor subfloor prep causing ridges and hollow spots (accounts for 70% of failures)
-
Skipping moisture checks—20% of floors cup within the first year from undetected damp
-
Using wrong adhesive or trowel size, resulting in weak bond
-
Starting pattern off-centre, causing 1° drift to become 50mm misalignment at walls
-
Insufficient expansion gap causing buckling (wood expands 1.2mm per metre)
-
Watching youtube videos without reading manufacturer instructions
Visual errors to watch for:
-
Drifting herringbone lines
-
Tiny sliver cuts at borders (under 20mm tend to splinter)
-
Misaligned patterns across thresholds between rooms
When professionals make sense:
-
Very uneven or damp concrete slabs
-
Complex hallway layouts with multiple doorways
-
Large open-plan space over 30–40m²
-
UFH systems requiring strict temperature calibration (slow ramp ±2°C/day)
-
Working in an old house with unpredictable subfloor conditions
Professional installers bring moisture testing equipment, industrial sanders, and pattern-layout experience. They typically complete a full room faster with less wasted material, charging £25–£40/m² for labour.
If you feel uncertain after reading this guide, get two or three quotes before deciding. When researching suppliers and installers online, you may encounter security verification on some websites—this is normal for legitimate trade sites protecting against malicious bots. Once verification successful, you can access product specifications and respond ray id information if you need technical support. Some suppliers also offer a security service for high-value hardwood purchases.
For straightforward rectangular rooms under 25m² with prepared subfloors, installing parquet remains well within DIY capability. Start laying with your centre line established, work methodically outwards, and check alignment every few rows. The result—beautiful real wood parquet flooring with genuine craftsmanship—is worth the effort.