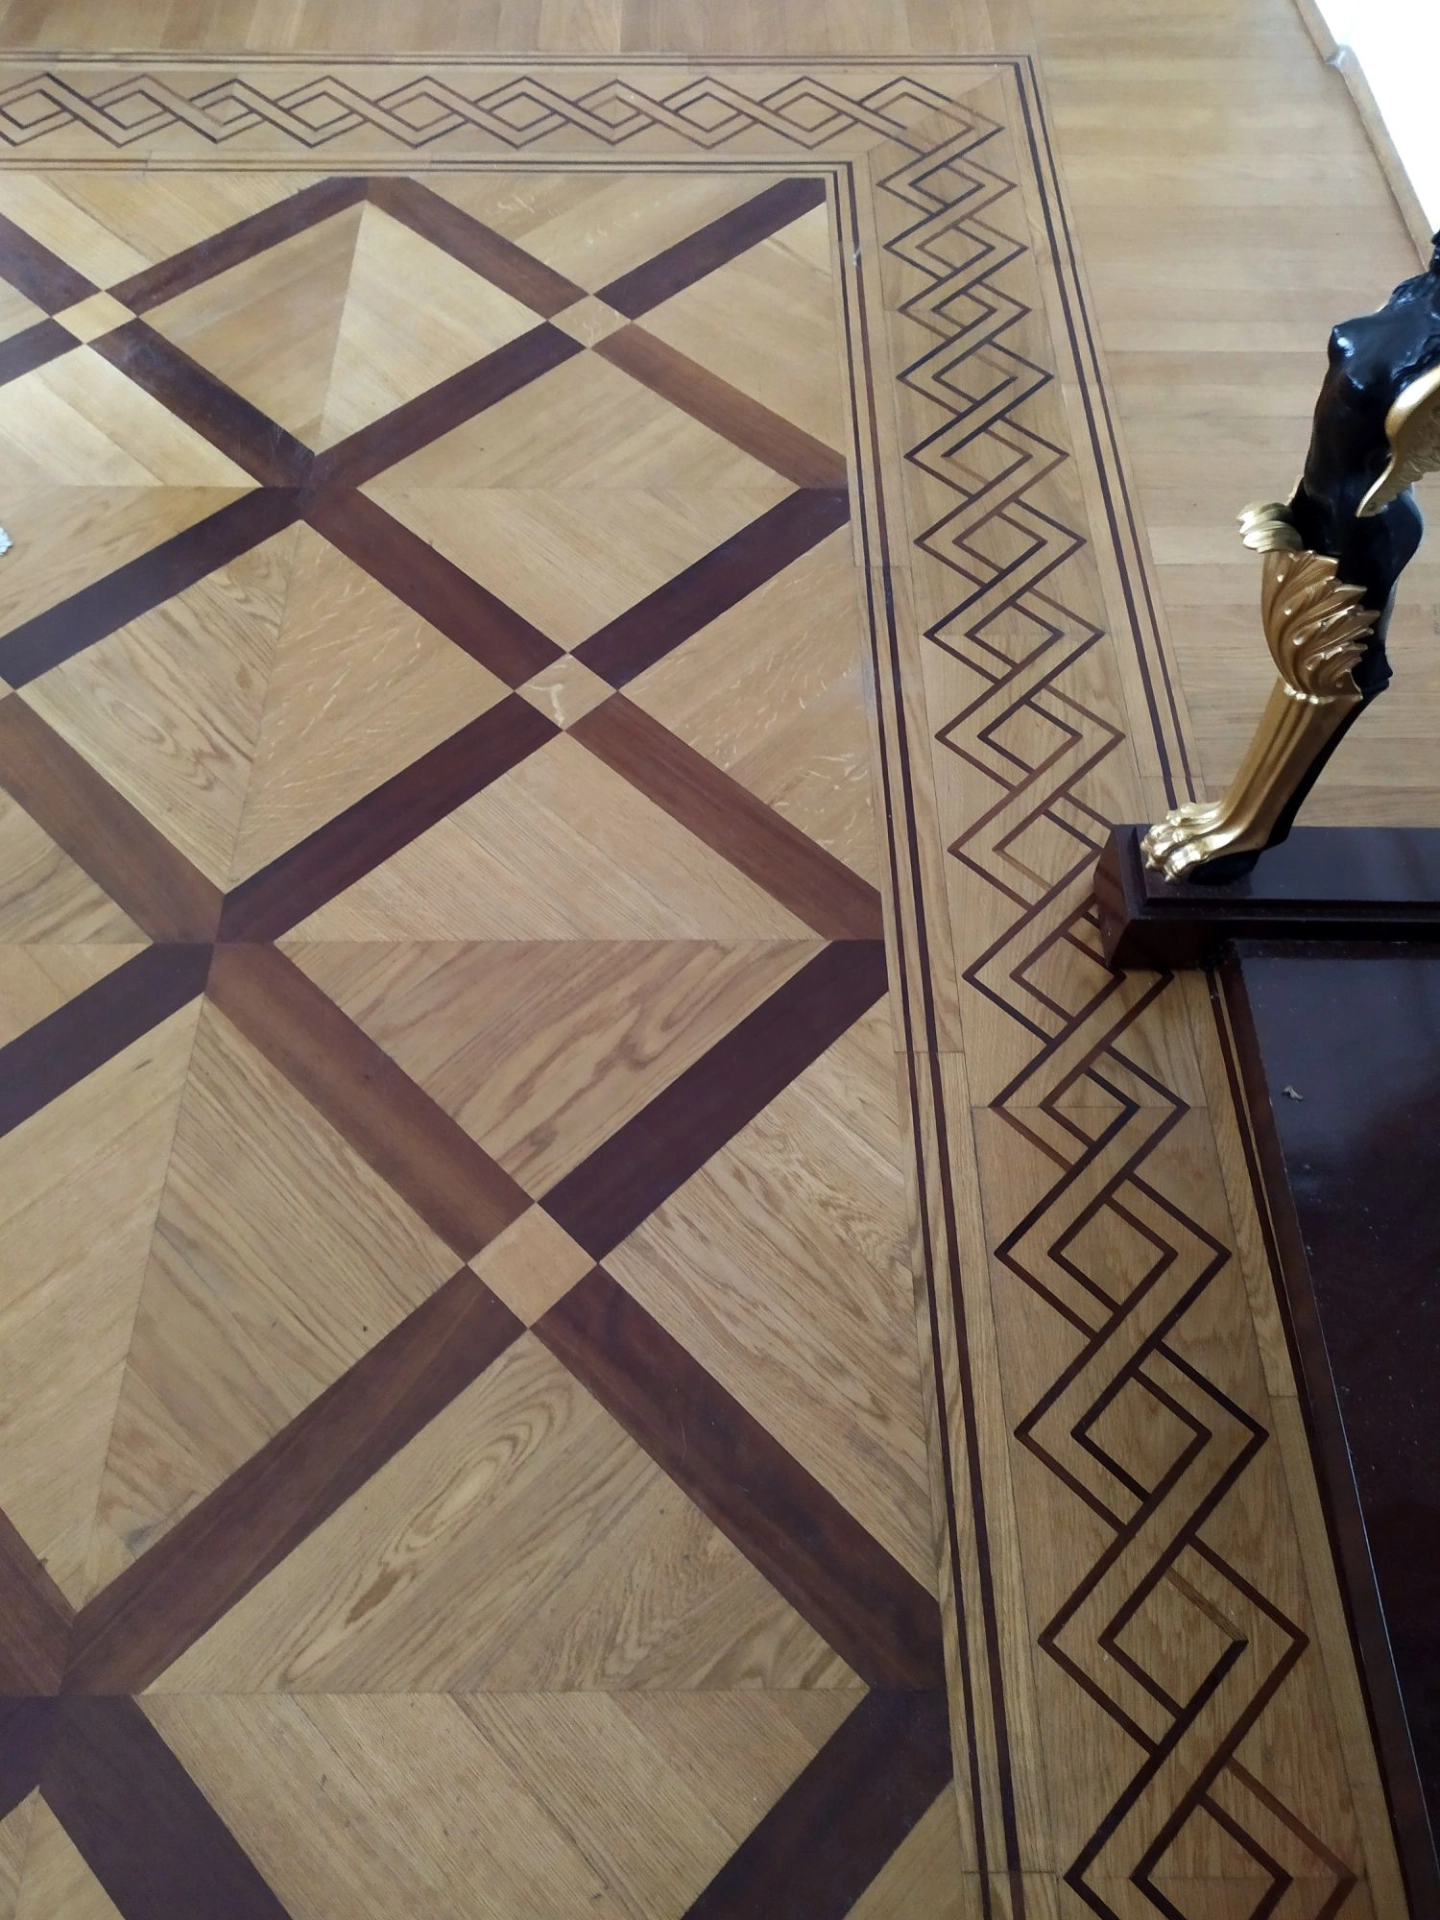
Tongue and groove flooring is a popular choice for homeowners who want a durable, attractive, and professional-looking floor. Whether you are fitting solid wood boards or engineered tongue and groove flooring, the installation process must be done carefully to achieve a long-lasting result. If you are wondering how to install tongue and groove flooring, this guide from 7 Braci, your wooden floor specialists and joinery experts, will walk you through the process step by step.
Before starting, it is important to understand that tongue and groove flooring works by one board’s tongue fitting neatly into the groove of the next. This creates a strong, stable fit and helps reduce gaps between boards. The flooring can be nailed, glued, or floated depending on the product type and the subfloor conditions. Correct preparation is just as important as the installation itself.
What You Need Before You Start
To install tongue and groove flooring successfully, you will need the right tools and materials. These usually include your flooring boards, underlay if required, flooring adhesive if using a glue-down method, spacers, a saw, tape measure, pencil, hammer, pry bar, flooring nails or cleats, and a tapping block. For professional results, a nail gun or flooring stapler may also be used.
It is also essential to let the flooring acclimatise in the room for at least 48 to 72 hours before installation. This helps the wood adjust to the temperature and humidity of the space, reducing the risk of expansion or shrinkage after fitting. Keep the boards in their packaging, laid flat, and away from direct heat sources.
Prepare the Subfloor Properly
A successful tongue and groove floor installation starts with a clean, dry, and level subfloor. Any dust, debris, old adhesive, nails, or uneven areas should be removed or repaired first. A poor subfloor can lead to squeaking, movement, or visible unevenness in the finished floor.
If you are laying the floor over concrete, make sure it is fully dry and has a suitable moisture barrier if required. For timber subfloors, check that the boards are secure and in good condition. In some cases, a levelling compound may be needed to correct uneven surfaces. Taking time on this stage will help ensure the final floor looks professional and performs well over time.
Choose the Right Installation Method
There are several ways to fit tongue and groove flooring, and the best method depends on the type of floor and subfloor. The most common methods are nailing, gluing, and floating. Solid wood tongue and groove floors are often secret-nailed to timber subfloors, while engineered flooring may be glued down or floated depending on the manufacturer’s instructions.
If you are installing a floating floor, the boards are joined together but not fixed directly to the subfloor. Instead, they rest on an underlay. This method is often quicker and easier for DIY installation. However, for a more traditional solid wood installation, nailing or gluing usually provides a more secure and durable finish.
Start Laying the First Row
Begin by measuring the room and planning the layout so the last row will not be too narrow. It is usually best to start along the longest straight wall. Place spacers between the wall and the first row of boards to allow for expansion. Wood naturally moves with changes in temperature and moisture, so this expansion gap is essential.
The first row should be laid with the groove facing the wall if you are using a secret-nailing method. This allows the next rows to lock into place more easily. Make sure the first row is straight, as any mistakes here will affect the rest of the floor. A chalk line can help keep everything aligned from the beginning.
Fit the Boards Correctly
When installing tongue and groove flooring, each board should fit tightly into the previous one. Angle the tongue into the groove carefully and use a tapping block if needed to ensure a snug connection without damaging the edges. Never hit the board directly with a hammer, as this can dent or split the wood.
If your flooring is designed to be nailed or stapled, fix it through the tongue at an angle so the fastener is hidden by the next board. This is known as secret nailing and is commonly used for hardwood flooring. For glue-down installations, apply adhesive as recommended by the manufacturer and press the boards firmly into place.
Stagger the end joints between rows so they do not line up. This helps create a stronger, more natural-looking floor. A random stagger pattern is often best, but avoid creating a repeated pattern. Trim boards as needed at the ends of rows to fit the space.
Maintain Expansion Gaps
One of the most important parts of installing tongue and groove flooring is leaving the correct expansion gap around the edges of the room. This gap is usually 10 to 15 mm, but always check the product instructions. The gap will later be covered by skirting boards or beading, giving the floor a neat finish.
Without an expansion gap, wood flooring can buckle or lift as it expands. This is one of the most common mistakes made during installation. Be sure to keep the spacers in place until the floor is fully fitted and secure.
Finish the Final Row
The final row may need to be cut lengthways to fit the remaining space. Measure carefully and allow for the expansion gap before cutting. A pull bar can help secure the last boards into position, especially where space is tight. Make sure the final row is straight and properly fixed, as this edge completes the overall look of the floor.
Once the boards are fitted, remove all spacers and install skirting boards or threshold strips as needed. These finishing touches help protect the edges and give the floor a polished appearance. If your flooring requires sanding, sealing, or finishing, complete this stage according to the manufacturer’s guidance.
Common Mistakes to Avoid
When learning how to install tongue and groove flooring, it helps to avoid the most common errors. These include failing to acclimatise the boards, skipping subfloor preparation, forgetting expansion gaps, and forcing boards together too aggressively. Another common mistake is not checking the floor layout in advance, which can leave you with a narrow final row.
Using the wrong fixing method is also a frequent issue. Not all tongue and groove flooring is installed the same way, so always follow the manufacturer’s instructions for your specific product. If you are unsure, it is better to seek expert advice before starting.
Should You Hire a Professional?
Although tongue and groove flooring can be a DIY project, professional installation is often the best choice for a flawless finish. A skilled wooden floor specialist will understand how to prepare the subfloor, manage expansion, and fit the boards for maximum durability and appearance. This is especially important for high-value hardwood flooring or complex room layouts.
At 7 Braci, we specialise in wooden floor installation, joinery, and custom finishing solutions. If you want expert advice or a professional fitting service, our team can help you achieve a beautiful and long-lasting tongue and groove floor.
Final Thoughts
Knowing how to install tongue and groove flooring properly can make a big difference to the look and lifespan of your floor. The key steps are simple: prepare the subfloor, let the boards acclimatise, choose the correct fixing method, leave expansion gaps, and take care with each row. With patience and the right technique, tongue and groove flooring can transform any room with timeless style and strength.
If you need help with wooden flooring installation or joinery services, contact 7 Braci for professional support and expert craftsmanship.