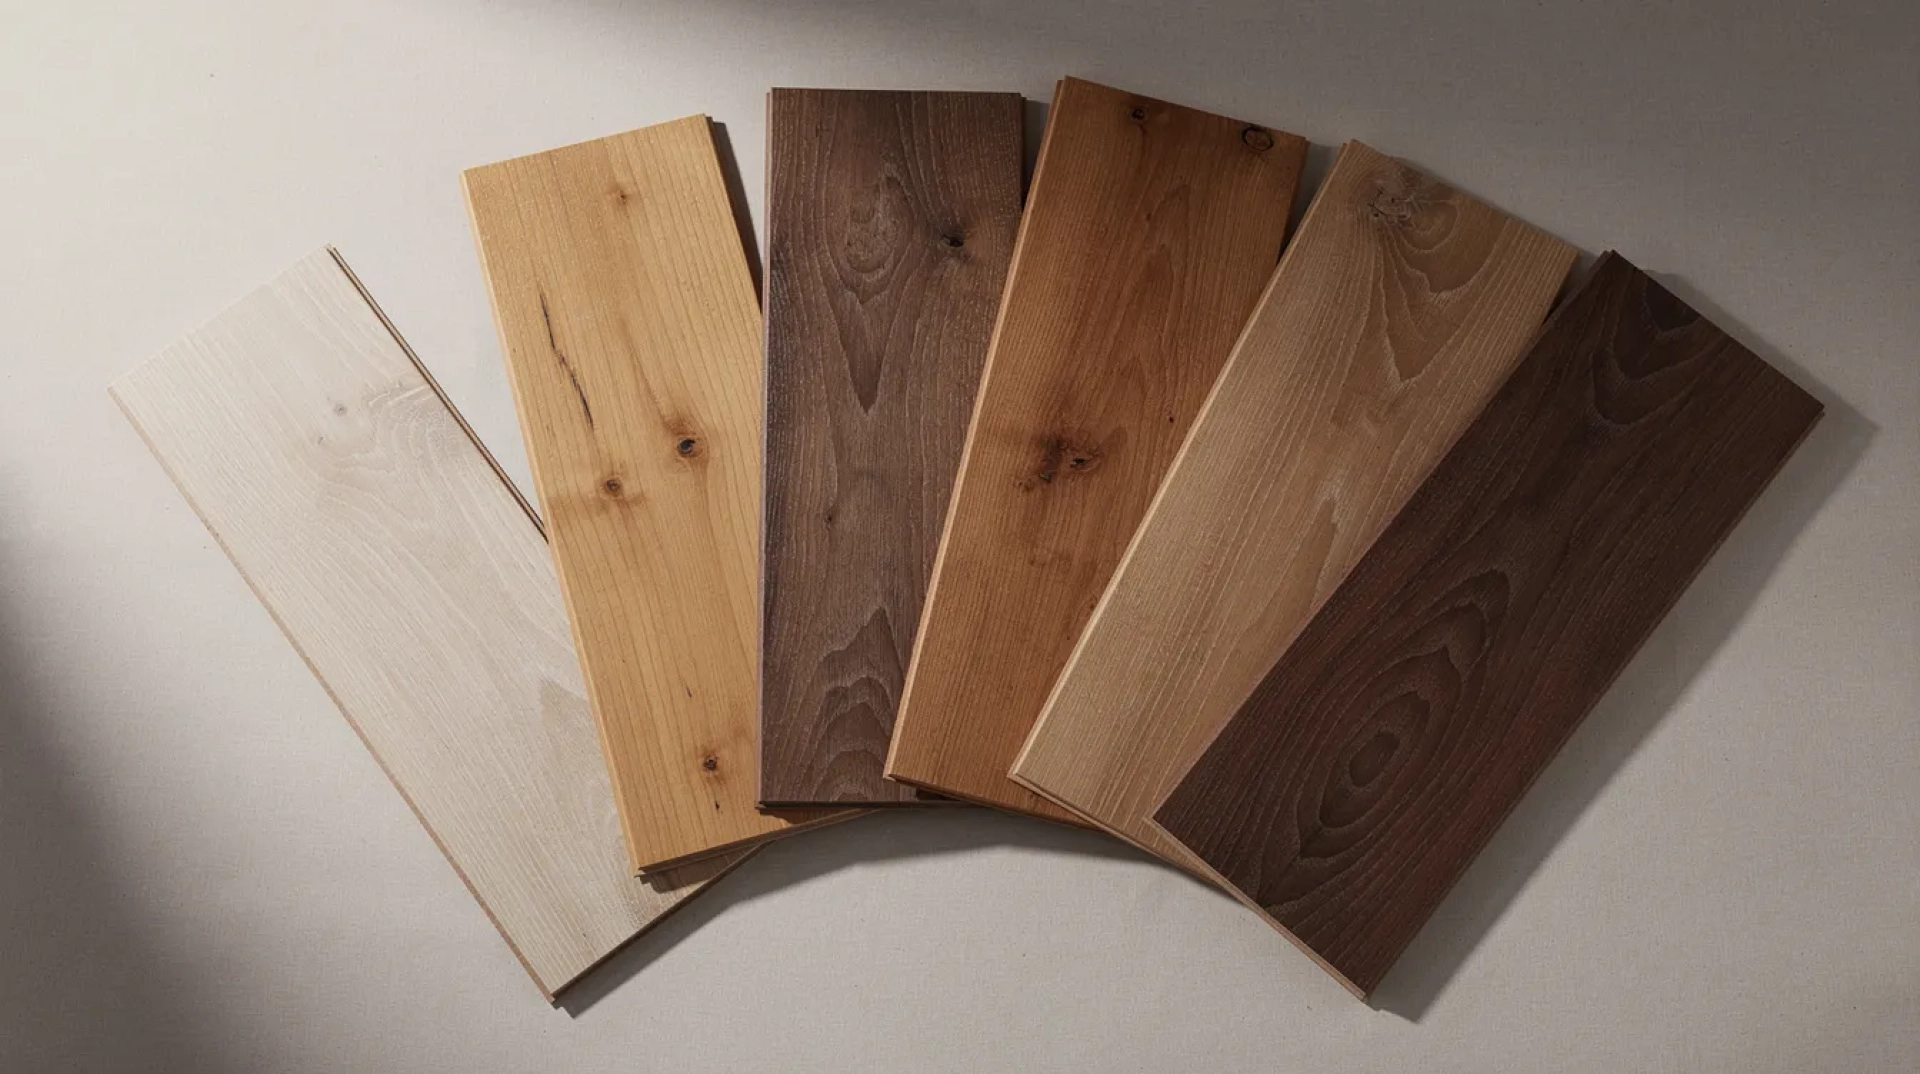
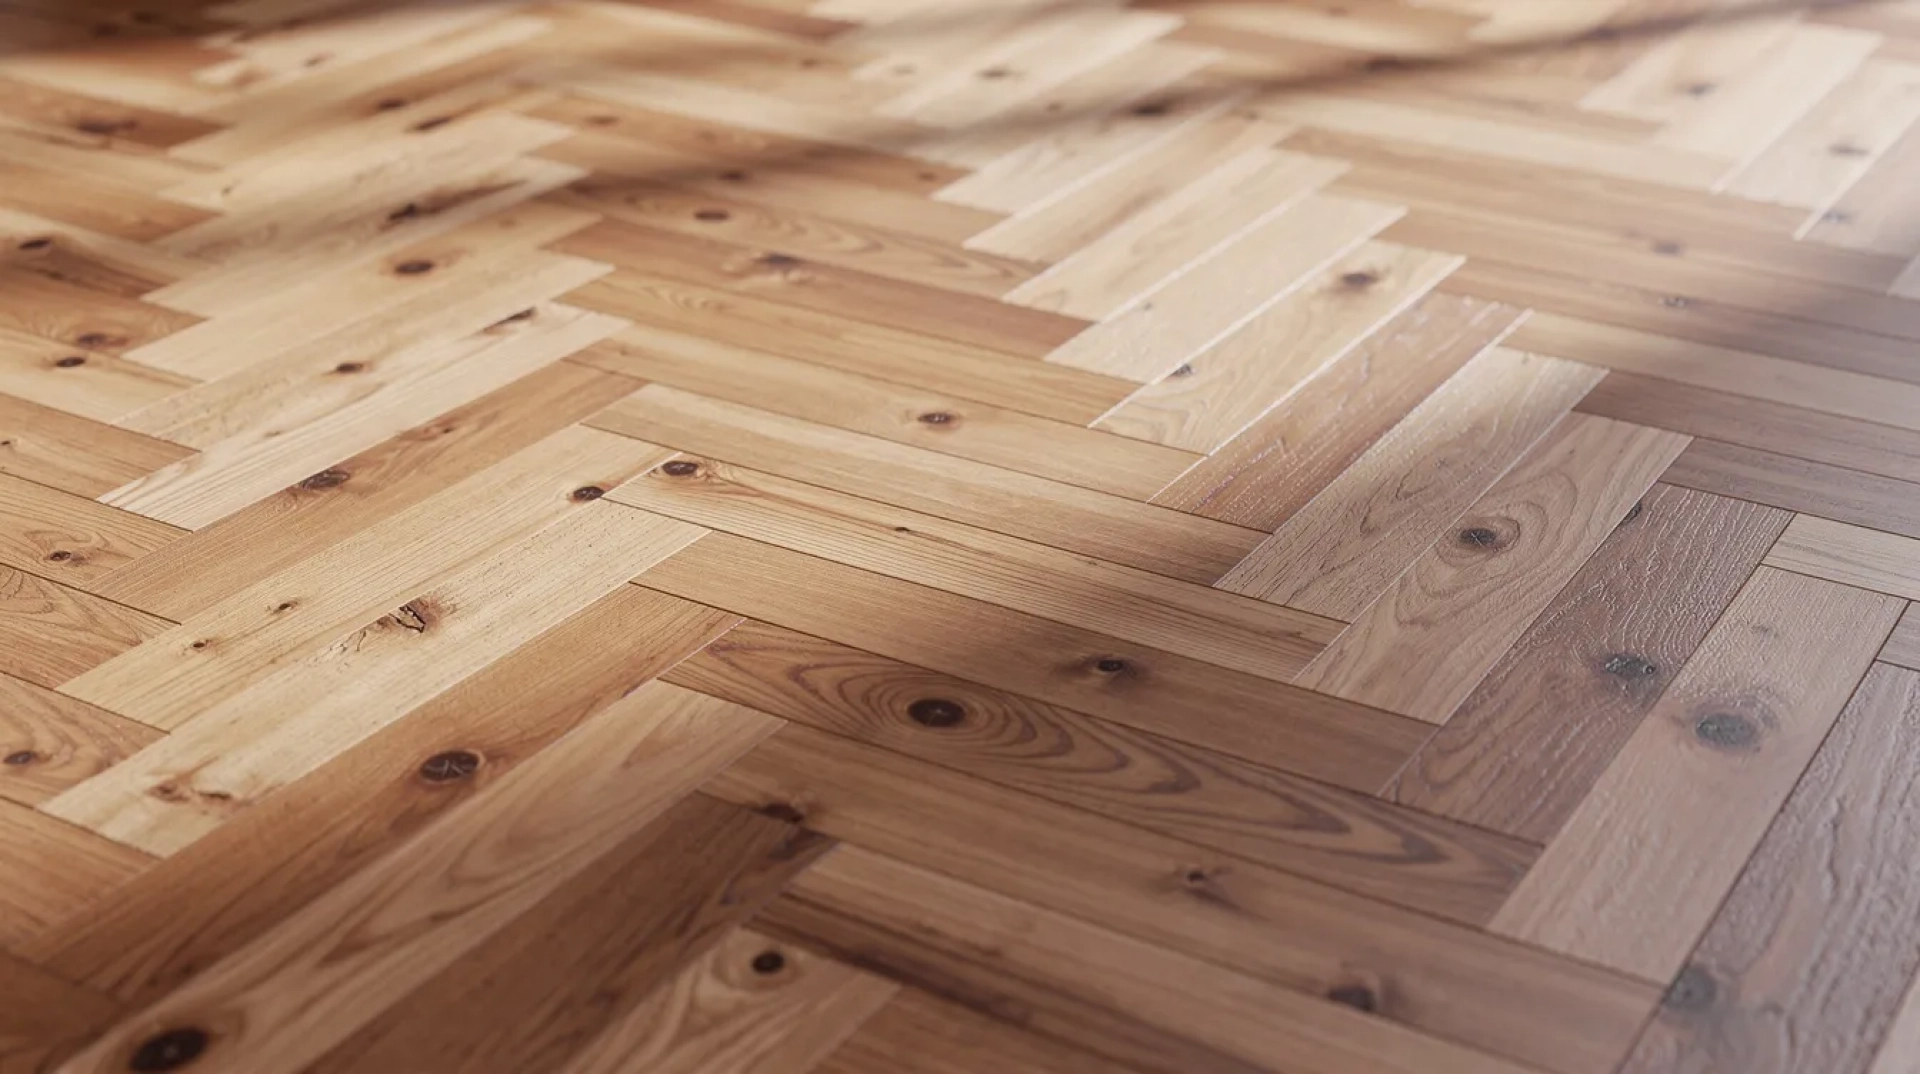
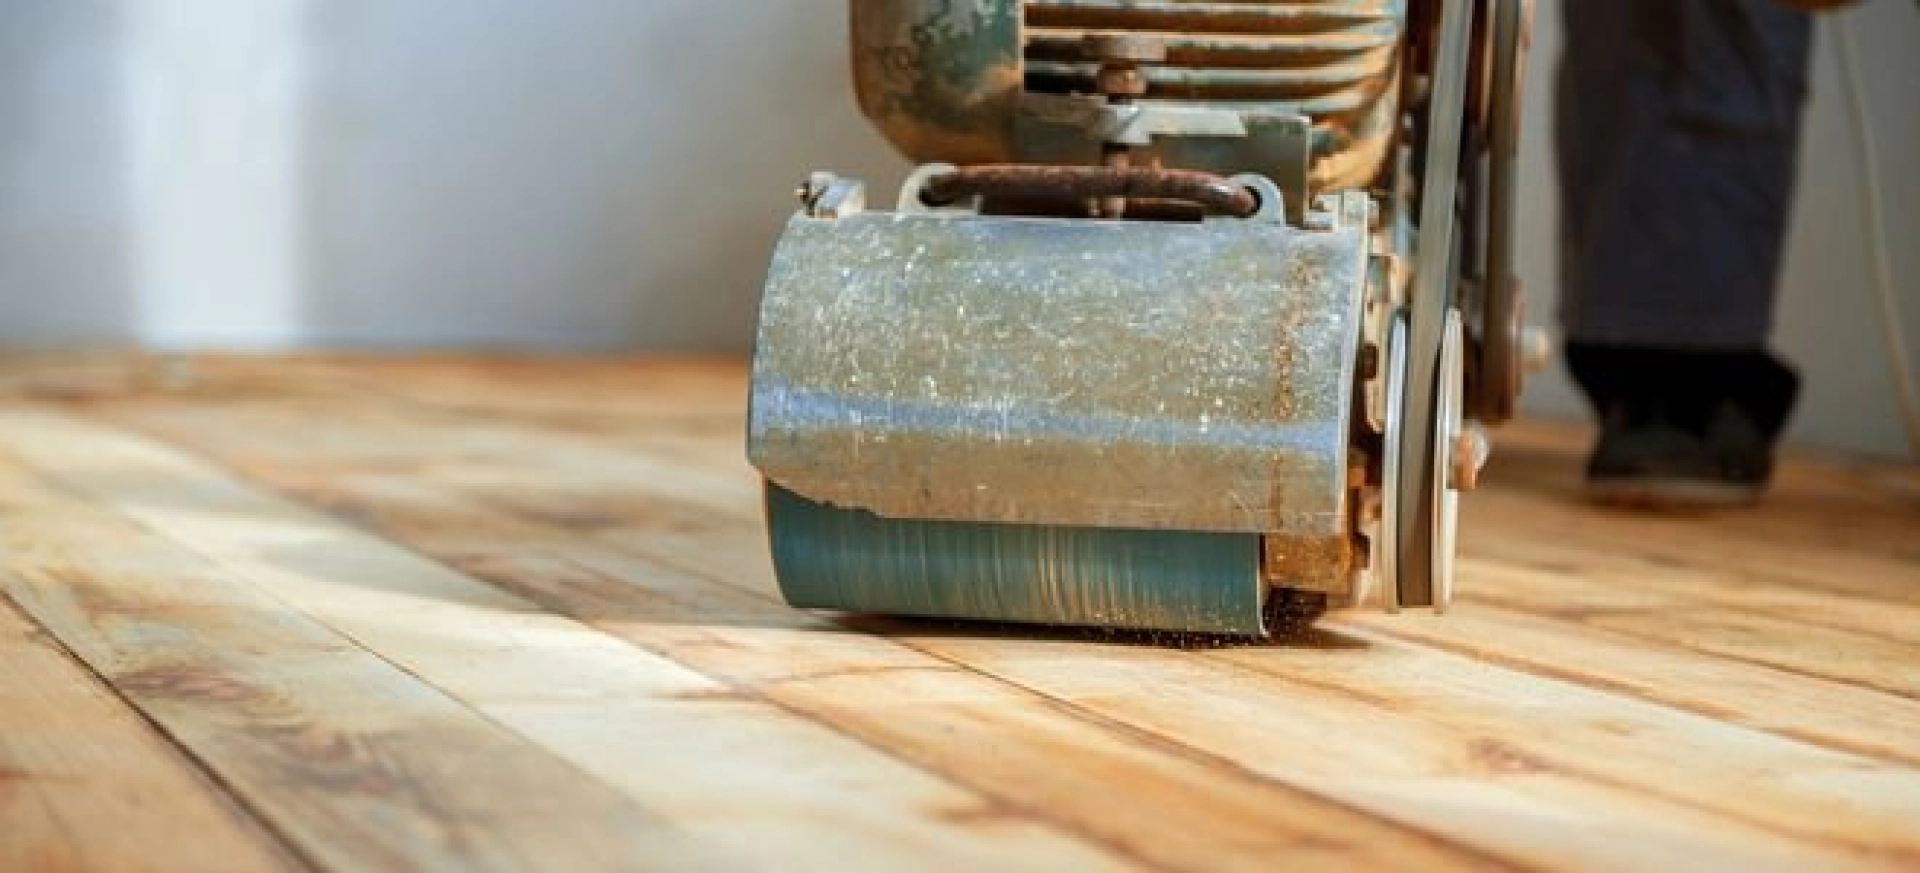
Installing wood flooring transforms any room, adding warmth and character that lasts for decades. This practical guide walks you through every step of wood floor installation for solid and engineered wood flooring in a typical UK home. Whether you’re fitting boards in a living room, bedroom, or hallway, you’ll find clear instructions to complete the job with confidence.
This guide focuses on DIY installation rather than commercial projects. Before diving in, it helps to understand the key differences between floor types. Solid wood flooring is milled from a single piece of timber, typically 18–20 mm thick, and can be sanded multiple times over its lifetime. Engineered wood flooring features a real wood veneer bonded to layered plywood or softwood, usually 14–15 mm thick, offering greater stability in varying conditions. Laminate, by contrast, is a photographic image layer over fibreboard—not real wood—and falls outside this guide’s scope.
We’ll cover preparation for both concrete and timber subfloors, plus glue down installation, floating floor methods, and nailed systems. You’ll learn how to handle doors, radiator pipes, and skirting boards. Three things are non-negotiable for a long-lasting floor: proper moisture testing, acclimatisation (48 hours to 7 days depending on your product), and maintaining 10–15 mm expansion gaps around the entire perimeter.
Before You Start: Planning, Tools and Materials
Good planning prevents frustration and visible mistakes—especially in those final rows where miscalculations become obvious. Spend time measuring, gathering tools, and calculating materials before touching your first board.
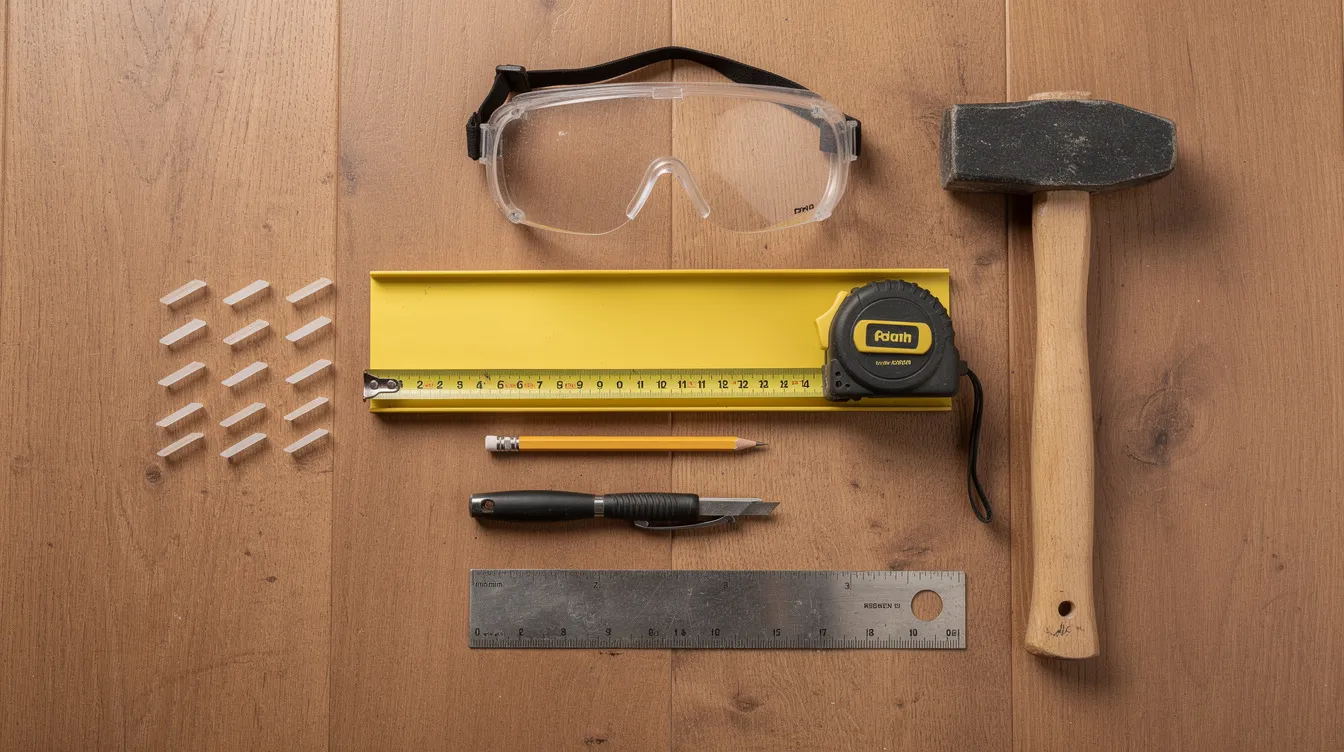
Essential tools:
-
Tape measure and pencil
-
Straight edge (at least 2 metres)
-
Rubber mallet and tapping block
-
Pull bar for final rows
-
Spacers (10–15 mm)
-
Jigsaw or circular saw
-
Fine-toothed handsaw
-
Power drill with spade bits (32 mm for pipes)
-
Vacuum cleaner
-
Safety goggles and dust mask
Typical materials:
-
Solid or engineered flooring (check exact thickness)
-
Suitable underlay for your installation method
-
Damp proof membrane (DPM) polythene sheet
-
Wood flooring adhesive (for glue-down)
-
Flooring trim or scotia beading
-
Threshold bar for doorways
-
Pipe collars
-
Wood filler or flexible mastic
Calculating quantities: Measure your room’s length and width in metres, multiply them together, and add any alcoves or recesses. Then add 10–15% for cuts and wastage. For example, a 4.5 m × 3.2 m room equals 14.4 m²—add 15% wastage for approximately 16.5 m² of flooring needed.
Buy all packs from the same batch or date code to avoid colour variation. Keep unopened packs sealed until acclimatisation begins.
Choosing the Right Wood Floor and Installation Method
Your installation method depends on two factors: the product you’ve chosen (solid wood or engineered wood) and your sub floor type (concrete slab, timber joists, or existing boards with or without an underfloor heating system).
Solid wood options:
-
Typically glued down to concrete or plywood
-
Can be secret-nailed to timber subfloors
-
Rarely installed as a floating floor due to movement
Engineered hardwood flooring options:
-
Glue down installation for maximum stability
-
Floating installation over underlay using click system or tongue-and-groove
-
Can also be nailed to timber
When to choose each method:
-
Glue-down provides maximum solidity—ideal for hallways and high-traffic areas
-
Floating floors offer speed and DIY-friendliness, especially click installation systems
-
Nail-down suits traditional floorboards or batten systems over timber
Underfloor heating note: If you have an underfloor heating system, engineered hardwood is the better choice over solid wood. Its layered construction handles temperature fluctuations with less movement. Avoid maple and beech over underfloor heating—these species expand and contract significantly, risking gaps and cupping.
Step 1: Check Site Conditions and Test for Moisture
Moisture is the primary cause of wood floor failure. Cupping, swelling, and persistent gaps all trace back to excessive moisture in the subfloor or room environment. Testing before you start is essential.
Testing concrete with the polythene sheet method:
-
Tape down a 1 m² clear plastic sheet with duct tape on all edges
-
Leave for at least 24 hours (overnight minimum)
-
Check for condensation under the sheet or darkening of the slab
-
Any visible moisture means the slab is too wet for installation
For greater accuracy, use a moisture meter. Safe values typically sit at ≤3% on a concrete moisture meter, though always confirm against your product’s data sheet. Different manufacturers specify different thresholds.
Checking timber subfloors:
-
Boards should be dry to touch with no visible mould or dark damp patches
-
No musty smell should be present
-
A prong moisture meter reading should be under 12% for most products
Never proceed if you find signs of damp. Seek professional damp-proofing advice or install a suitable surface DPM on concrete before installing any wooden floors.
Step 2: Prepare the Subfloor (Concrete and Timber)
Your sub floor must be structurally sound, level (within 2–3 mm over a 2-metre span), dry, clean, and free from contamination like old adhesive residues or paint.
For concrete subfloors:
-
Remove all existing flooring and debris
-
Sweep and vacuum thoroughly
-
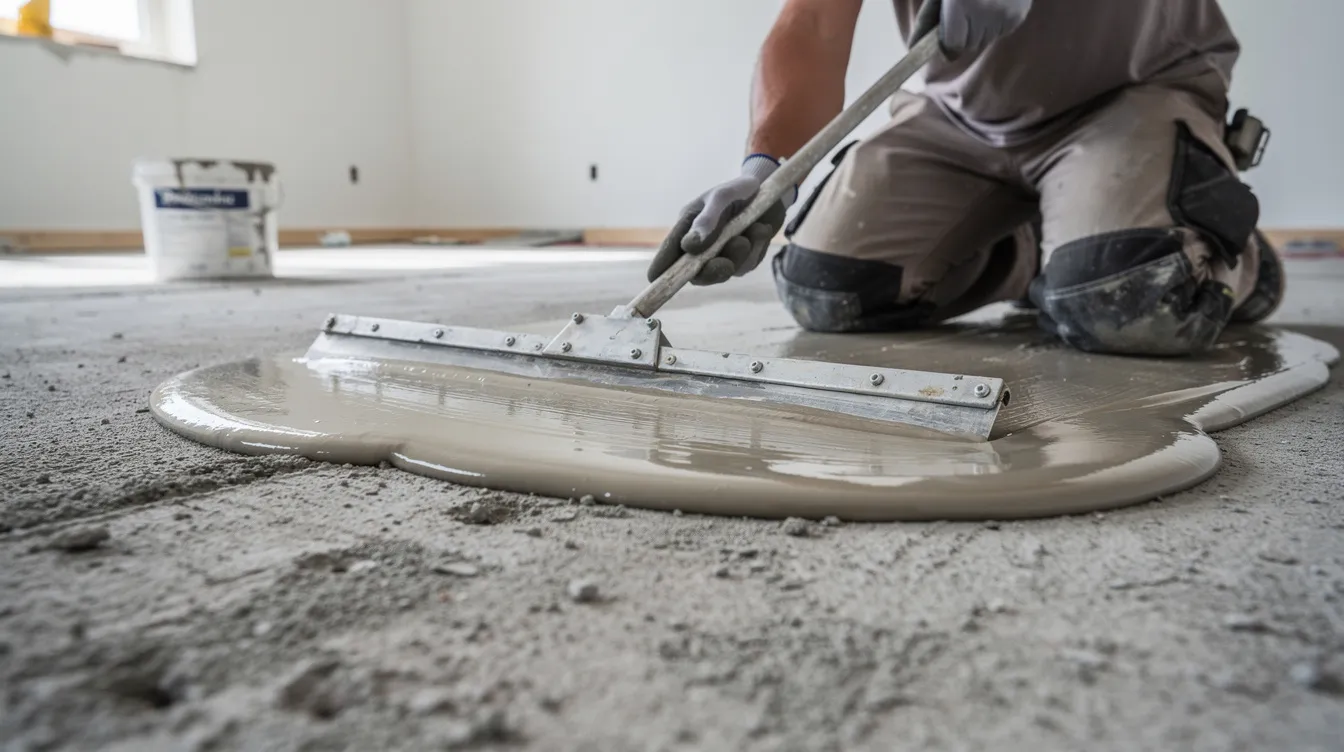
Grind down high spots or use self-levelling compound for low areas
-
If moisture levels are borderline, install a DPM sheet or liquid DPM following manufacturer’s curing times
-
Allow any levelling compound to cure completely
For wooden subfloors:
-
Screw down any loose boards securely
-
Countersink or punch down protruding nail heads
-
Repair any broken sections
-
If the existing floor is uneven or consists of chipboard, overlay with 12–15 mm plywood screwed at appropriate centres
-
Chipboard alone is unsuitable for secret nailing or reliable glue-down
Fill any gaps or slight imperfections with flexible mastic or levelling compound appropriate to your subfloor type. The finished prepared surface must provide a smooth and level surface—sweep and vacuum again immediately before laying underlay or applying adhesive.
Step 3: Acclimatise the Wood Flooring
Wood is hygroscopic, meaning it absorbs and releases moisture depending on its environment. New boards must adjust to your room’s temperature and humidity before fixing.
Typical acclimatisation times:
-
Solid wood: at least 7 days in the installation area
-
Engineered wood: usually 48 hours to 5 days (check manufacturer’s instructions)
How to store packs:
-
Lay them flat on the prepared subfloor
-
Keep packs sealed and unopened
-
Stack no more than three packs high
-
Place small spacers or timber slats between stacks for airflow
-
Never lean packs against walls—this causes bowing
Ideal room conditions:
-
Stable temperature around 18–22°C
-
Relative humidity approximately 40–60%
-
Avoid sudden changes like turning heating on full the day before
For underfloor heating: Place unopened packs on the floor. If heating is already installed, increase temperature gradually by about 2°C every couple of days until reaching normal operating temperature.
Step 4: Decide Direction, Layout and Expansion Gaps
Planning your layout now prevents a sliver-thin final row and awkward cuts around doors and radiators. Take time to visualise the finished whole floor before fixing anything.
Choosing board direction:
-
Lay boards parallel to the longest wall or toward the main natural light source to make joints less visible
-
On timber subfloors, running boards perpendicular to existing joists provides additional strength
Expansion gaps: Leave expansion gaps of 10–15 mm continuously around all walls, pipe penetrations, columns, and at thresholds. These gaps allow natural expansion and contraction with seasonal humidity changes. Skirting boards, scotia, or flooring trim will conceal them later.
Dry lay test: Before fixing, lay the first board and several rows without adhesive or clips along your starting wall and across the room width. Check how wide the final row will be. If it’s narrower than half a board width, adjust your starting position. Trim the first row narrower so both first and last rows look balanced.
Stagger your joints: Plan positions so end joints are staggered at least 300 mm apart between adjacent rows. This improves both appearance and structural integrity.
Step 5: Underlay and Damp Proof Membrane
Understanding the difference between a moisture barrier and underlay prevents confusion. A damp proof membrane protects against moisture rising from the subfloor. Underlay provides sound insulation, thermal properties, and comfort underfoot.
For concrete subfloors:
-
Lay a continuous DPM sheet with joints taped and a minimum upturn at walls
-
Alternatively, apply a liquid DPM following manufacturer specifications
-
Over the DPM, lay suitable underlay with a 10 mm gap at walls
-
Butt-join underlay seams tightly and tape flat—never overlap
For a wooden subfloor:
-
Use acoustic underlay or polyfoam if noise reduction is required
-
Follow manufacturer guidance on thickness and density
-
For nail-down installations, underlay is typically a thin slip sheet or rosin paper rather than thick foam
Underfloor heating considerations: Choose underlay with low thermal resistance (low tog rating). Avoid thick, spongy products that block heat transfer. Specialised underlays like perforated foam or rag felt are often recommended. Always verify compatibility with your flooring manufacturer’s data sheets.
Step 6: Install the First Row of Boards
The first row sets the line for the entire floor. Getting it straight and secure is critical—errors here compound across every subsequent row.
Preparation:
-
Remove doors from hinges if they obstruct the starting area
-
Undercut door frames and architraves with a handsaw or oscillating saw so boards and underlay slide underneath
Establishing your reference line:
-
Measure off the starting wall in several places, allowing for your 10–15 mm expansion gap
-
Snap a chalk line or mark clearly with a straight edge
Positioning the first board:
-
Place the groove facing the wall (or tongue, per manufacturer’s instructions)
-
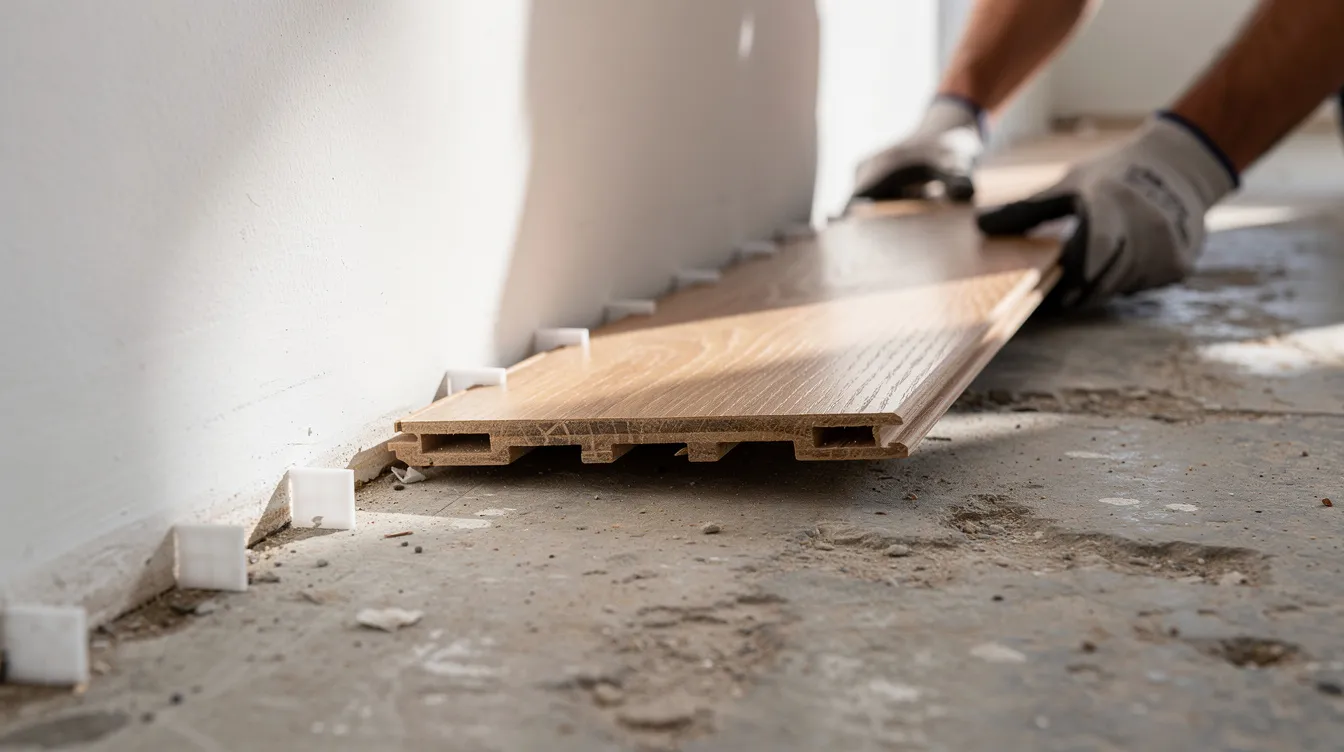
Insert spacers along the entire length and at both ends
-
Check alignment against your reference line
For click installation: Connect new boards end-to-end, angling the tongue into the groove and pressing down until the click system locks. Use a tapping block to close joints—never hammer directly on the wood planks.
For glue down installation: Apply adhesive in 1–2 metre wide strips using the correct notched trowel. Press boards firmly into wet adhesive. Wipe excess adhesive from the surface immediately with a damp cloth.
Step 7: Cut and Fit Boards (Including Around Pipes and Obstacles)
Cutting boards accurately makes the difference between a professional-looking floor and visible gaps. Always wear eye protection and a dust mask, and cut in a well-ventilated area to keep dust off your installation area.
Marking board lengths:
-
Use the last full board laid and overlap the new piece to transfer the exact cut line
-
Mark clearly with pencil
-
Always cut boards on the waste side of the line for a snug fit
Fitting around radiator pipes:
-
Position the board and mark pipe centre lines from the floor onto the board
-
Drill a 32 mm hole (standard pipe size) at the marked position
-
Cut two angled lines from the hole to the board edge, creating a small wedge
-
Fit the board around the pipe, glue the wedge back in place
-
Cover with a matching pipe collar for a neat finish
Working around door frames:
-
After undercutting the architrave, slide the board underneath rather than notching around it
-
Carefully measure and leave expansion gaps at both sides of doorways
-
Plan where your threshold bar will sit between rooms
Stagger end joints in adjacent rows and avoid creating H-joints. Keep pieces under 300 mm out of visible areas where possible.
Step 8: Lay the Remaining Rows (Floating, Glue-Down and Nail-Down)
Once your first row and second row are secure and straight, progress accelerates significantly. Maintain consistent technique as you work toward the final row.
For floating click or groove planks:
-
Begin each new row with an offcut of at least 300 mm to maintain stagger
-
Angle the tongue into the previous row’s groove
-
Use a tapping block along the length and a pull bar at walls to close joints tightly
-
Never strike board edges directly
For glue-down:
-
Continue spreading adhesive in small working sections
-
Lay boards immediately into wet adhesive
-
Press or roll firmly to ensure full contact
-
Wipe any excess adhesive promptly with manufacturer-recommended cleaner
-
Avoid adhesive contamination in joints
For nail-down on timber:
-
Use a nail gun for secret nailing through the tongue at approximately 30 degrees
-
Typical nailing centres are every 150–200 mm along the board
-
Nail within 50 mm of board ends
-
Follow your product’s specific guidance for nail size and spacing
Throughout, maintain your expansion gap around the entire perimeter as you reach walls, pipes, and structural posts. Check regularly that boards remain tight and level.
Step 9: Install the Final Row and Finishing Trims
The last board in each row and the final row itself often require lengthways cutting. Precision here ensures both a neat finish and proper expansion allowance.
Measuring the final row:
-
Place a full board directly over the penultimate row
-
Use an offcut against the wall with spacers in place
-
Scribe the cut line onto the top board, accounting for your expansion gap
-
Cut boards carefully with a circular saw or jigsaw
Test-fit the final row pieces before committing. Use a pull bar to draw them tightly into place without damaging walls.
Installing trims:
-
Remove all spacers once boards are fully laid
-
Refit original skirting boards to cover the gap, or fit scotia beading to existing skirting
-
Cut trim with 45-degree mitres for inside and outside corners
-
Fix trims to the wall or skirting only using grab adhesive and optional panel pins
-
Never fix trims to the floor—this prevents natural expansion and contraction
Threshold bars:
-
Cut to width at doorways
-
Ensure expansion gaps remain beneath
-
Secure by screws or adhesive per manufacturer’s instructions
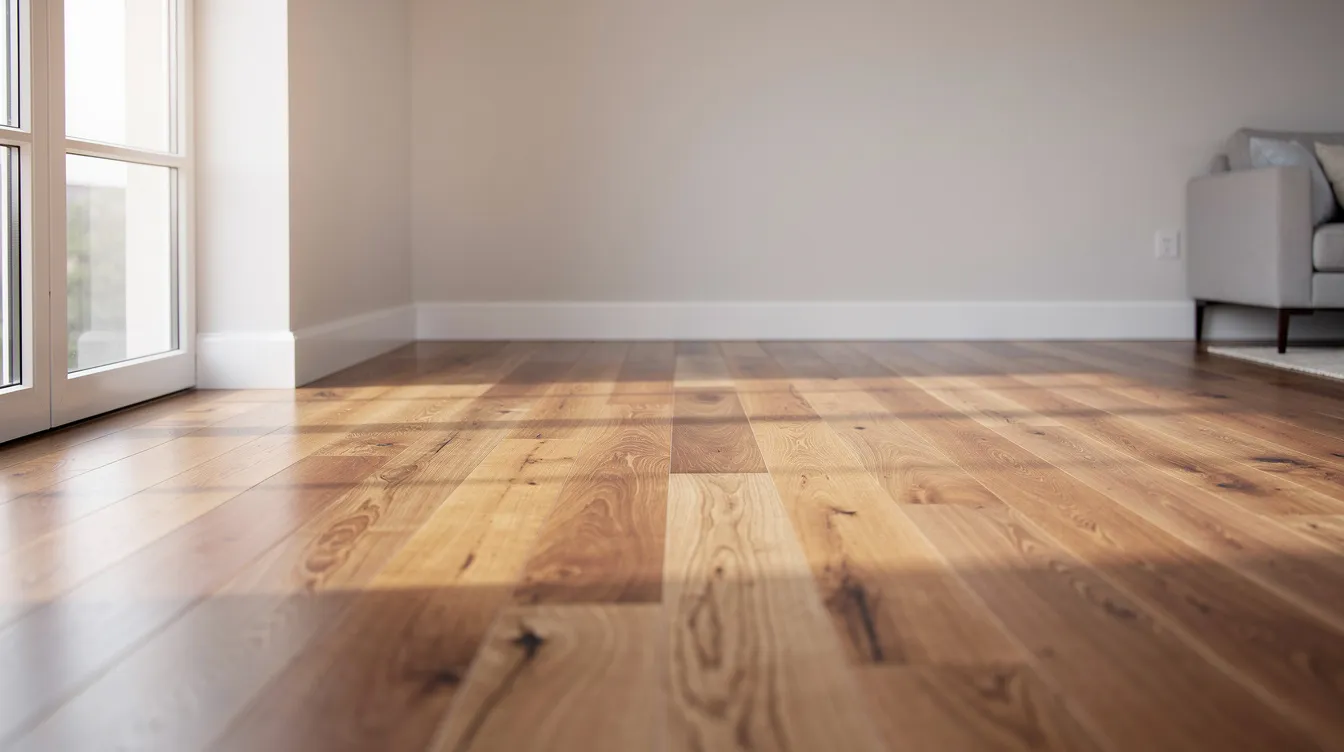
Your finished perimeter should show no visible gaps, with neatly aligned flooring trim concealing all expansion allowances.
Aftercare: Protecting and Maintaining Your New Floor
Correct aftercare in the first days—and ongoing—keeps your new floor looking its best for years. A few simple habits prevent scratches, moisture damage, and premature wear.
Initial use:
-
Wait the minimum time specified by your adhesive or manufacturer before heavy traffic (often 2–24 hours)
-
Avoid wet cleaning for the first week
-
Replace furniture gradually, checking that chair or table legs have protective pads
Protective measures:
-
Fit felt pads under all table legs and furniture castors
-
Place doormats at external entrances to trap grit
-
Lift heavy furniture when moving—never drag across the surface
Ongoing cleaning:
-
Sweep or vacuum regularly using a soft-bristle or hard-floor setting
-
Damp-mop only with a well-wrung microfibre mop and pH-neutral wood floor cleaner
-
Never flood the floor or use steam mops
Periodic maintenance:
-
Check for movement, gaps, or squeaks seasonally
-
Consult manufacturer’s guidance on re-oiling or re-lacquering when surfaces show wear
-
Use abrasive cloths only as directed for spot repairs
With careful installation and simple ongoing maintenance, your wooden floors will age gracefully. Natural colour changes over time add character, and quality wood can be refinished repeatedly—giving you a floor that improves with every passing year.