Bringing tired wooden floors back to their former glory is one of the most satisfying DIY projects you can tackle. Whether you’ve uncovered original Victorian pine under old carpets or your oak boards just need refreshing, the restoration process is straightforward with the right approach.
Key Takeaways
-
Most solid and engineered wooden floors can be restored at home using rental sanders, careful preparation, and appropriate finishes
-
A full DIY restoration of an average 15–20 m² room typically takes 2–5 days including drying time, costing 50–70% less than replacement
-
Preparation work—fixing loose boards, filling gaps, setting nails—is as critical as sanding and finishing for lasting results
-
Your choice between oil, varnish, stain, or floor paint depends on traffic levels, desired appearance, and maintenance preferences
-
Badly damaged, very thin, or historically significant floors may require professional handling
Why Restore Wooden Floors Instead of Replacing Them?
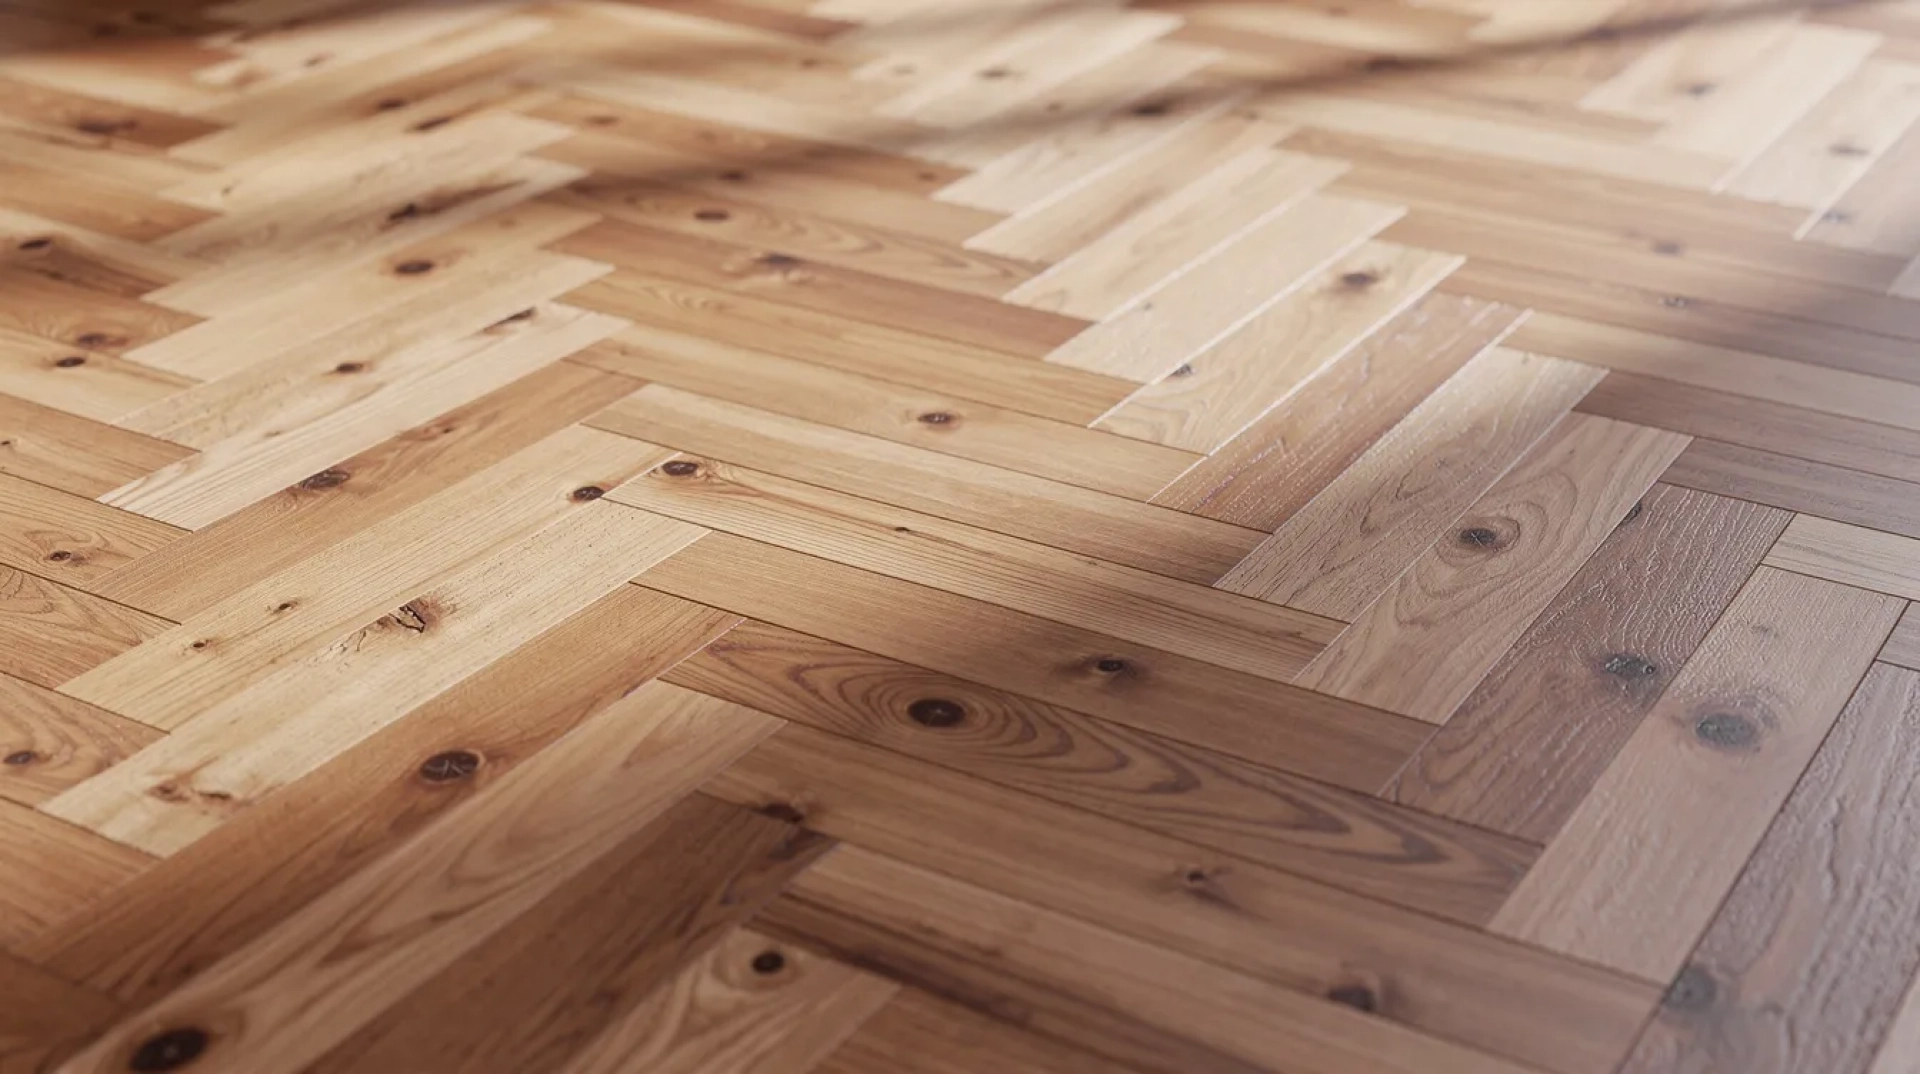
Original wooden floorboards in period homes add character that modern products simply cannot replicate. Those wide Victorian boards, distinctive nail patterns, and aged wood grain tell a story worth preserving.
The cost advantage is substantial. Restoring existing boards typically runs £15–30/m² for DIY work, compared to £60–120/m² for new solid hardwood installation. For a typical 12m² room, that’s potentially £300–500 versus £800–1500.
Environmental benefits add up too. Reusing existing timber keeps 10–20kg/m² of material out of landfills while reducing demand for newly harvested wood. When you restore rather than replace, you’re making the sustainable choice.
Check If Your Wooden Floor Can Be Restored
Before you begin, identify what you’re working with. Lift a floor vent, threshold strip, or carpet edge to examine the surface beneath.
Floor types:
-
Solid hardwood: Full-thickness wood (15–25mm), can be sanded multiple times
-
Engineered wood: Thin veneer on plywood (2–6mm top layer), sandable 1–3 times
-
Laminate/vinyl: Printed surface that cannot be sanded
For engineered wood floors, you need at least 3mm of wear layer remaining for safe sanding. Each full restoration process removes 0.5–1mm of material.
Red flags requiring professional assessment:
-
Extensive rot from water damage
-
Boards moving excessively underfoot
-
Severe cupping or warping
-
Asbestos-containing adhesives in pre-1980s properties
-
Listed or heritage buildings with preservation requirements
Tools and Materials You’ll Need
Gather everything before starting to avoid mid-project delays.
Sanding equipment:
-
Drum or belt floor sander (hire at £40–60/day)
-
Edging sander for skirting boards
-
Detail sander for corners and around pipes
Sandpaper grits: | Grit | Purpose | |——|———| | P36–P40 | Heavy removal of existing finish | | P60–P80 | Smoothing surface | | P100–P120 | Final finishing passes |
Preparation tools: Claw hammer, nail punch, screwdriver, pry bar, sharp scraper, vacuum with HEPA filtration
Repair materials: Matching timber, flexible wood filler, wood glue, gap slivers
Finishing materials: Wood oil, clear varnish, wood stain, or specialist floor paint, plus rollers and brushes
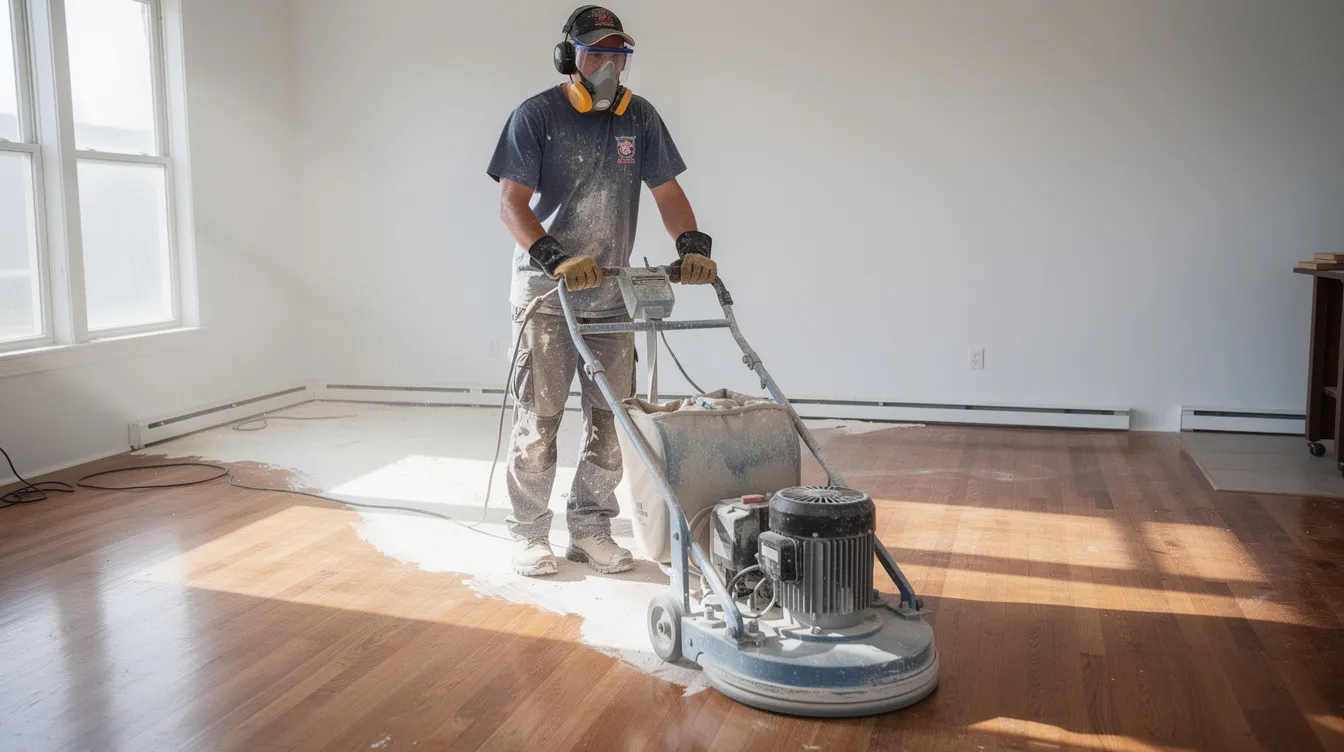
Safety gear: P3 dust mask, safety glasses, ear defenders (sanders reach 100+ dB), knee pads, work gloves
Preparation: Get the Room and Floor Ready
Careful prep often takes a full day but prevents costly problems later.
Clear the space completely. Remove all furniture, curtains touching the floor, and doors that swing over the sanding area. Seal adjacent rooms with masking tape and plastic sheeting—sanding creates dust levels up to 10x normal ambient conditions.
Remove existing coverings:
-
Cut carpets into manageable strips
-
Pull up carefully with a pry bar
-
Extract all carpet tacks and staples with pliers
-
Scrape away old adhesive residue
Check every board:
-
Re-fix loose boards with countersunk screws into joists
-
Replace rotten sections with matching timber
-
Punch all nails 2–3mm below the surface using a nail punch
-
Remove or countersink protruding screws
Failing to set nails deeply enough causes 20% of sander belt failures and leaves shiny metal spots in your finished floor.
Scrape dirt from between boards with a thin scraper, then vacuum thoroughly before sanding begins.
Sanding: Taking the Floor Back to Bare Wood
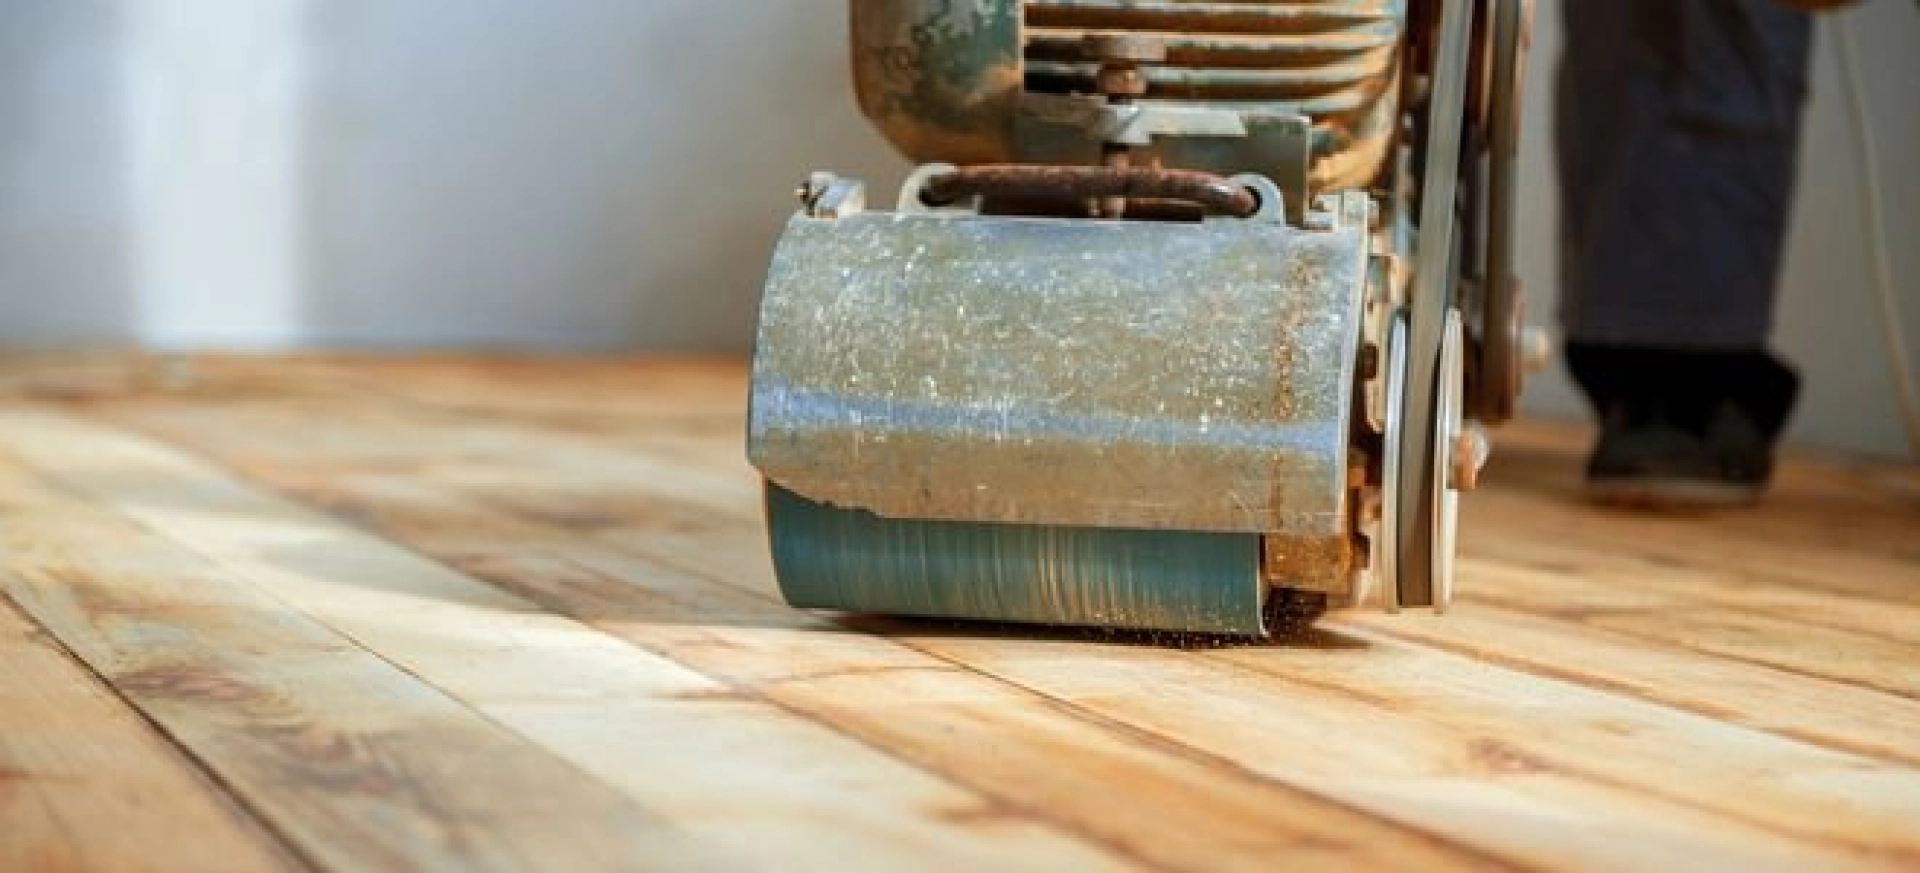
Sanding is noisy and dusty even with good extraction. Read the sander’s manual before switching on, and practice technique on a hidden area first.
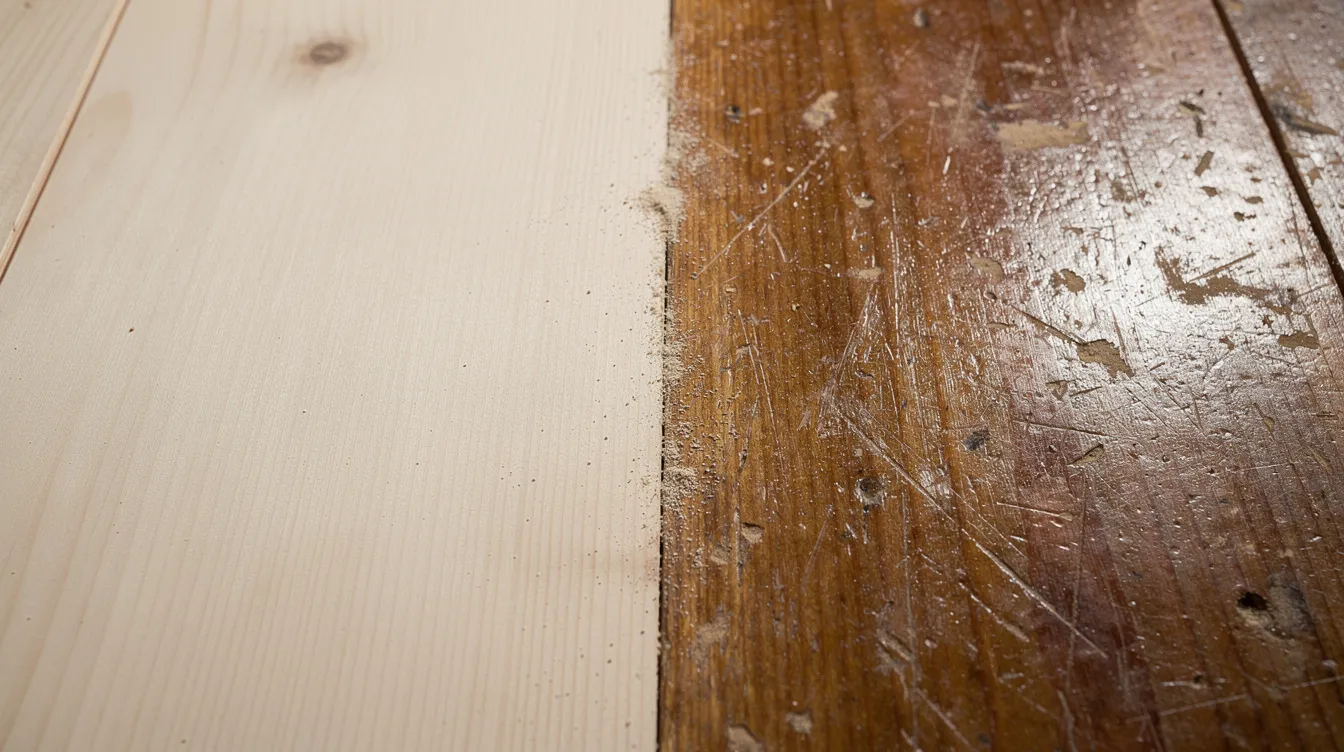
Start with coarse grit (P36–P40) to remove dust, dirt, old varnish, and any existing finish. Always run with the grain direction where possible.
Essential technique:
-
Keep the machine moving as the drum lowers to the surface
-
Overlap each pass by about 30%
-
Never leave the sander stationary while running—this creates deep gouges
-
Use the edging sander after each main pass to reach within 5–10cm of skirting boards
Sanding sequence:
-
Coarse grit over entire room → vacuum → remove dust
-
Medium grit (P60–P80) → vacuum
-
Fine grit (P100–P120) → vacuum
-
Wipe with slightly damp cloth to remove dust
Inspect regularly under good lighting for remaining finish, scratches, or swirl marks. The surface should feel smooth before applying any finish.
Repairing Gaps, Cracks, and Imperfections
Traditional floorboards develop small cracks and gaps naturally. Small imperfections add character, but draughty gaps and structural issues need addressing.
For nail holes and small cracks: Apply flexible wood filler slightly proud of the surface, then sand flush once dry. Mix fine sanding dust with clear filler for a closer colour match on pine or oak boards.
For large gaps between boards:
-
Insert timber slivers glued into place
-
Use flexible gap fillers designed for floors where movement is expected
In older homes, leaving very small gaps actually helps boards move naturally with humidity changes without cracking the filler.
Lightly re-sand patched areas and vacuum again before finishing.
Choosing the Right Finish for Your Restored Floor
This is where style, durability, and maintenance preferences intersect. Consider the room’s use when making your selection.
|
Room Type |
Recommended Finish |
|---|---|
|
High traffic areas (hallways, kitchens) |
Polyurethane varnish |
|
Family living rooms |
Hardwax oil or satin varnish |
|
Quiet bedrooms |
Oil or floor paint |
Test products on a small sections or offcut before committing. Most finishes require 2–3 coats with drying times ranging from hours to overnight. Check manufacturer’s instructions for compatibility between products.
Staining: Changing the Colour of Your Wooden Floor
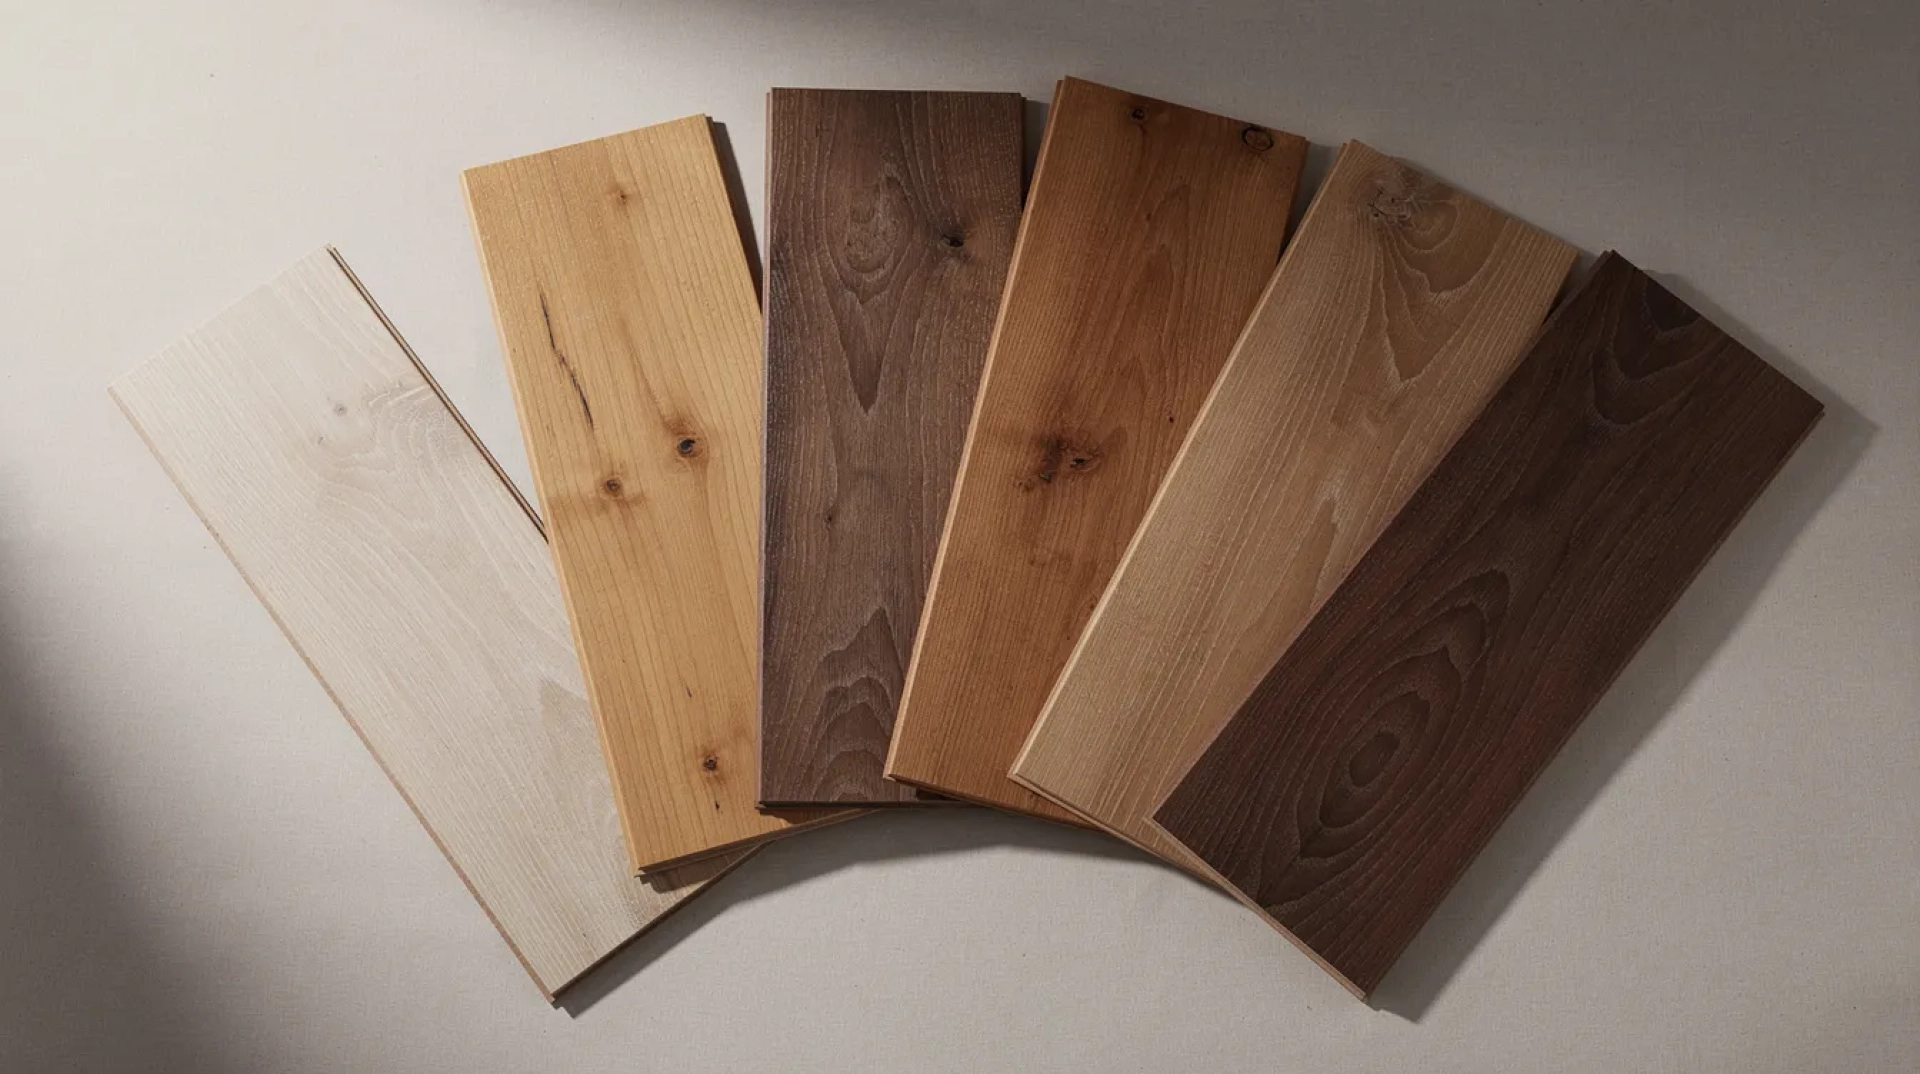
Staining is optional, sitting between sanding and clear finishing. Use it to darken, warm, or modernise your floor’s colour.
Apply stain only to bare wood—any remaining old finish causes patchy results. Work in manageable small sections, following the wood grain with a brush or rag. Wipe away excess stain after the recommended time to prevent sticky surfaces.
Popular colour directions include light natural oak, richer mid-brown, or deep walnut tones. Remember: different stains require compatible sealers, and stain alone provides no protection. Always seal with clear varnish or compatible oil once fully dry.
Finishing Option 1: Varnish / Lacquer for Tough Protection
Modern water-based and polyurethane finish options create a hard protective film that resists spills and wear—ideal for busy households.
Satin sheen (10–30% gloss) is most forgiving of everyday dust and marks. Cut in along edges with a brush, then roll the main area with a microfibre roller, maintaining a wet edge to avoid lap lines.
Apply two to three thin coats rather than one thick coat. Light de-nibbing with fine sandpaper between coats improves adhesion. Floors become walkable after several hours but avoid heavy furniture for several days until fully cured.
Finishing Option 2: Hardwax Oil and Penetrating Oils
Oil soaks into the top layer of wood rather than forming a film, highlighting natural grain and giving a more natural appearance than varnish.
Advantages:
-
Easier to patch repair small worn areas
-
Pleasant feel underfoot
-
Traditional, lower-sheen appearance
Apply thinly along the grain with a cloth or applicator pad, allow penetration, then wipe away excess to avoid sticky spots. Two or three thin coats typically work best.
Oiled floors need periodic maintenance—a fresh application every 1–3 years depending on wear, compared to 5–10 years for varnish before requiring full restoration.
Finishing Option 3: Floor Paint for a Solid Colour Look
Floor paint works well for spare bedrooms, loft rooms, and studios where solid colour suits the space. Use specialist floor paints or durable modern formulations designed for foot traffic.
Ensure bare wood is completely dust-free and apply recommended primer where necessary. Work with a brush for edges and roller for larger areas, painting yourself out of the room toward the door.
Two to three coats create an even, opaque finish. Painted floors show scratches more readily in dark or very light colours but can be touched up locally when needed.
Aftercare: Keeping Your Restored Floor Looking Good
Proper maintenance adds years to your restored floor’s life.
Daily care:
-
Use felt pads under all furniture feet
-
Place doormats at entrances to trap grit
-
Clean with a soft broom or vacuum on hard-floor setting
-
Use a slightly damp mop with wood-floor cleaner
Avoid soaking the floor or using steam mops—excess moisture damages boards and finishes over time. For oiled floors, small worn patches can be cleaned, lightly sanded, and re-oiled. Varnished floors may accept light buffing and a fresh topcoat before wear reaches the bare wood.
Inspect high traffic areas, doorways, and under desk chairs annually to spot early damage.
Common DIY Mistakes to Avoid
Many floor restoration problems come from rushing or skipping critical steps.
-
Starting with too fine a grit: This glazes over old finish instead of removing it, causing patchy colour later
-
Not setting nails deeply enough: Tears sanding belts and leaves metal spots in the finished surface
-
Leaving the drum sander stationary: Creates deep grooves that are extremely difficult to repair
-
Applying thick coats of finish: Leads to drips, extended drying times, and soft surfaces that mark easily
-
Poor ventilation between coats: Traps moisture, causing cloudy finishes
Allow each layer to dry completely before applying the next, and keep windows open throughout the process.
FAQ
How long does it usually take to restore a wooden floor in one room?
A typical 12–20 m² room takes 3–4 days total: one day for preparation and heavy sanding, one day for fine sanding and repairs, and 1–2 days for finishing and drying. Cooler or humid conditions extend drying times, so check manufacturer’s guidance and build in extra time during winter months.
Can I restore engineered wood floors, or is this only for solid boards?
Many engineered floors can be sanded if they have at least 3–4mm of real-wood wear layer remaining. Thin veneers under 2mm should not be sanded. Check original product specifications or seek professional advice if you’re unsure about remaining thickness.
Do I have to remove all the old finish before applying a new one?
For full restoration or colour changes, sand back to bare wood for proper adhesion and even results. Light resealing with the same finish type is sometimes possible without full sanding, but only when the existing coating remains in good condition and products are compatible.
What should I do about squeaky or bouncy floorboards?
Squeaks typically mean boards are rubbing on each other or loose nails. Adding screws into joists before sanding fixes 90% of squeaks. Noticeably bouncy or spongy areas may indicate structural issues with joists that require professional inspection before cosmetic restoration.
Is it safe to stay in the house while sanding and finishing floors?
Modern water-based finishes are low-odour, but sanding creates fine dust and some products release fumes while drying. Maintain good ventilation, close doors to other rooms, and keep children and pets away until the final coat has fully cured.