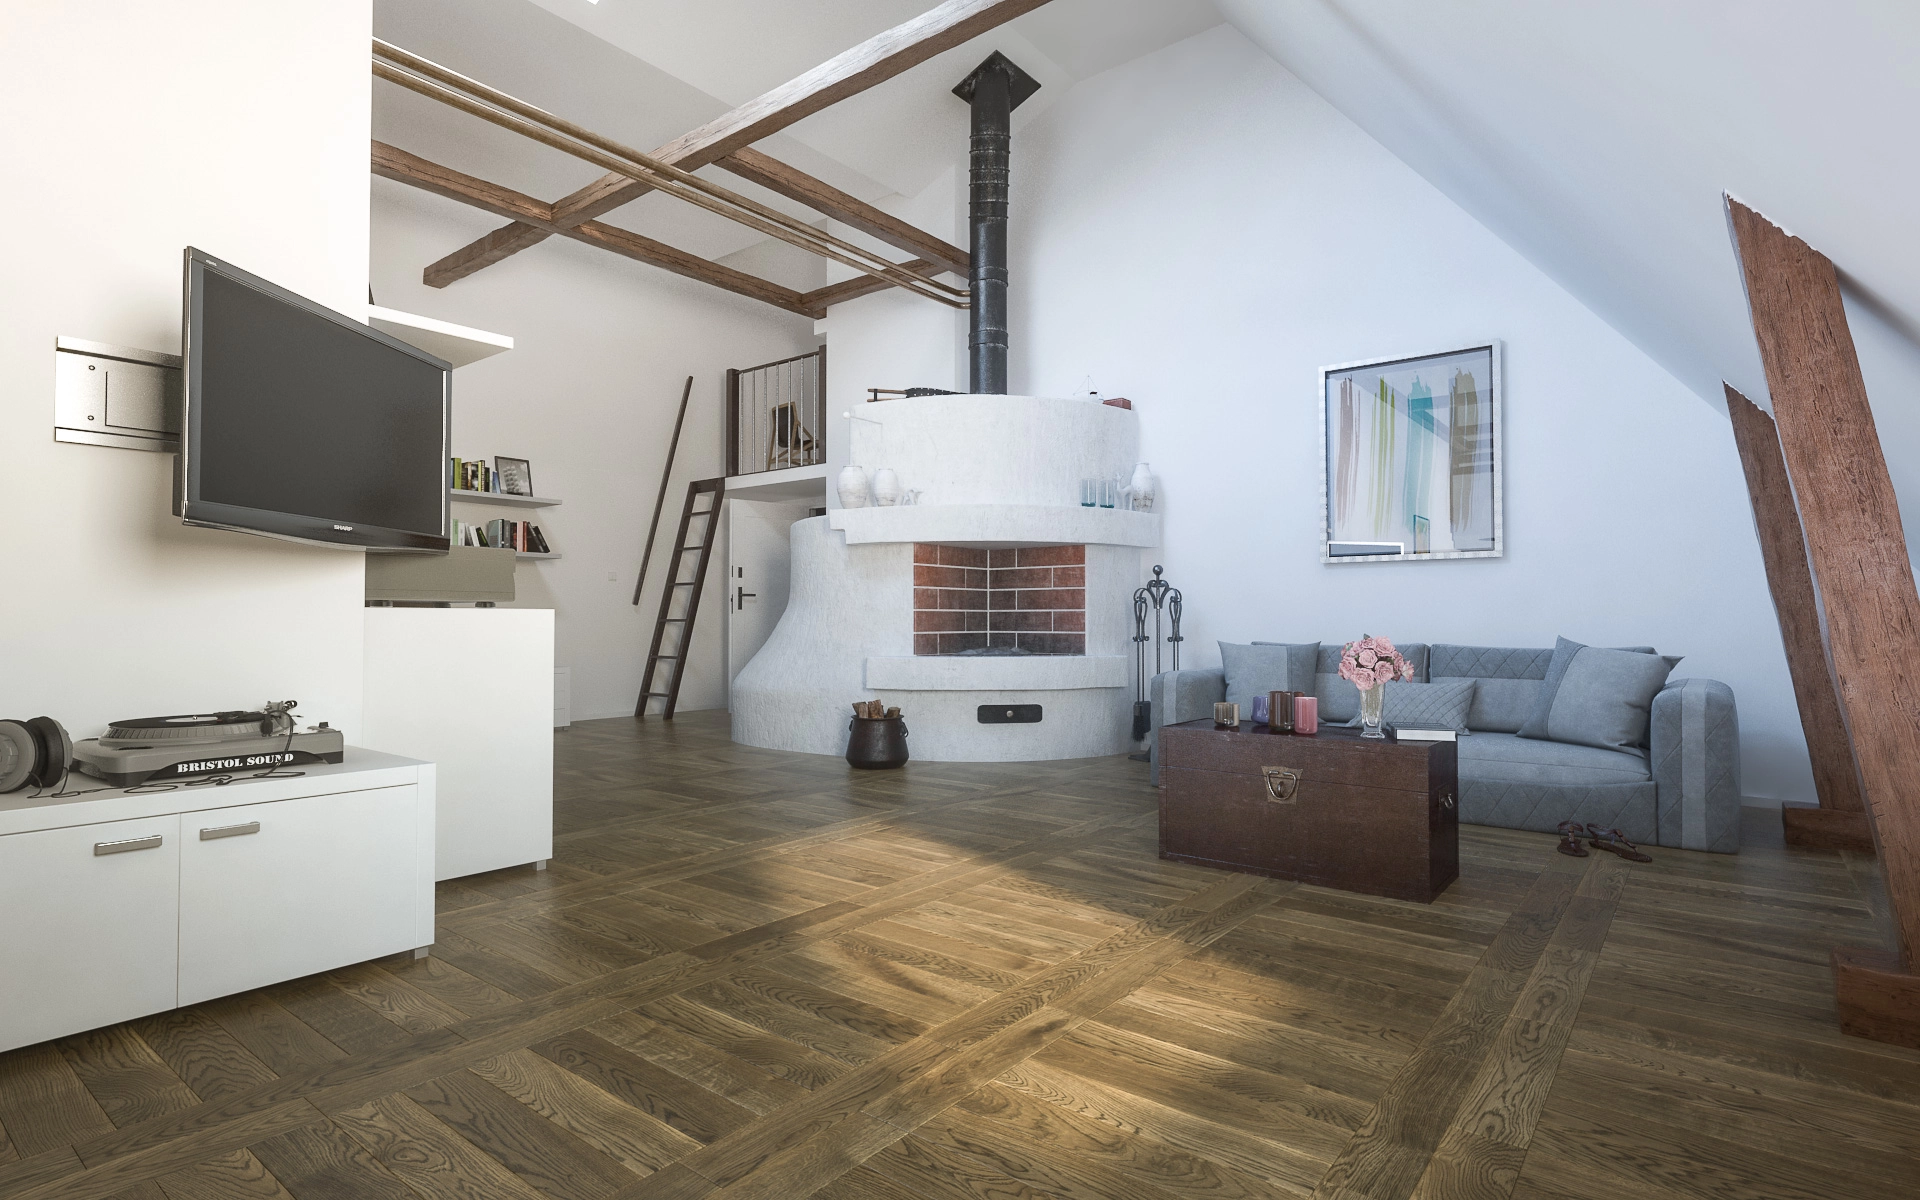
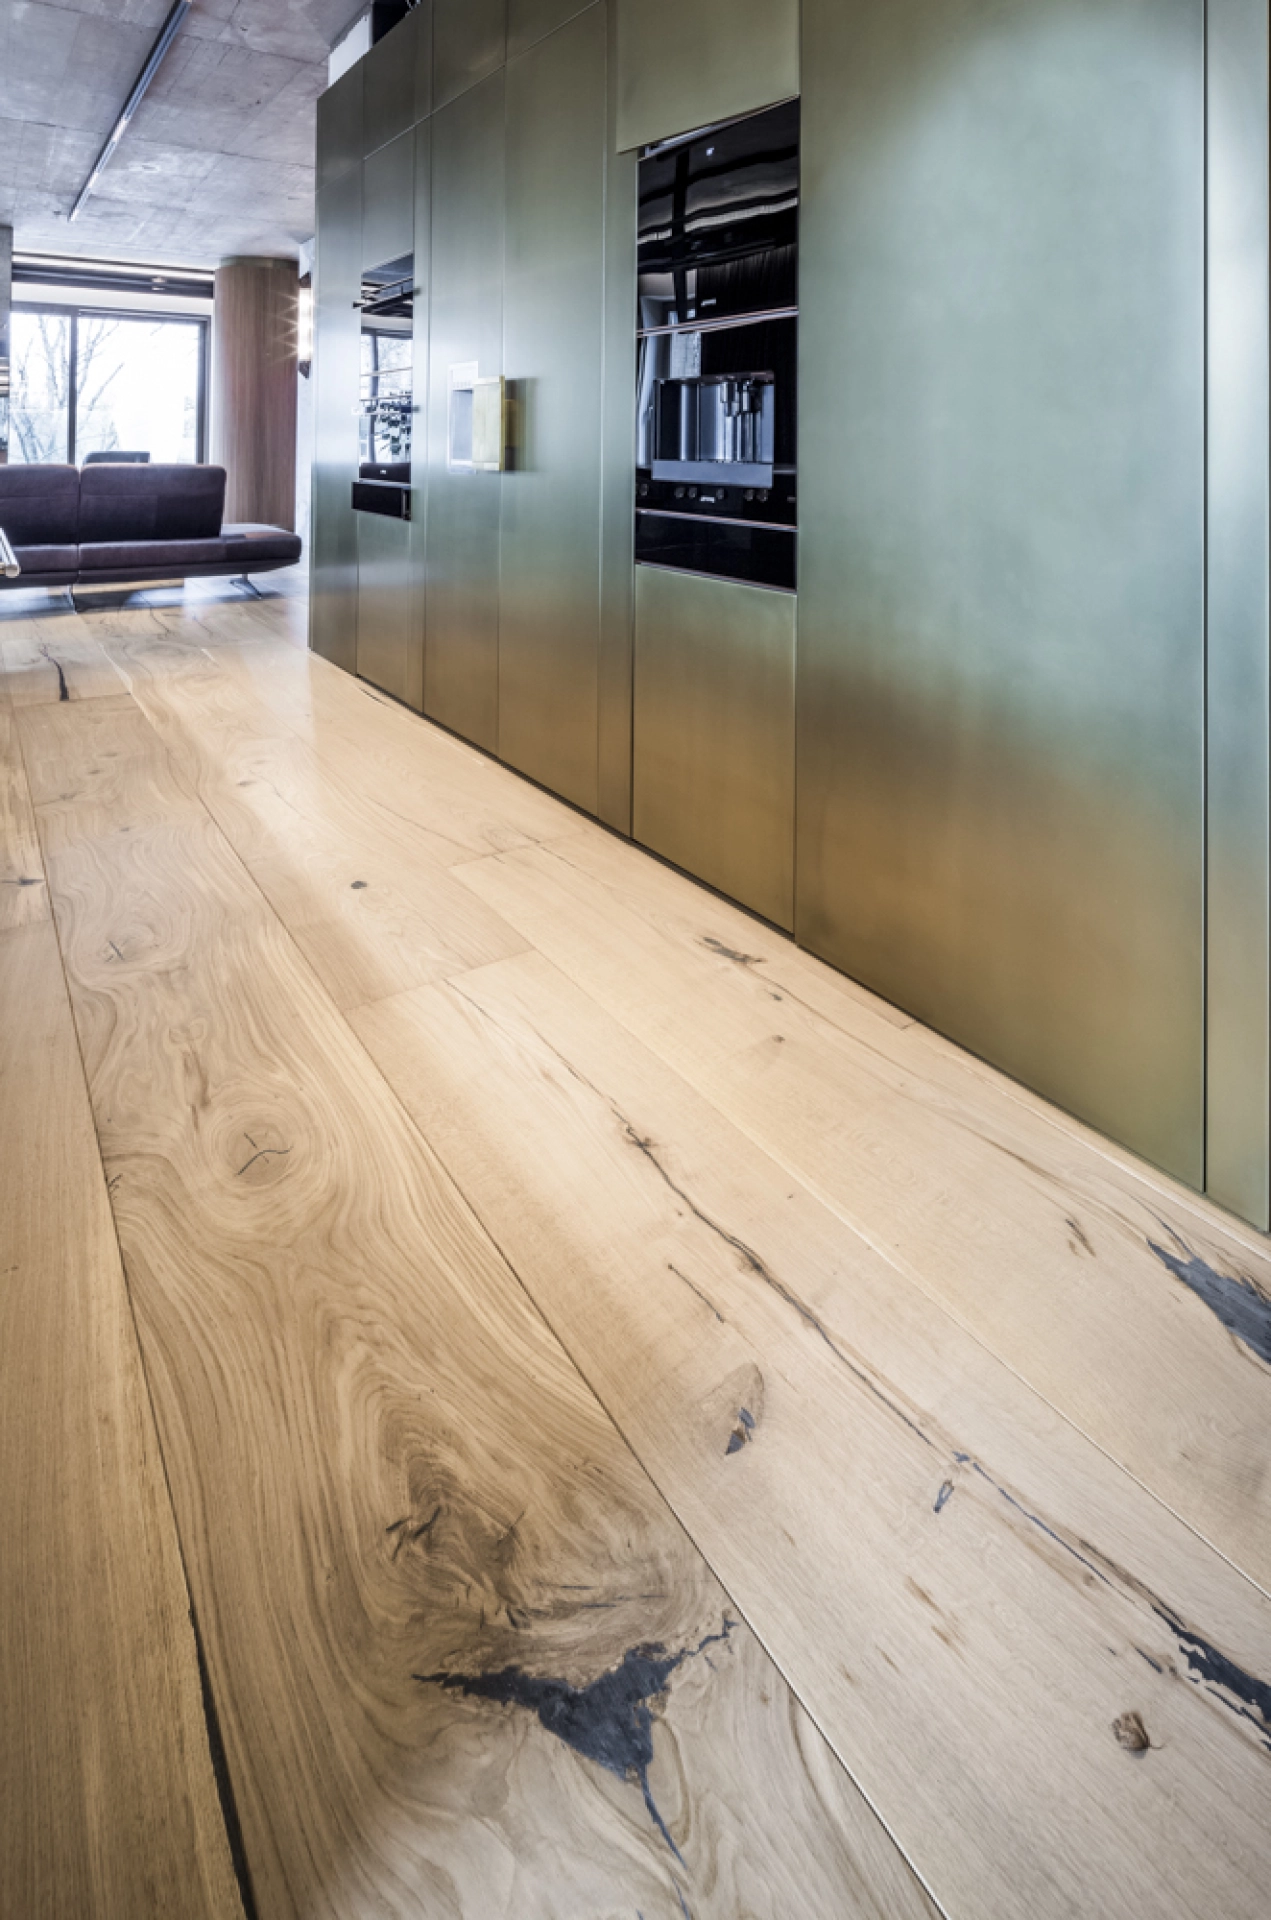
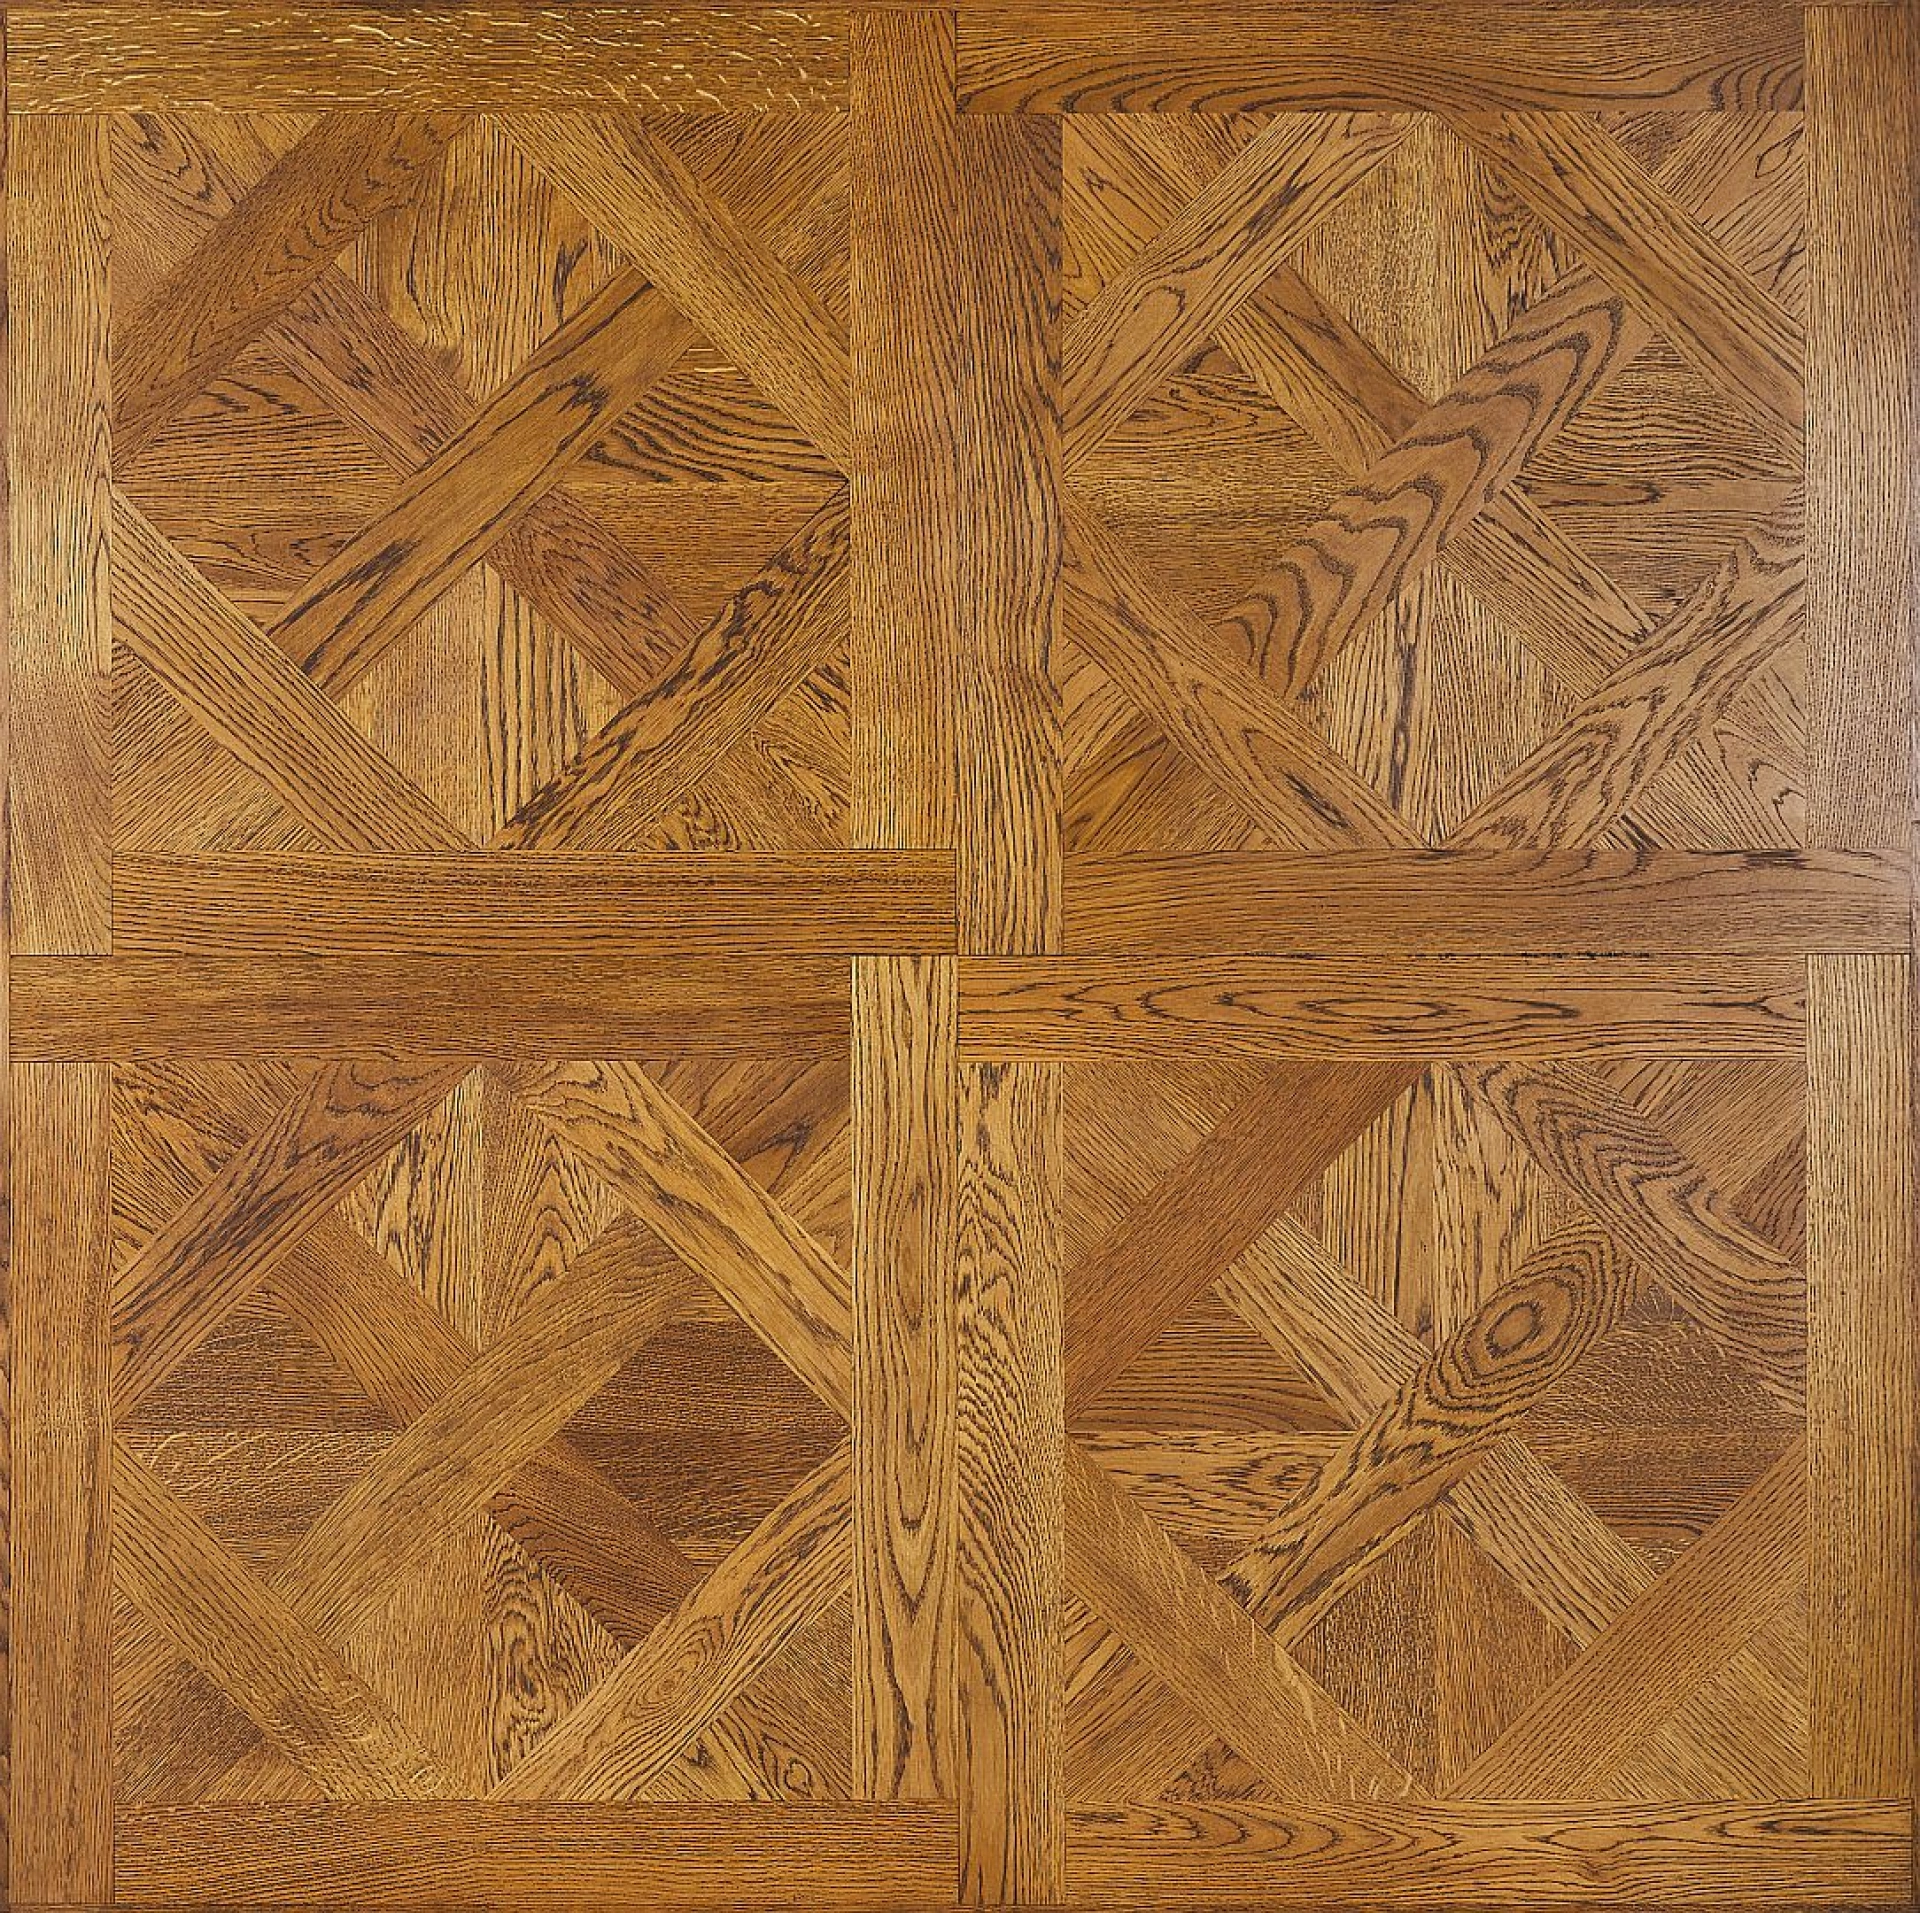
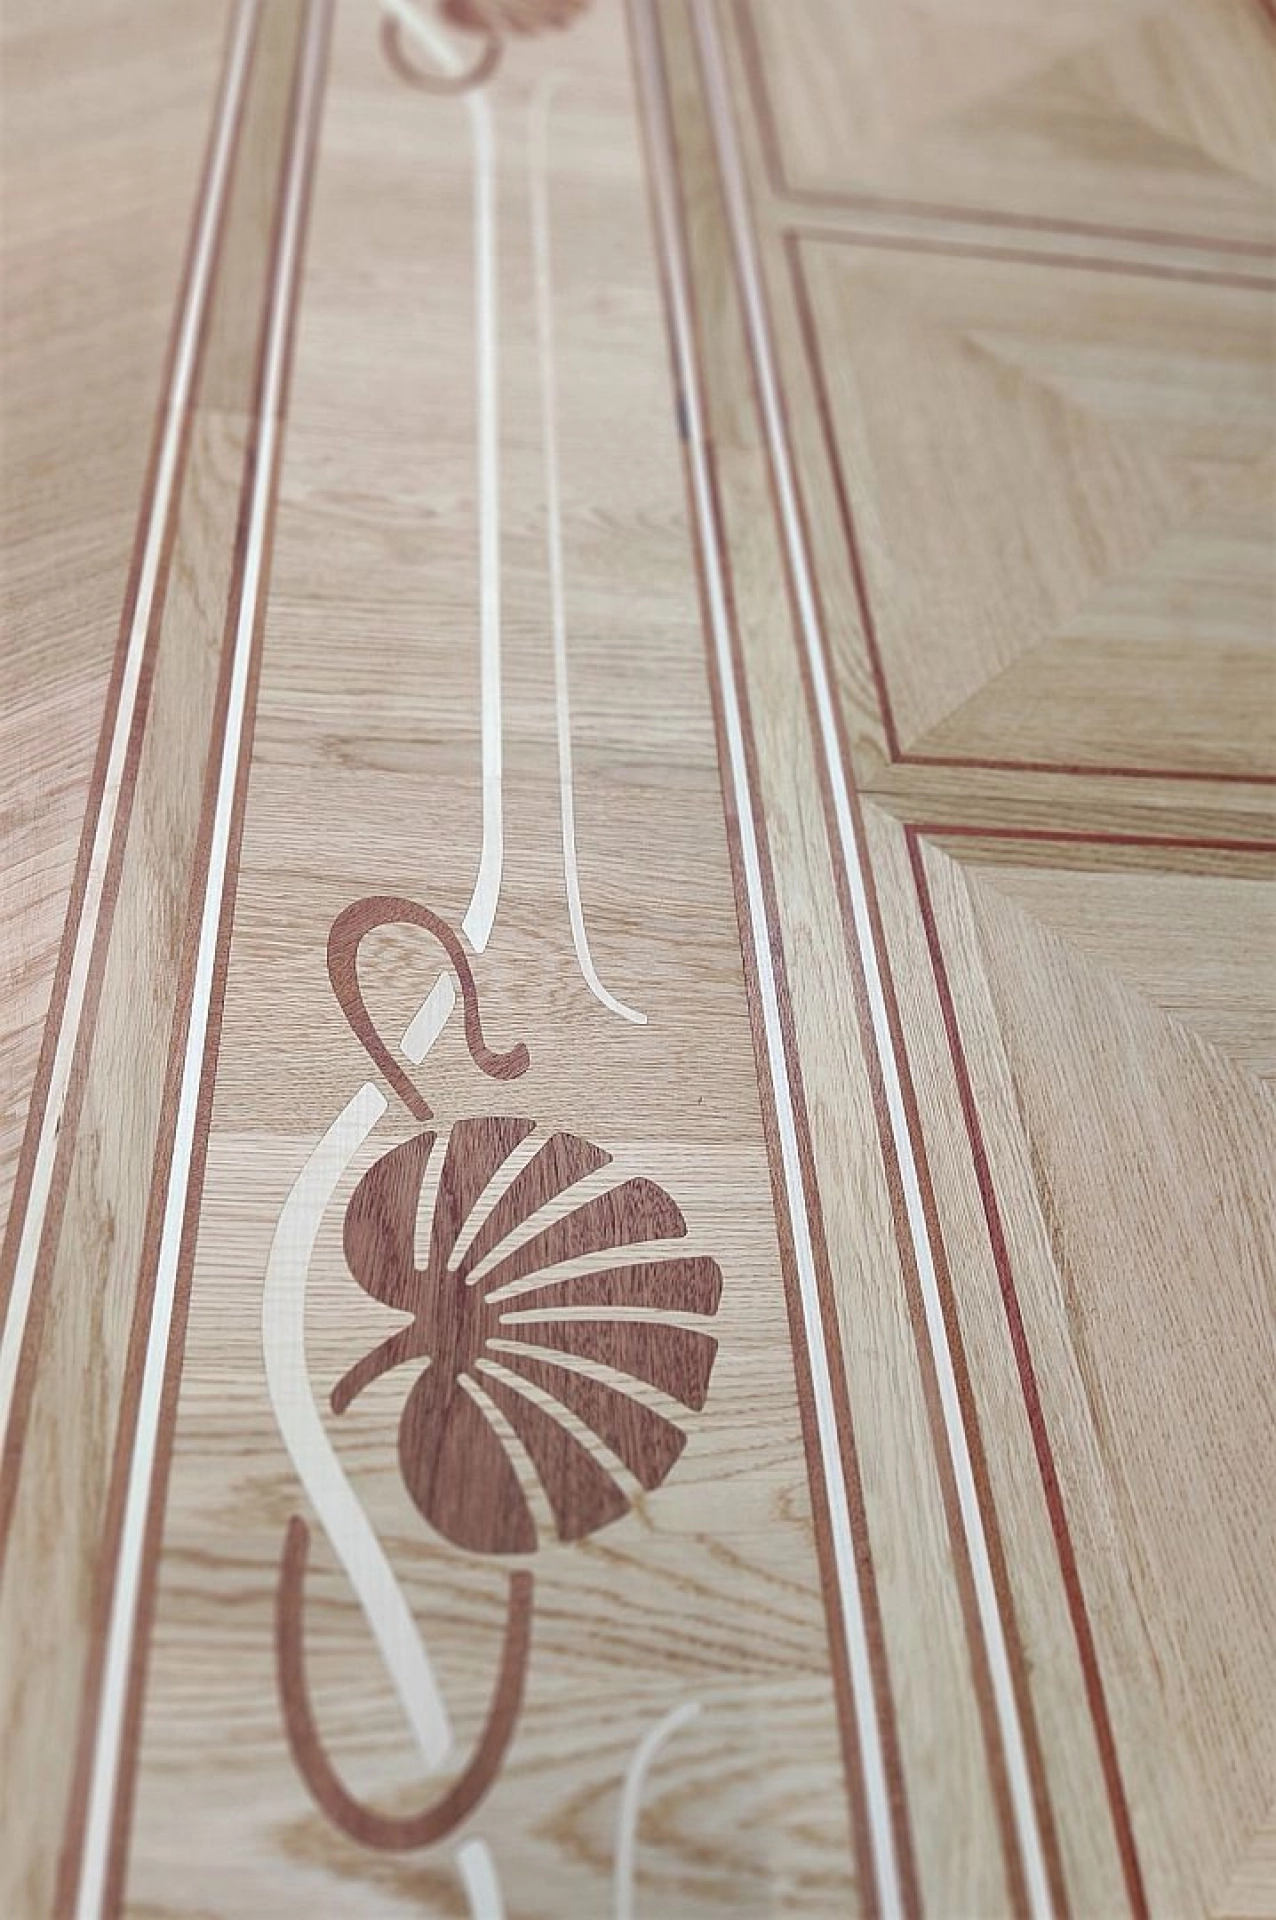
Engineered wood flooring is a popular choice for homeowners who want the natural beauty of real wood with added stability and versatility. If you are wondering how to fit engineered wood flooring, the process is manageable with the right tools, preparation, and method. Whether you are updating a single room or fitting flooring throughout your home, careful installation will help you achieve a long-lasting, professional finish.
What Is Engineered Wood Flooring?
Before learning how to fit engineered wood flooring, it helps to understand what makes it different from solid wood. Engineered wood flooring is made from a top layer of real hardwood bonded to several layers of plywood or high-density board beneath. This layered construction makes it more stable than solid wood and less likely to expand and contract with changes in temperature and humidity.
Because of this stability, engineered wood can be installed in more places, including over underfloor heating and in areas where solid wood may not be suitable. It is a practical and attractive flooring solution for modern homes.
Preparing for Installation
The most important part of fitting engineered wood flooring is preparation. A well-prepared subfloor will make installation easier and improve the final result. Start by checking that the subfloor is clean, dry, level, and structurally sound. Any loose boards, dust, adhesive residue, or debris should be removed before you begin.
If the subfloor is uneven, it may need levelling. Even small dips or high spots can affect how the floor sits and may cause movement or squeaking later on. A smooth and level base is essential for a quality finish.
It is also important to allow the flooring to acclimatise before installation. Leave the unopened packs in the room where they will be fitted for at least 48 hours, or as recommended by the manufacturer. This allows the boards to adjust to the temperature and humidity of the space.
Tools and Materials You Will Need
To fit engineered wood flooring properly, make sure you have the right tools ready. You will usually need a tape measure, pencil, spacer wedges, saw, mallet, tapping block, pull bar, spirit level, and underlay if required. For glue-down installations, you will also need suitable adhesive and a notched trowel.
It is worth checking the manufacturer’s fitting instructions before starting, as different products may have specific requirements. Some engineered wood floors use a click-lock system, while others are designed for glue-down or nail-down installation.
Choosing the Right Installation Method
There are three main ways to fit engineered wood flooring: floating, glue-down, and nail-down. The best method depends on the product, the subfloor, and the room conditions.
A floating floor is not fixed directly to the subfloor. Instead, the boards lock together and rest on an underlay. This is a popular option for DIY installation and is often used over concrete or timber subfloors.
A glue-down installation involves bonding the boards directly to the subfloor with specialist adhesive. This method creates a very solid feel underfoot and is often preferred for larger spaces or when installing over underfloor heating.
A nail-down method is usually used on timber subfloors. The boards are fixed into place with nails or staples, offering a secure and traditional finish.
How to Fit Engineered Wood Flooring Step by Step
Begin by planning the layout of the room. Engineered wood flooring usually looks best when the boards run in the same direction as the longest wall or in line with the main source of light. This can help make the room appear larger and more balanced.
Next, install the underlay if your flooring system requires one. Underlay can provide sound reduction, cushioning, and moisture protection. Make sure the underlay is laid flat and joins are taped where necessary.
Start the first row against the straightest wall, using spacer wedges to leave an expansion gap around the edge of the room. This gap is essential because wood products naturally expand and contract. Without it, the flooring may buckle or warp over time.
As you lay each board, connect the joints carefully. For click systems, angle the board into place and press it down until it locks. For glue-down systems, apply adhesive in manageable sections and follow the manufacturer’s guidance on open time. For nail-down floors, fix the boards securely into the subfloor, making sure nails are placed at the correct angle and spacing.
Stagger the end joints between rows so they do not line up. This creates a stronger floor and a more natural appearance. A staggered pattern also improves the overall stability of the installation.
When you reach the final row, measure carefully and cut the boards to fit, still leaving the required expansion gap. A pull bar can help secure the final boards into position where space is limited.
Fitting Around Obstacles and Doorways
One of the trickiest parts of fitting engineered wood flooring is working around door frames, pipes, and other obstacles. For a neat finish, it is usually best to undercut door frames so the boards can slide underneath. This creates a seamless look and avoids awkward cuts around architraves.
For pipes, measure carefully and drill holes slightly larger than the pipe diameter to allow for movement. The cut section can then be replaced behind the pipe and covered with matching pipe collars if needed.
Take your time with these details, as precision will make a big difference to the final appearance of the floor.
Expansion Gaps and Finishing Touches
Expansion gaps are essential when fitting engineered wood flooring. These gaps, usually around 10 to 15mm, should be left around the perimeter of the room, including around fixed objects such as kitchen units or fireplace surrounds. The gaps are later covered with skirting boards or beading for a clean finish.
Once the floor is installed, remove the spacer wedges and fit your chosen edging trim. If necessary, reattach skirting boards or add matching scotia to conceal the expansion gap. Clean the floor according to the manufacturer’s advice and avoid heavy traffic until the adhesive has fully cured, if you used a glue-down method.
Common Mistakes to Avoid
When learning how to fit engineered wood flooring, it is easy to make small mistakes that can affect the result. Common errors include failing to acclimatise the boards, installing over an uneven subfloor, forgetting expansion gaps, and not staggering the joints correctly. Using the wrong adhesive or underlay can also cause problems later.
Another mistake is rushing the job. Good flooring installation takes time and accuracy. Measuring twice and cutting once will always give better results than trying to save time.
Should You Fit Engineered Wood Flooring Yourself?
Many people choose to fit engineered wood flooring themselves, especially with click-lock systems. However, if the room is large, the subfloor is uneven, or you want a flawless professional finish, it may be worth using a specialist. Experienced floor fitters can assess the subfloor, recommend the best installation method, and ensure the floor is fitted to a high standard.
Professional Engineered Wood Flooring Installation
At 7braci.com, we specialise in wooden floors and joinery, offering expert advice and professional installation services. If you want the beauty of engineered wood flooring without the stress of doing it yourself, our team can help with every stage of the process. From preparation and fitting to finishing details, we deliver quality workmanship designed to last.
If you are planning a flooring project and want support from a trusted wooden floor specialist, get in touch with 7 Braci today. We are here to help you achieve a durable, stylish, and expertly fitted engineered wood floor.