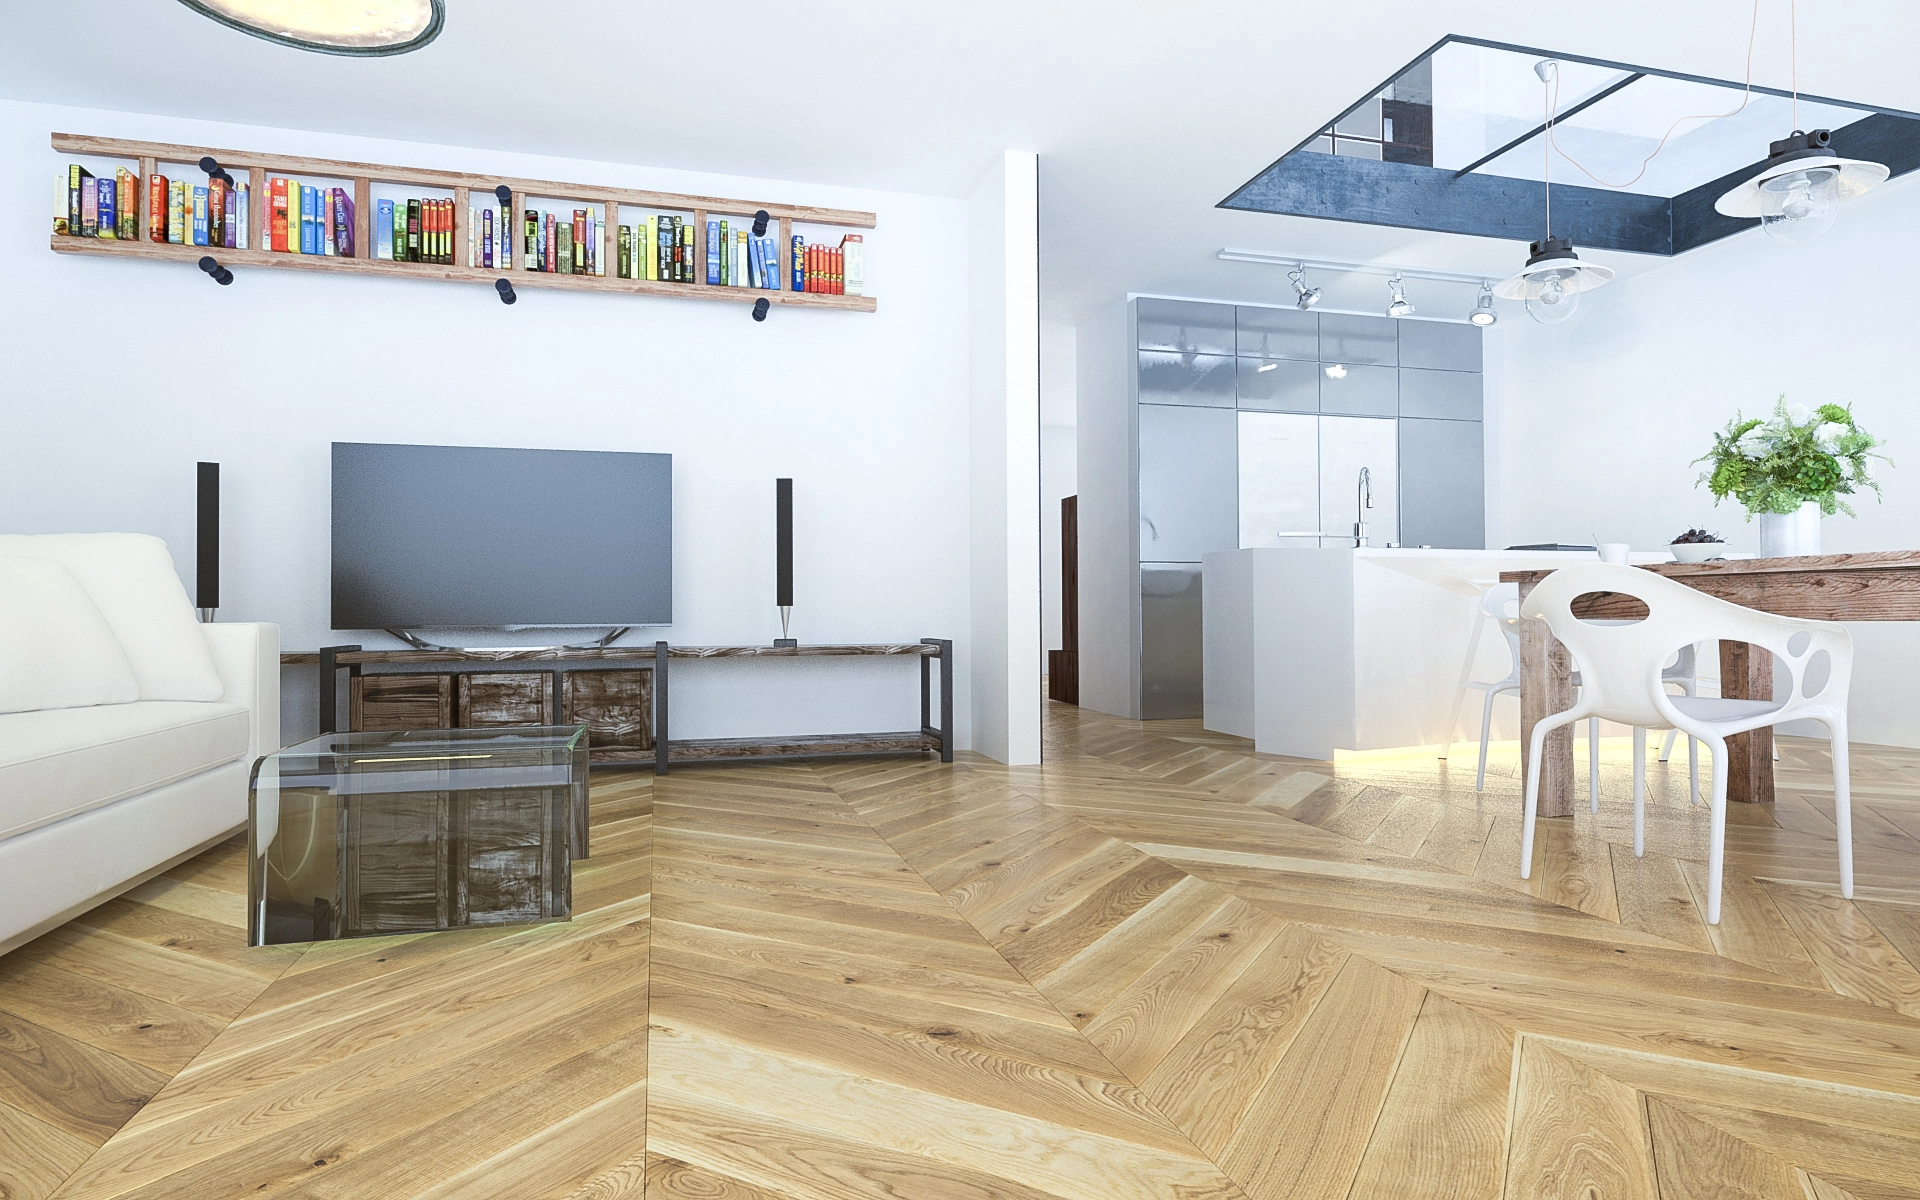
Gluing down wood flooring is a reliable way to achieve a strong, long-lasting finish with excellent stability and a clean, seamless look. Whether you are fitting engineered wood flooring or solid wood flooring in suitable conditions, correct adhesive installation can help reduce movement, noise, and gaps over time. At 7braci.com, we work with high-quality flooring and joinery solutions every day, and one of the most common questions we receive is how to glue down wood flooring properly.
This guide explains the process step by step, including preparation, adhesive selection, installation, and common mistakes to avoid. If you are planning a new floor and want a professional result, understanding the right method is essential.
What Does Glue-Down Wood Flooring Mean?
Glue-down wood flooring means fixing individual boards or planks directly to the subfloor using specialist flooring adhesive. Unlike floating floors, which sit on underlay, a glue-down installation bonds the flooring to the base beneath it. This method is commonly used with engineered wood flooring and can also be suitable for some solid wood products, depending on the manufacturer’s guidance and the condition of the subfloor.
This installation method is popular because it offers excellent stability, improves underfoot feel, and works well with concrete or screeded subfloors. It can also support underfloor heating when the correct materials are used.
Before You Start: Check the Flooring and Subfloor
Before you glue down wood flooring, the subfloor must be properly prepared. This is one of the most important steps in the entire process. A poor subfloor will compromise the adhesive bond and reduce the lifespan of the floor.
Start by checking that the subfloor is clean, dry, level, and structurally sound. Dust, oil, old adhesive, paint, and debris must be removed. Any dips, cracks, or loose areas should be repaired before installation begins. For concrete subfloors, moisture testing is essential, as excess moisture can damage wood flooring and weaken the adhesive.
The wood flooring itself should also be acclimatised in the room for the recommended time before installation. This helps the boards adjust to the temperature and humidity of the space, reducing the risk of movement after fitting.
Choose the Right Adhesive
Using the correct adhesive is crucial when learning how to glue down wood flooring. Not all adhesives are suitable for all flooring types or subfloors. In most cases, a flexible flooring adhesive or polyurethane-based adhesive is used for wood floor installation. These products are designed to allow slight natural movement while maintaining a secure bond.
Always check the flooring manufacturer’s recommendations before selecting adhesive. The wrong product can lead to weak bonding, installation failure, or warranty issues. If underfloor heating is present, the adhesive must be approved for use with heated systems.
Tools and Materials You Will Need
To glue down wood flooring effectively, you will need the right tools and materials. These typically include:
- Wood flooring boards
- Recommended flooring adhesive
- Trowel or adhesive spreader
- Tape measure
- Chalk line
- Spacers
- Rubber mallet
- Pull bar
- Clean cloths
- Safety equipment such as gloves
Having everything ready before you begin will make the installation smoother and help you work efficiently while the adhesive remains workable.
Step-by-Step: How to Glue Down Wood Flooring
Begin by planning the layout of the room. Measure carefully and determine the direction of the boards. In many cases, flooring is laid in the direction of the longest wall or towards the main light source, though the final decision depends on the room shape and design.
Once the layout is planned, mark a straight starting line with a chalk line. This ensures the first row is installed accurately, which is important because every following row will follow that line.
Next, apply the adhesive to the subfloor using the recommended trowel size. Work in manageable sections rather than covering the entire floor at once. This prevents the adhesive from skinning over before the boards are placed.
Lay the first board carefully onto the adhesive, aligning it with the marked line. Press it firmly into place, making sure it sits level. Continue adding boards row by row, maintaining the correct expansion gap around the perimeter of the room. Spacers can help keep this gap consistent.
As you install each plank, use a rubber mallet and pull bar where needed to achieve a tight fit between boards. Remove any adhesive that squeezes up between joints immediately, using a clean cloth recommended by the adhesive manufacturer.
Work steadily across the room, checking alignment regularly. If a board is not positioned correctly, it should be adjusted before the adhesive starts to cure. Once the adhesive has set, the flooring will be much harder to move.
How Long Does Wood Flooring Adhesive Take to Dry?
Drying time depends on the type of adhesive, room temperature, humidity, and subfloor conditions. Some adhesives provide a working time of several minutes to an hour, while full cure may take 24 to 48 hours or longer. During this time, avoid heavy foot traffic and do not place furniture on the floor until the adhesive has fully cured.
Always follow the manufacturer’s instructions carefully. Rushing the process can cause movement, gaps, or poor bonding.
Common Mistakes to Avoid
One of the biggest mistakes when gluing down wood flooring is failing to prepare the subfloor properly. Even small amounts of dust or moisture can affect adhesion. Another common issue is using too much or too little adhesive. Too little may lead to weak bonding, while too much can create uneven boards and messy squeeze-out.
Other mistakes include laying flooring before it has acclimatised, ignoring expansion gaps, using the wrong adhesive, and working too slowly so the adhesive begins to cure before the boards are installed. Careful planning and attention to detail are key to a successful result.
Can You Glue Down Wood Flooring Over Underfloor Heating?
Yes, in many cases you can glue down wood flooring over underfloor heating, provided the flooring and adhesive are both suitable for the system. Engineered wood flooring is usually the preferred choice because it is more dimensionally stable than solid wood. The heating system must be commissioned correctly, and the subfloor temperature must meet the manufacturer’s requirements before installation.
For best results, always use products specifically approved for underfloor heating and follow professional installation guidelines.
When to Use a Professional Flooring Specialist
While some experienced DIYers may be confident fitting wood floors, glue-down installation can be challenging, especially in large rooms, uneven subfloors, or properties with moisture concerns. A professional flooring specialist can ensure the subfloor is properly prepared, the correct adhesive is used, and the floor is installed to a high standard.
At 7braci.com, we provide expert wooden floor installation and joinery services designed to deliver quality, durability, and a flawless finish. If you want confidence that your flooring will be fitted correctly the first time, professional installation is often the best choice.
Final Thoughts
Learning how to glue down wood flooring starts with preparation, the right adhesive, and careful installation. When done properly, a glue-down floor can provide many years of performance, beauty, and stability. The key is to work with a clean, dry, level subfloor, follow the manufacturer’s guidance, and avoid rushing the process.
If you are planning a new wood floor and need expert advice or installation support, 7braci.com is here to help with professional wooden flooring and joinery services tailored to your project.