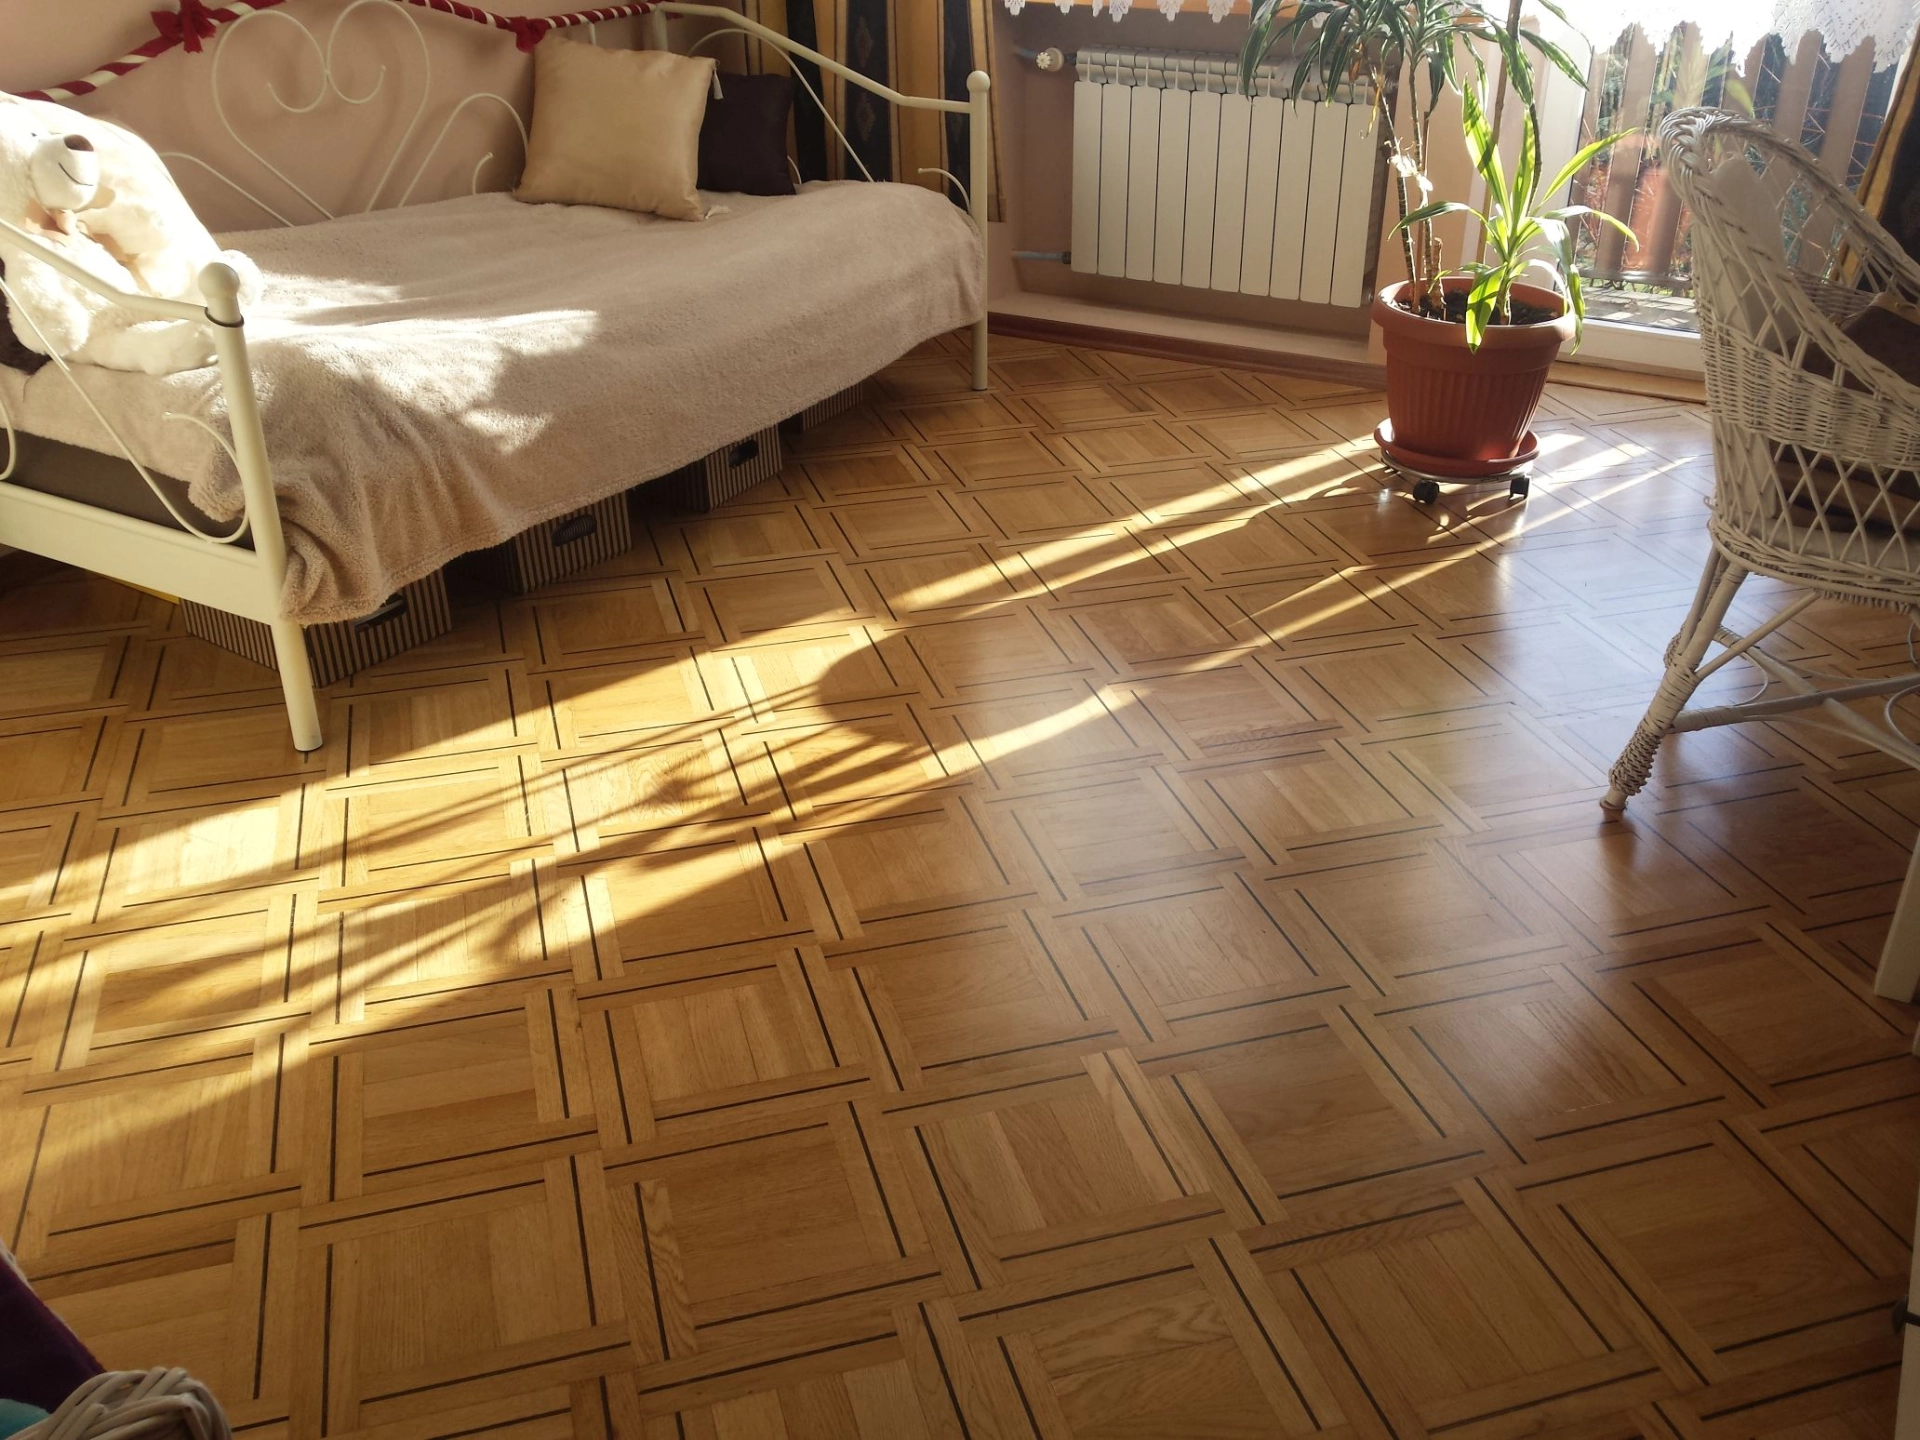
How to Sand Wood Flooring: A Complete Guide
Sanding wood flooring is one of the most effective ways to restore tired, scratched, or uneven floors and bring back the natural beauty of the timber. Whether you are refreshing an old hardwood floor or preparing a newly installed floor for staining and sealing, proper sanding is essential for a smooth, professional finish. In this guide, we explain how to sand wood flooring step by step, what tools you need, common mistakes to avoid, and when it is best to call in a wooden floor specialist.
Why Sand Wood Flooring?
Over time, wooden floors can become worn from foot traffic, furniture movement, pet claws, spills, and general ageing. Sanding removes the damaged top layer of the wood, including old finishes, minor scratches, surface stains, and imperfections. It also creates a clean, even base for applying oil, varnish, lacquer, or stain. If done correctly, sanding can dramatically improve the appearance and lifespan of your floor.
Before You Start: Check the Floor Type
Not all wood floors can be sanded the same way. Solid wood flooring is generally suitable for sanding multiple times, depending on the thickness of the timber. Engineered wood flooring may also be sanded, but only if the top hardwood layer is thick enough. Some engineered floors can only be sanded lightly, while others should not be sanded at all. Always check the manufacturer’s guidance before starting. If you are unsure, a professional floor sanding company can inspect the floor and advise on the safest approach.
Tools and Equipment You Will Need
To sand wood flooring properly, you will need a belt sander or drum sander for the main floor area, an edging sander for the corners and edges, sanding discs or belts in various grits, a vacuum cleaner, dust sheets, safety goggles, a dust mask, ear protection, and filler for gaps or nail holes if needed. For best results, use professional-grade equipment, as domestic sanders often lack the power and consistency needed for large flooring jobs.
Step 1: Prepare the Room
Preparation is key to a successful sanding project. Start by removing all furniture, rugs, curtains, and loose items from the room. Take off any doors if needed, and make sure the room is well ventilated. Cover vents or adjacent areas to reduce dust spread. Check the floor carefully for protruding nails, screws, staples, or other metal objects, as these can damage the sanding machine and create sparks. If the floor has gaps or damaged boards, make repairs before sanding begins.
Step 2: Clean the Floor Thoroughly
Before sanding wood flooring, the surface must be free from dirt, grit, and debris. Sweep and vacuum the floor carefully. Any small stones or dirt left behind can scratch the timber and affect the quality of the finish. If the floor has old wax or polish build-up, this should be removed first, as it may clog the sanding paper. A clean surface allows the sanding equipment to work more efficiently and evenly.
Step 3: Start with a Coarse Grit
The sanding process usually begins with a coarse grit, especially if the floor has old paint, varnish, or heavy wear. A lower grit such as 36 or 40 is often used for the first pass. Work with the grain of the wood wherever possible and move the machine steadily to avoid creating dips or swirl marks. Do not leave the sander in one place for too long, as this can cause deep marks in the floor. Each pass should overlap slightly to ensure an even cut across the surface.
Step 4: Sand in Progressively Finer Grits
Once the first sanding pass is complete, repeat the process with finer grit papers. Common sanding progressions might move from 40 grit to 60 grit, then to 80 or 100 grit depending on the desired finish. Each stage removes the marks left by the previous grit and smooths the timber further. The final grit determines how refined the floor will feel and how well the finish will adhere. For most wood flooring, a final sand with 80 or 100 grit is suitable before sealing.
Step 5: Sand the Edges and Corners
The main sanding machine cannot reach right up to the walls or into tight corners, so an edging sander is used for these areas. Carefully sand along the perimeter of the room to blend the edges with the main floor surface. Take your time to avoid visible sanding lines where the edge meets the main area. If needed, hand sand very tight corners and awkward spaces for a consistent finish.
Step 6: Fill Gaps and Repair Imperfections
After sanding, inspect the floor for gaps, cracks, or small holes. A wood filler or resin mixed with fine sanding dust can be used to fill minor imperfections. This helps create a more polished appearance and improves the overall finish. However, if the floor has serious damage, warped boards, or loose sections, more extensive repair work may be needed before finishing.
Step 7: Remove Dust Completely
Dust removal is one of the most important parts of sanding wood flooring. Use a powerful vacuum cleaner to remove all dust from the boards, edges, skirting boards, and corners. After vacuuming, wipe the floor with a slightly damp microfiber cloth or tack cloth to pick up the finest particles. Dust left on the surface can ruin the final finish and create a rough texture.
Step 8: Apply the Finish
Once the floor is fully sanded and clean, it is ready for finishing. You can choose from oils, lacquers, varnishes, or stains depending on the look and durability you want. Follow the manufacturer’s instructions carefully and apply the finish evenly using the recommended tools. In most cases, more than one coat is needed. Allow proper drying time between coats, and avoid walking on the floor until it is fully cured.
Common Mistakes to Avoid
One of the biggest mistakes when sanding wood flooring is using the wrong grit sequence. Jumping too quickly from coarse to fine sandpaper can leave visible scratches. Another common issue is sanding against the grain in a way that causes marks, although some stages may require cross-sanding depending on the floor condition. Over-sanding is also a risk, especially with engineered wood or floors that have already been sanded before. Poor dust control, rushing the job, and using low-quality equipment can all lead to disappointing results.
Should You Sand Wood Flooring Yourself?
DIY sanding can be possible for smaller rooms and light restoration work, but it is not always the best option. Floor sanding machines are powerful and can be difficult to control, especially for beginners. If the floor is valuable, uneven, damaged, or made from thin engineered boards, professional sanding is often the safer choice. A specialist in wooden floor sanding and joinery will have the experience and equipment needed to achieve a smooth, long-lasting result.
Professional Wood Floor Sanding from 7braci
At 7braci.com, we specialise in wooden floors and joinery, helping homeowners restore and protect their floors with expert care. From sanding and finishing to repairs and bespoke joinery work, our team understands how to bring out the best in natural timber. If you want a flawless finish without the stress of doing it yourself, our floor specialists can help.
Final Thoughts
Knowing how to sand wood flooring properly can make a huge difference to the appearance and durability of your floor. The process involves careful preparation, the right tools, multiple sanding stages, and thorough dust removal before finishing. While some projects can be tackled as DIY, professional sanding often delivers the best and most reliable result. With the right approach, your wood flooring can look beautiful again for many years to come.