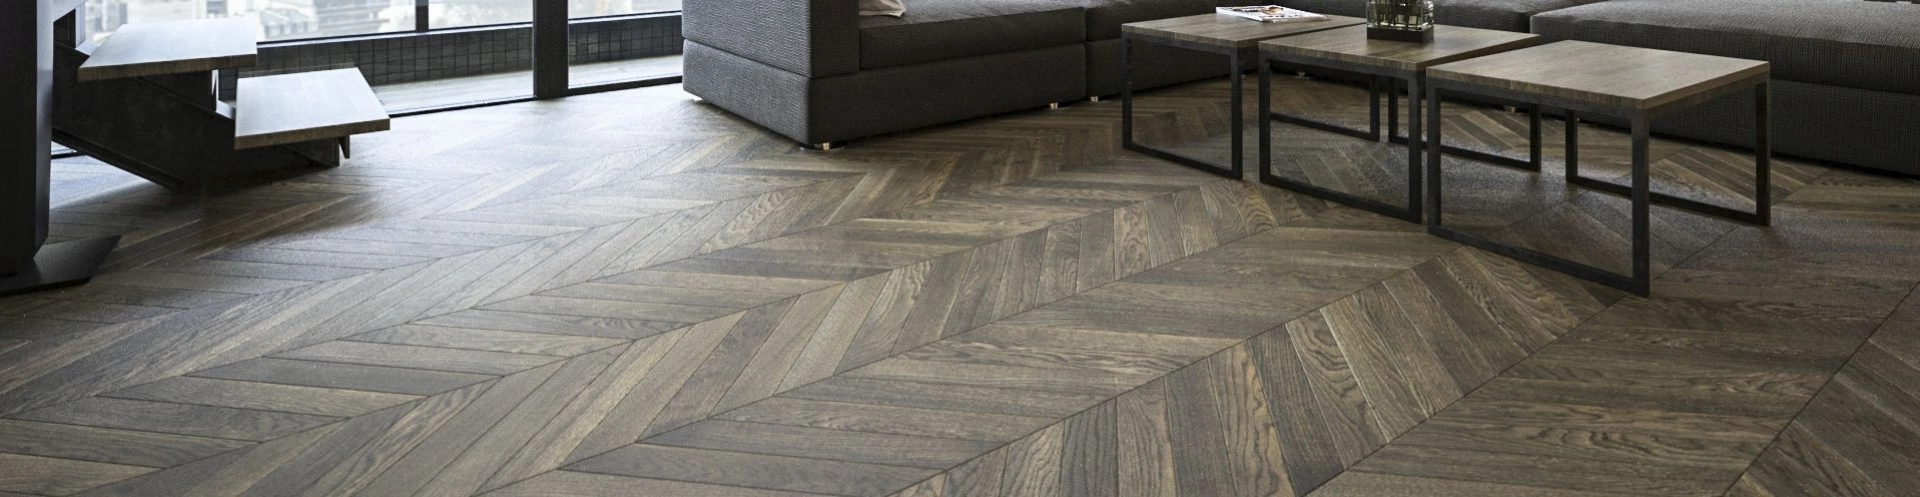
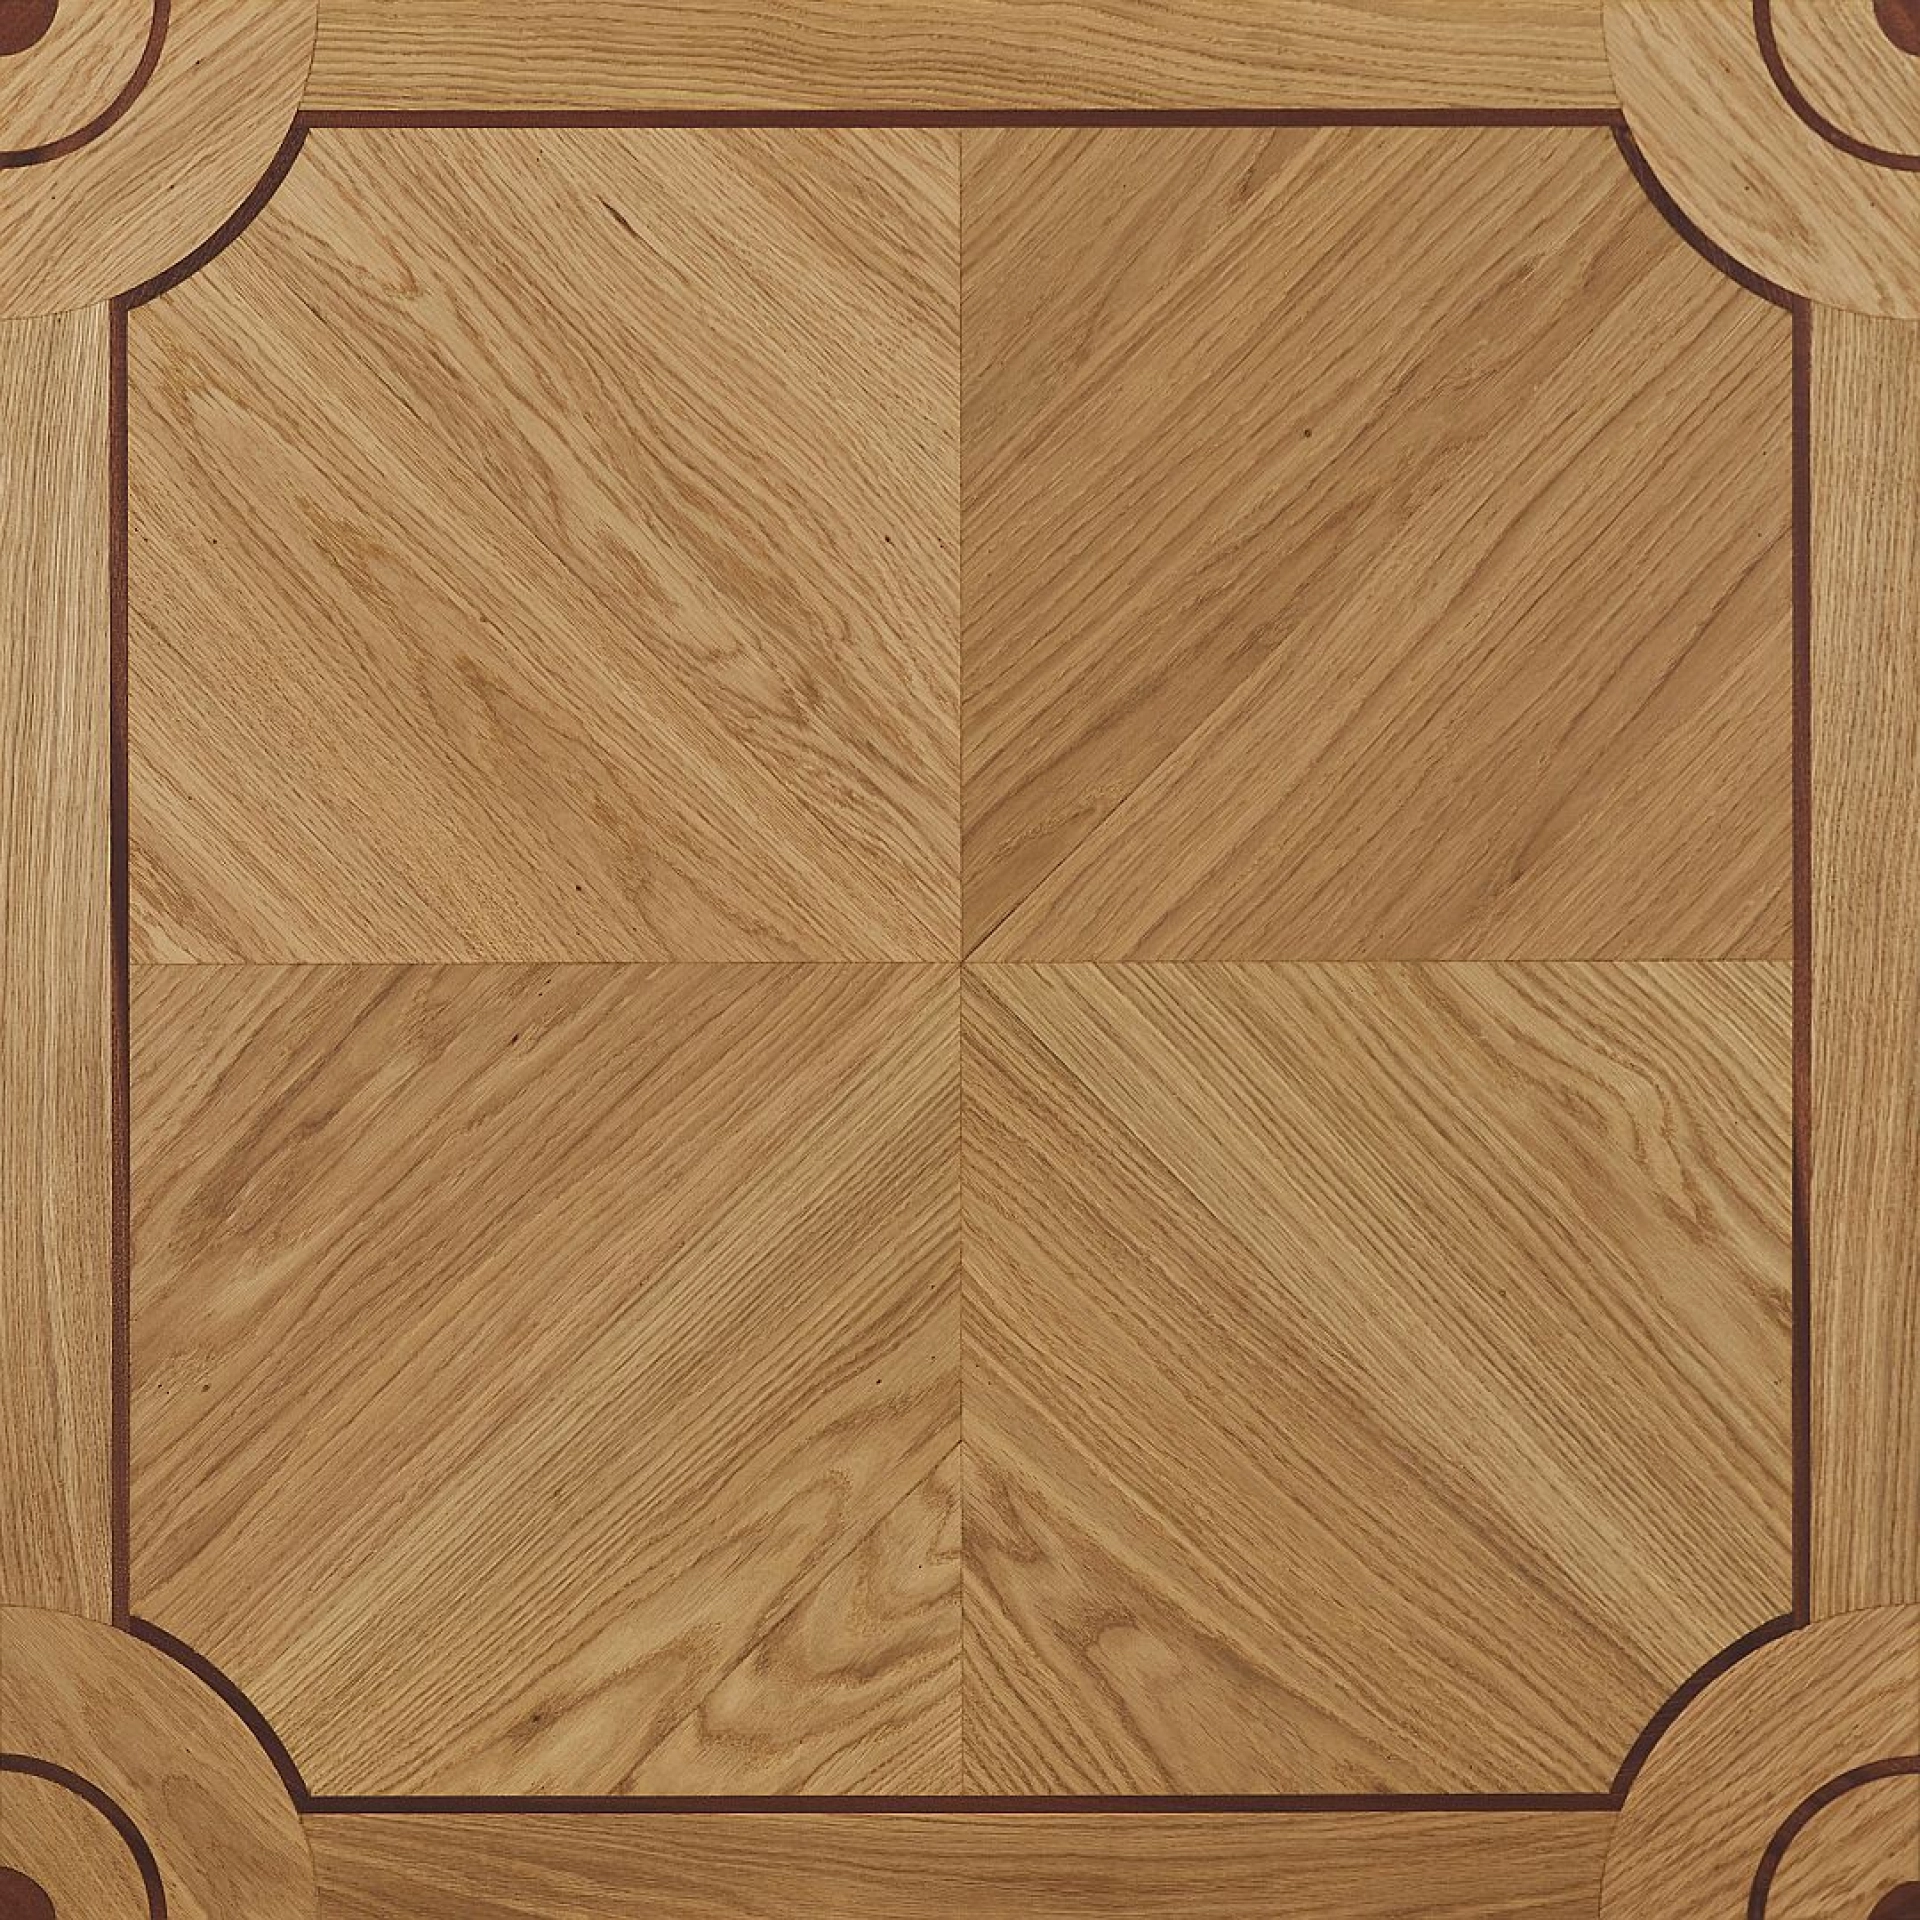
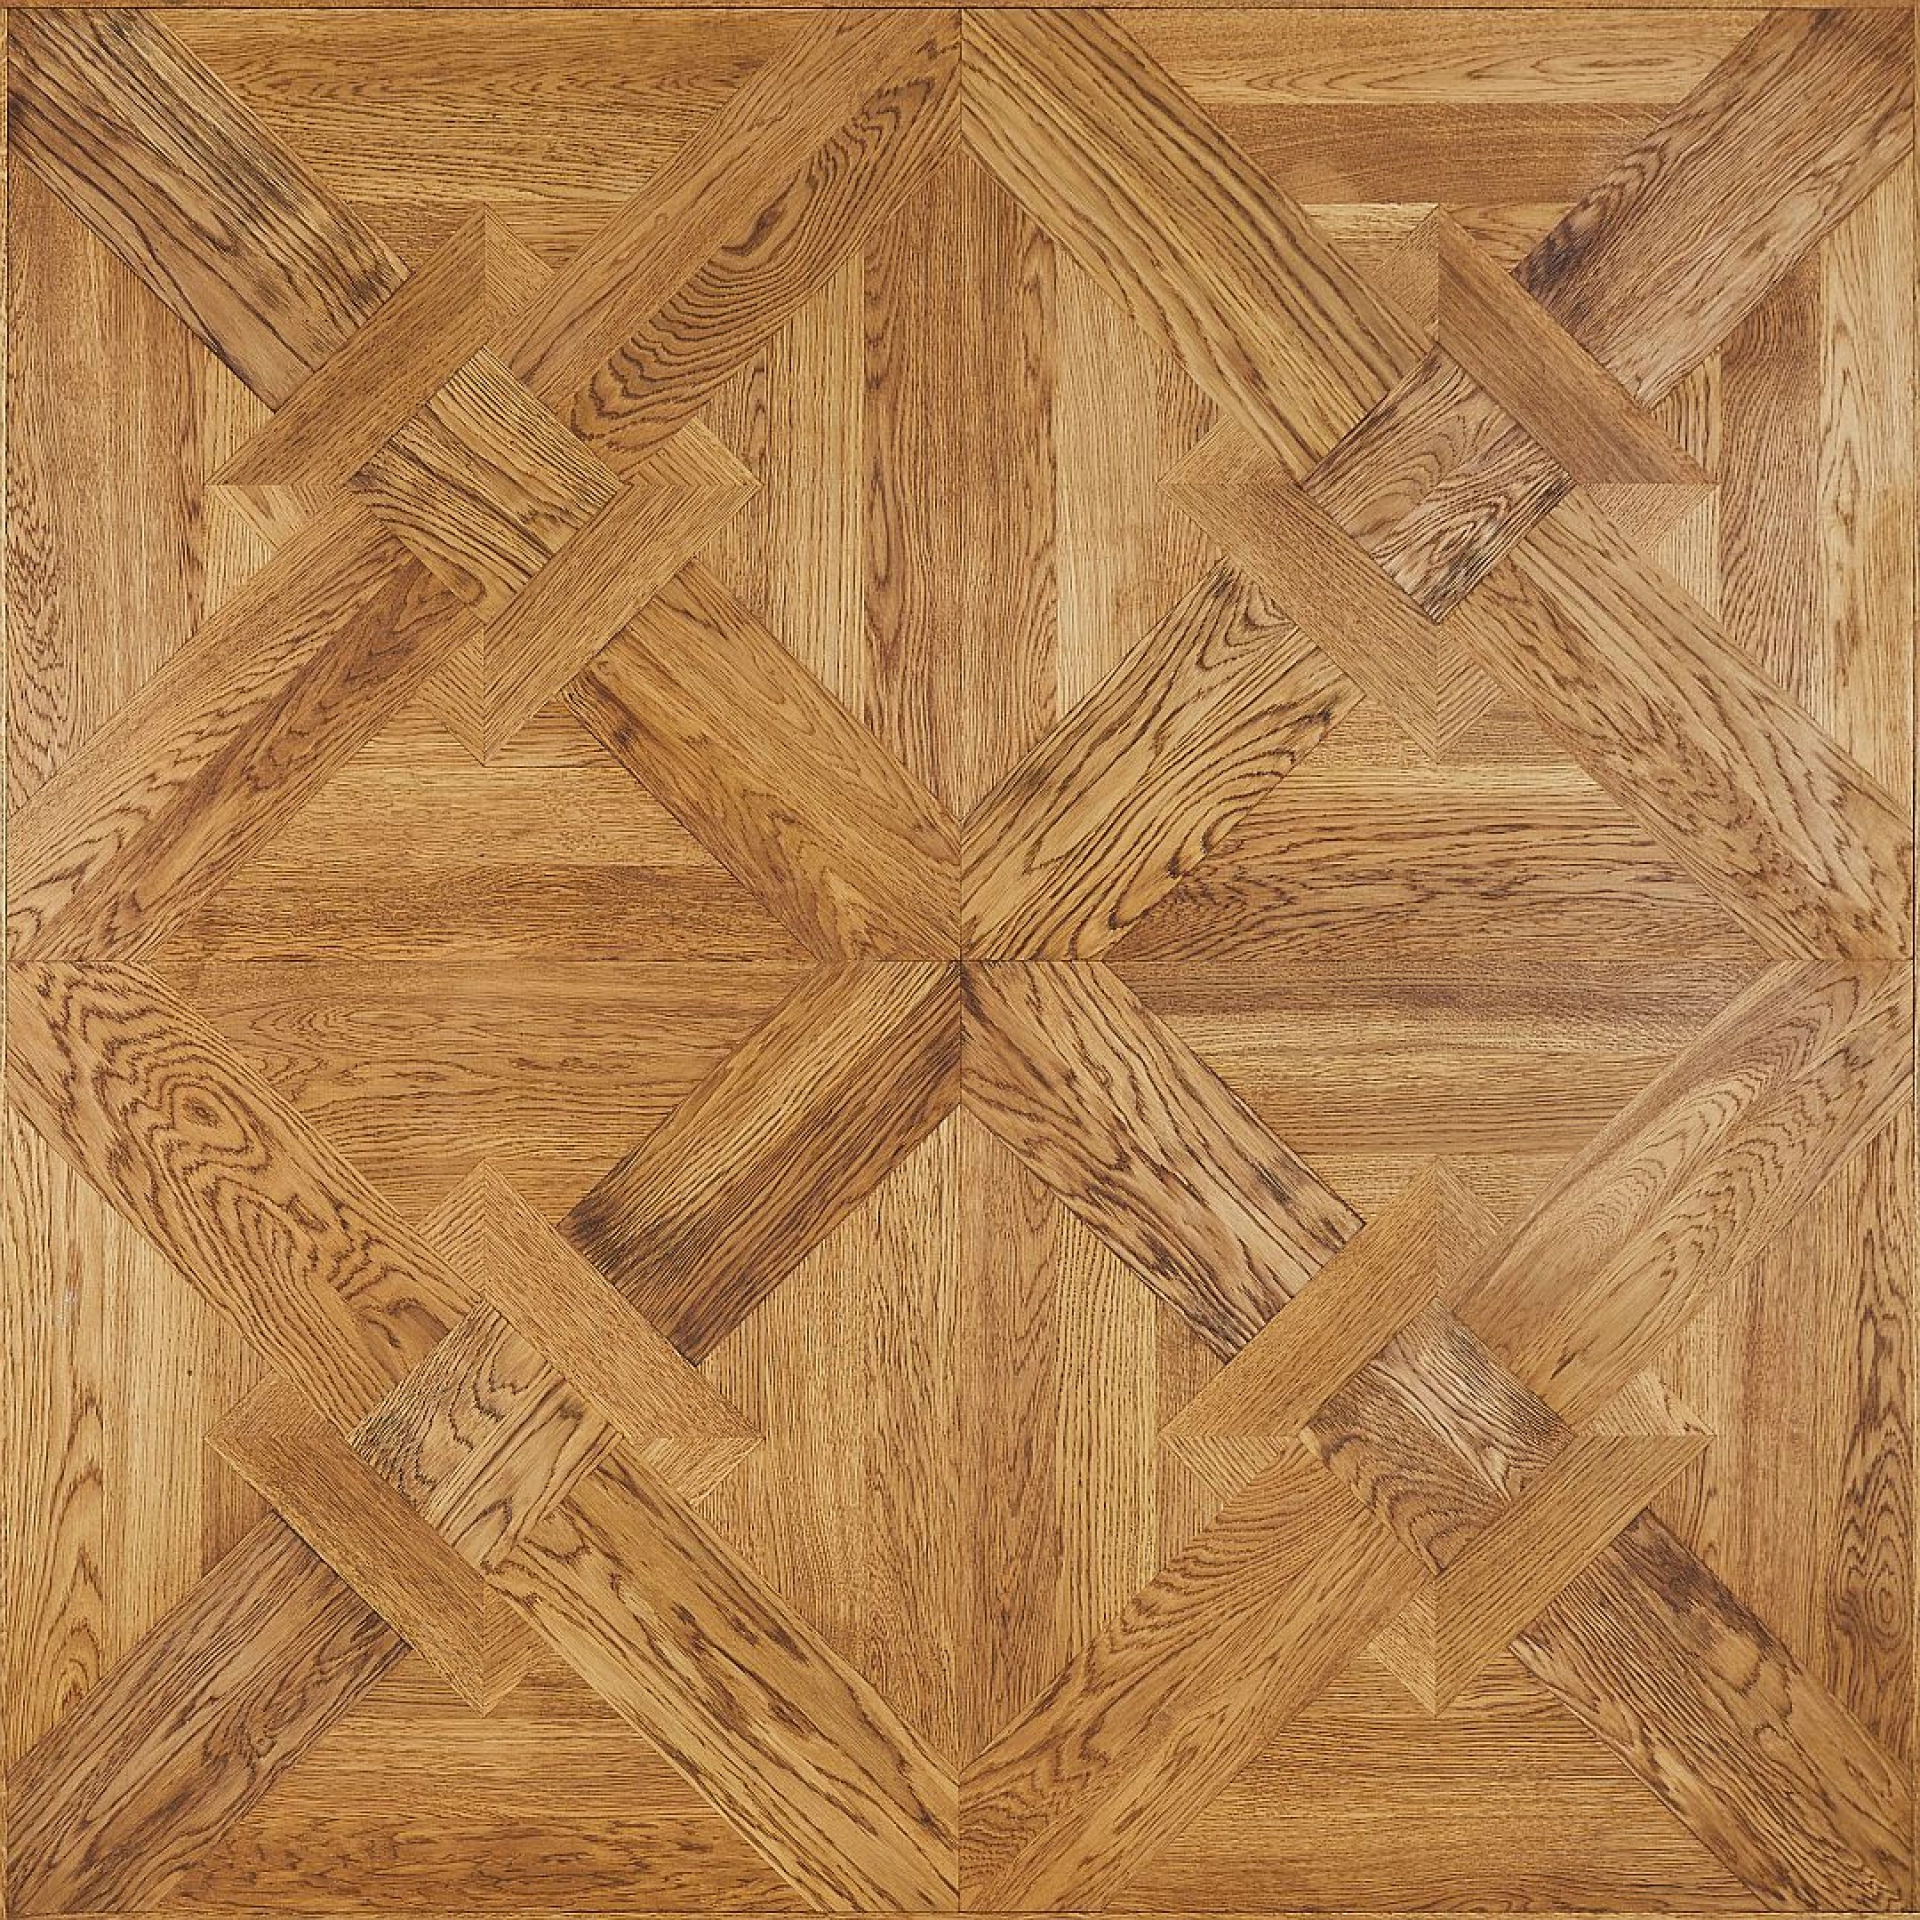
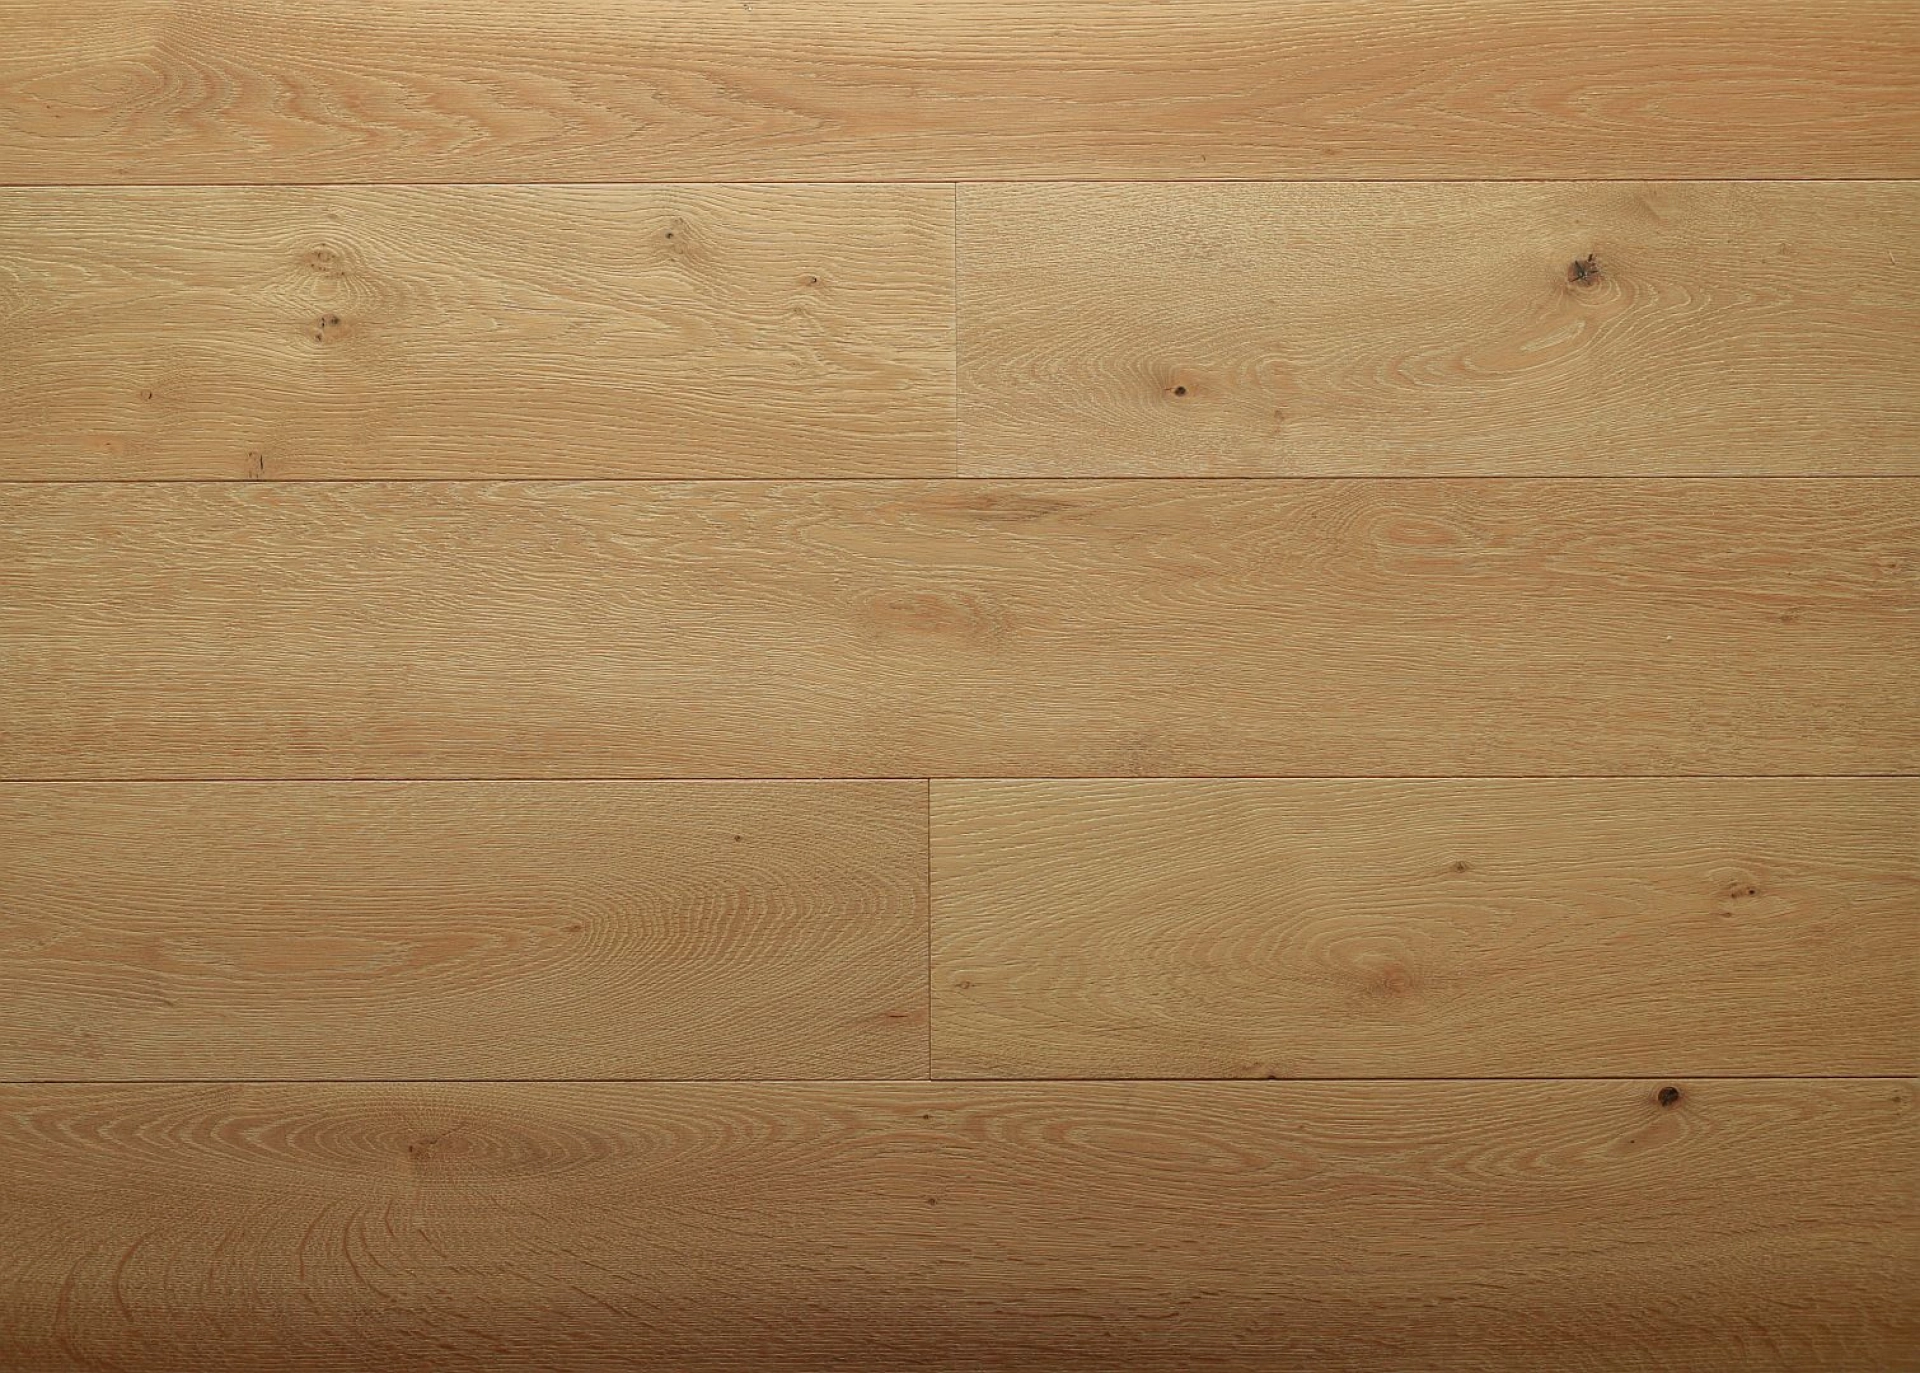
Installing hardwood flooring is one of the best ways to transform a room, adding warmth, durability, and long-term value to your home. Whether you are planning a full renovation or replacing old floors, understanding how to install hardwood flooring properly is essential for achieving a professional finish. At 7braci.com, we specialise in wooden floors and joinery, and we know that great results come from careful preparation, the right tools, and precise installation.
Before You Start: Planning and Preparation
Before installing hardwood flooring, it is important to choose the right type of wood and installation method for your space. Solid hardwood flooring is made from a single piece of timber and is usually nailed or stapled down. Engineered hardwood flooring has a plywood base with a real wood surface and can often be glued, floated, or nailed depending on the product.
Room conditions also matter. Hardwood flooring should acclimatise in the room where it will be installed for at least 48 to 72 hours, or as recommended by the manufacturer. This helps the wood adjust to the room’s temperature and humidity, reducing the risk of expansion, gaps, or cupping later on.
Make sure the subfloor is clean, dry, level, and structurally sound. Remove old flooring, nails, debris, and any adhesive residue. If the subfloor is concrete, check moisture levels before proceeding. On timber subfloors, replace any damaged boards and secure loose areas.
Tools and Materials You Will Need
To install hardwood flooring successfully, you will need the following tools and materials: hardwood planks, underlay or moisture barrier if required, measuring tape, chalk line, saw, spacers, hammer or flooring nailer, pry bar, tapping block, safety equipment, adhesive if using glue-down installation, and finishing trim or skirting. Having everything ready before you begin makes the process smoother and helps avoid costly mistakes.
Step 1: Measure the Room
Start by measuring the length and width of the room to calculate the total square metres. Always buy extra hardwood flooring, usually 10% more than the measured area, to allow for cuts, waste, and future repairs. If the room has an unusual shape or multiple doorways, allow slightly more material.
Step 2: Prepare the Subfloor
The subfloor is the foundation of your hardwood flooring installation, so it must be perfectly prepared. Check for uneven areas and level them using suitable floor levelling compound or sanding if necessary. For timber subfloors, make sure boards are firmly fixed and there is no movement. For concrete subfloors, ensure the surface is dry and free from cracks or contamination. Installing hardwood flooring over an imperfect subfloor can cause squeaks, movement, and visible problems in the finished floor.
Step 3: Plan the Layout
Before laying any boards, decide on the direction of the flooring. In most cases, hardwood floor planks are installed parallel to the longest wall or in the same direction as natural light to create a more attractive look. Dry-lay a few boards first to check the pattern and ensure that the final rows will not be too narrow. It is also wise to mix boards from several packs during installation to blend natural colour variations evenly across the floor.
Step 4: Install the Underlay or Moisture Barrier
If your hardwood floor requires underlay or a moisture barrier, fit it carefully before laying the boards. This is especially important on concrete subfloors or in rooms where moisture may be present. The underlay can improve comfort underfoot, reduce sound, and provide additional protection against damp. Follow the manufacturer’s instructions closely, as different hardwood flooring products require different preparation methods.
Step 5: Lay the First Row
Begin in a straight corner of the room and place spacers between the boards and the wall to leave an expansion gap, usually 10mm to 15mm. Hardwood flooring expands and contracts naturally, so this gap is essential. Position the first row with the tongue or groove facing the correct direction depending on the installation system. Use a spirit level or chalk line to ensure the first row is perfectly straight, as every other row will follow this line.
Step 6: Secure the Flooring
The installation method depends on the type of hardwood flooring you are using. For nail-down installation, use a flooring nailer to fix each board to the subfloor through the tongue. For glue-down installation, apply adhesive in small sections and press the planks firmly into place. For floating engineered hardwood, lock the boards together using the manufacturer’s click system without fixing them directly to the subfloor. Always stagger the end joints of adjacent rows to create a stronger and more natural-looking floor.
Step 7: Cut Around Obstacles
Rooms rarely have simple square layouts, so you will need to cut boards around door frames, pipes, and other obstacles. Measure carefully and mark each cut before using a saw. For awkward shapes, a jigsaw or coping saw may be useful. Take your time with this stage, as neat cuts make a big difference to the final appearance of the floor.
Step 8: Fit the Final Row
The last row may need to be trimmed lengthways to fit the remaining space. Measure the gap carefully, remembering to leave the required expansion gap at the wall. Use a pull bar to lock the final boards into place without damaging the edges. Once all the flooring is installed, remove the spacers and cover the expansion gaps with skirting boards or beading.
Step 9: Finish and Clean the Floor
After installation, clean the floor with a soft broom or vacuum designed for hard floors. If the flooring requires sanding, sealing, staining, or oiling, complete these finishing steps according to the product instructions. Some prefinished hardwood floors can be used immediately after installation, while others may need time to cure before furniture is placed back in the room.
Common Hardwood Flooring Mistakes to Avoid
One of the most common mistakes is failing to acclimatise the wood before installation. Another is skipping subfloor preparation, which can lead to uneven boards and movement. Do not forget the expansion gap, and never force boards tightly against walls or fixed objects. It is also important to use the correct fixing method for the flooring type. A professional hardwood flooring installation will always take these details into account.
Should You Install Hardwood Flooring Yourself?
DIY hardwood flooring installation is possible if you have experience with carpentry and floor fitting, but it does require patience, accuracy, and the right equipment. For larger rooms, complex layouts, or premium timber floors, hiring a wooden floor specialist is often the best choice. A professional installer can ensure the subfloor is properly prepared, the boards are fitted correctly, and the finished result is durable and visually seamless.
Why Choose 7braci.com for Hardwood Flooring Installation?
At 7braci.com, we provide expert wooden floor installation and joinery services designed to deliver quality results that last. From helping you choose the right hardwood flooring to preparing the subfloor and completing the final finish, our team understands every stage of the process. If you want a flawless hardwood floor fitted by experienced specialists, we are here to help.
Final Thoughts
Knowing how to install hardwood flooring is the key to achieving a beautiful, long-lasting result. With careful planning, proper preparation, and the correct installation method, hardwood flooring can completely enhance your home. Whether you decide to fit it yourself or work with a professional, the most important factors are precision, patience, and quality materials. For expert advice and professional hardwood flooring installation, visit 7braci.com.