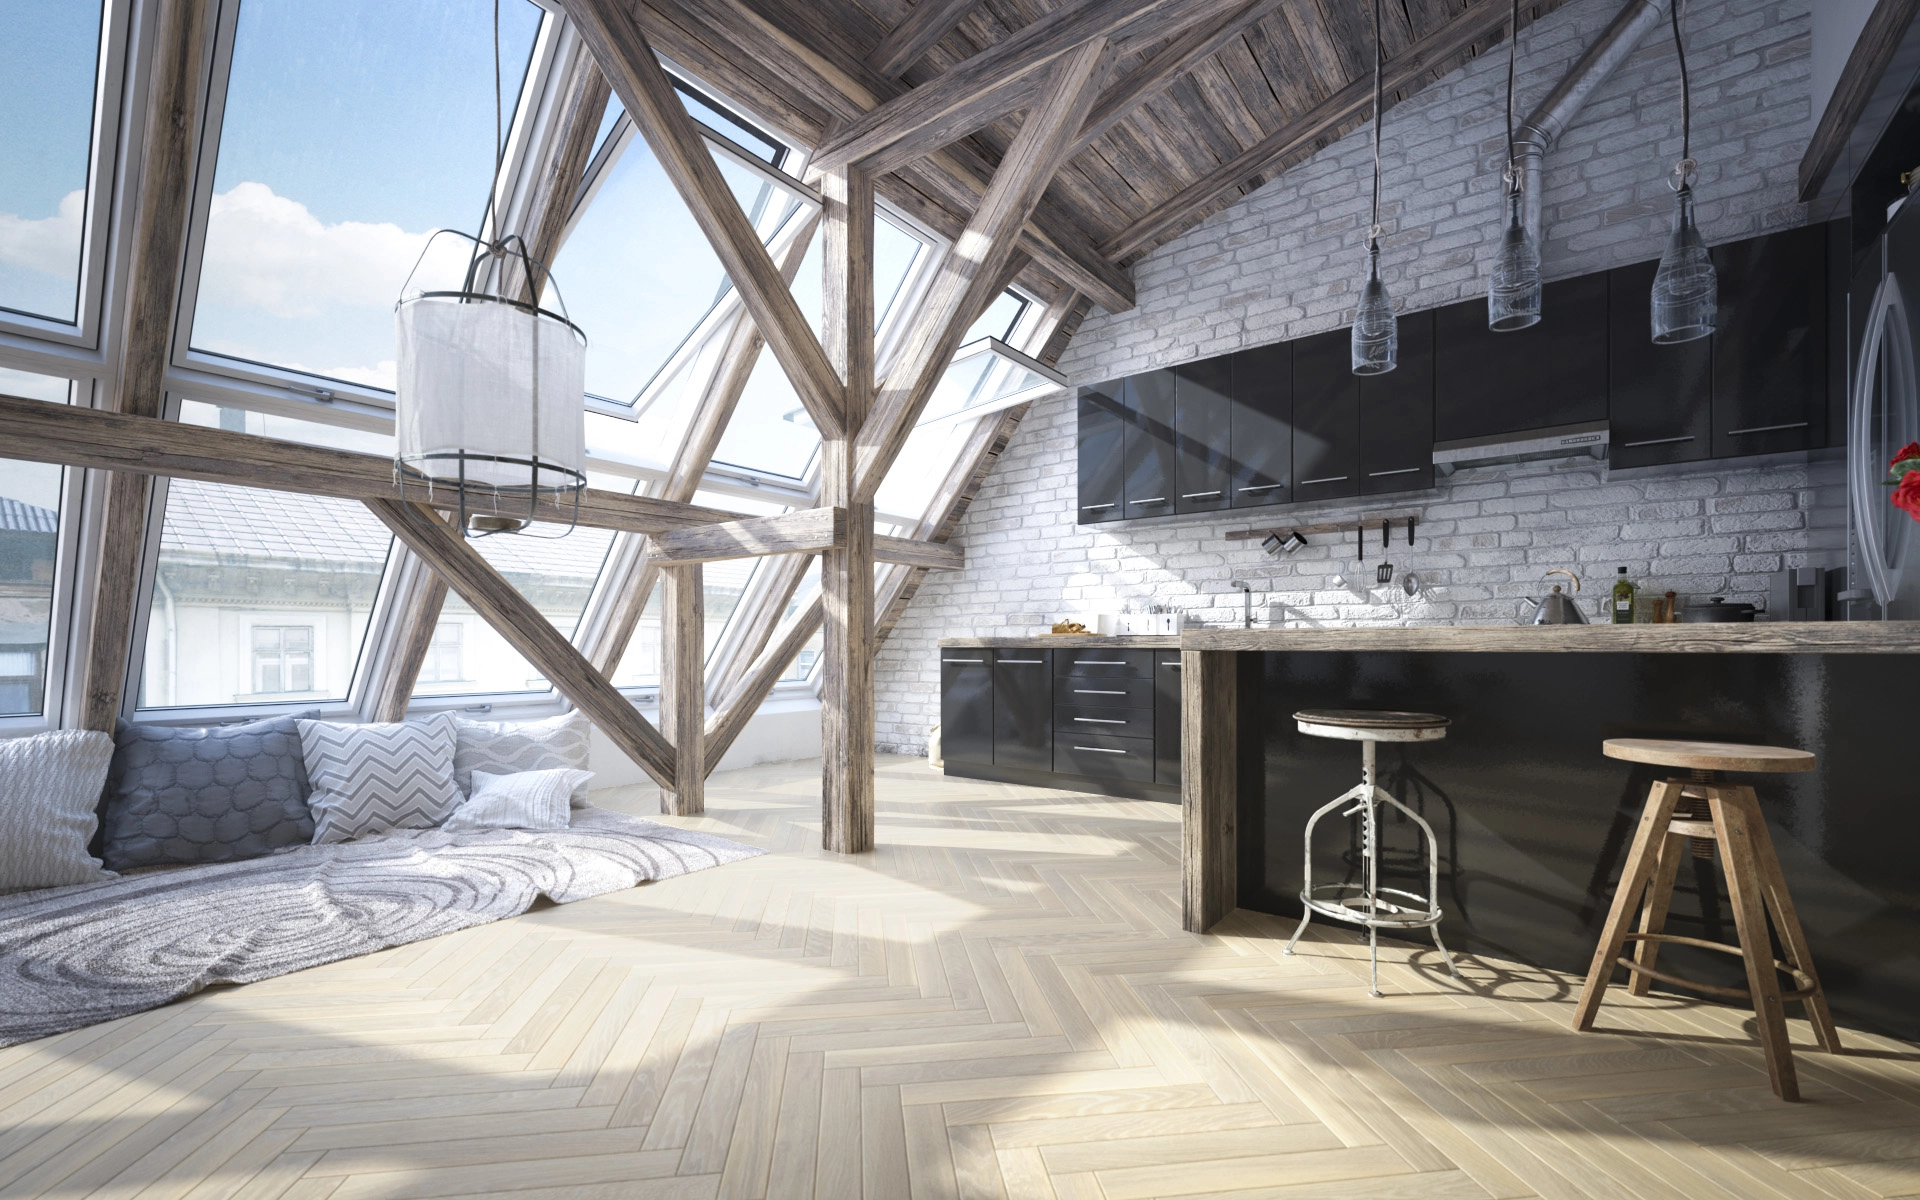
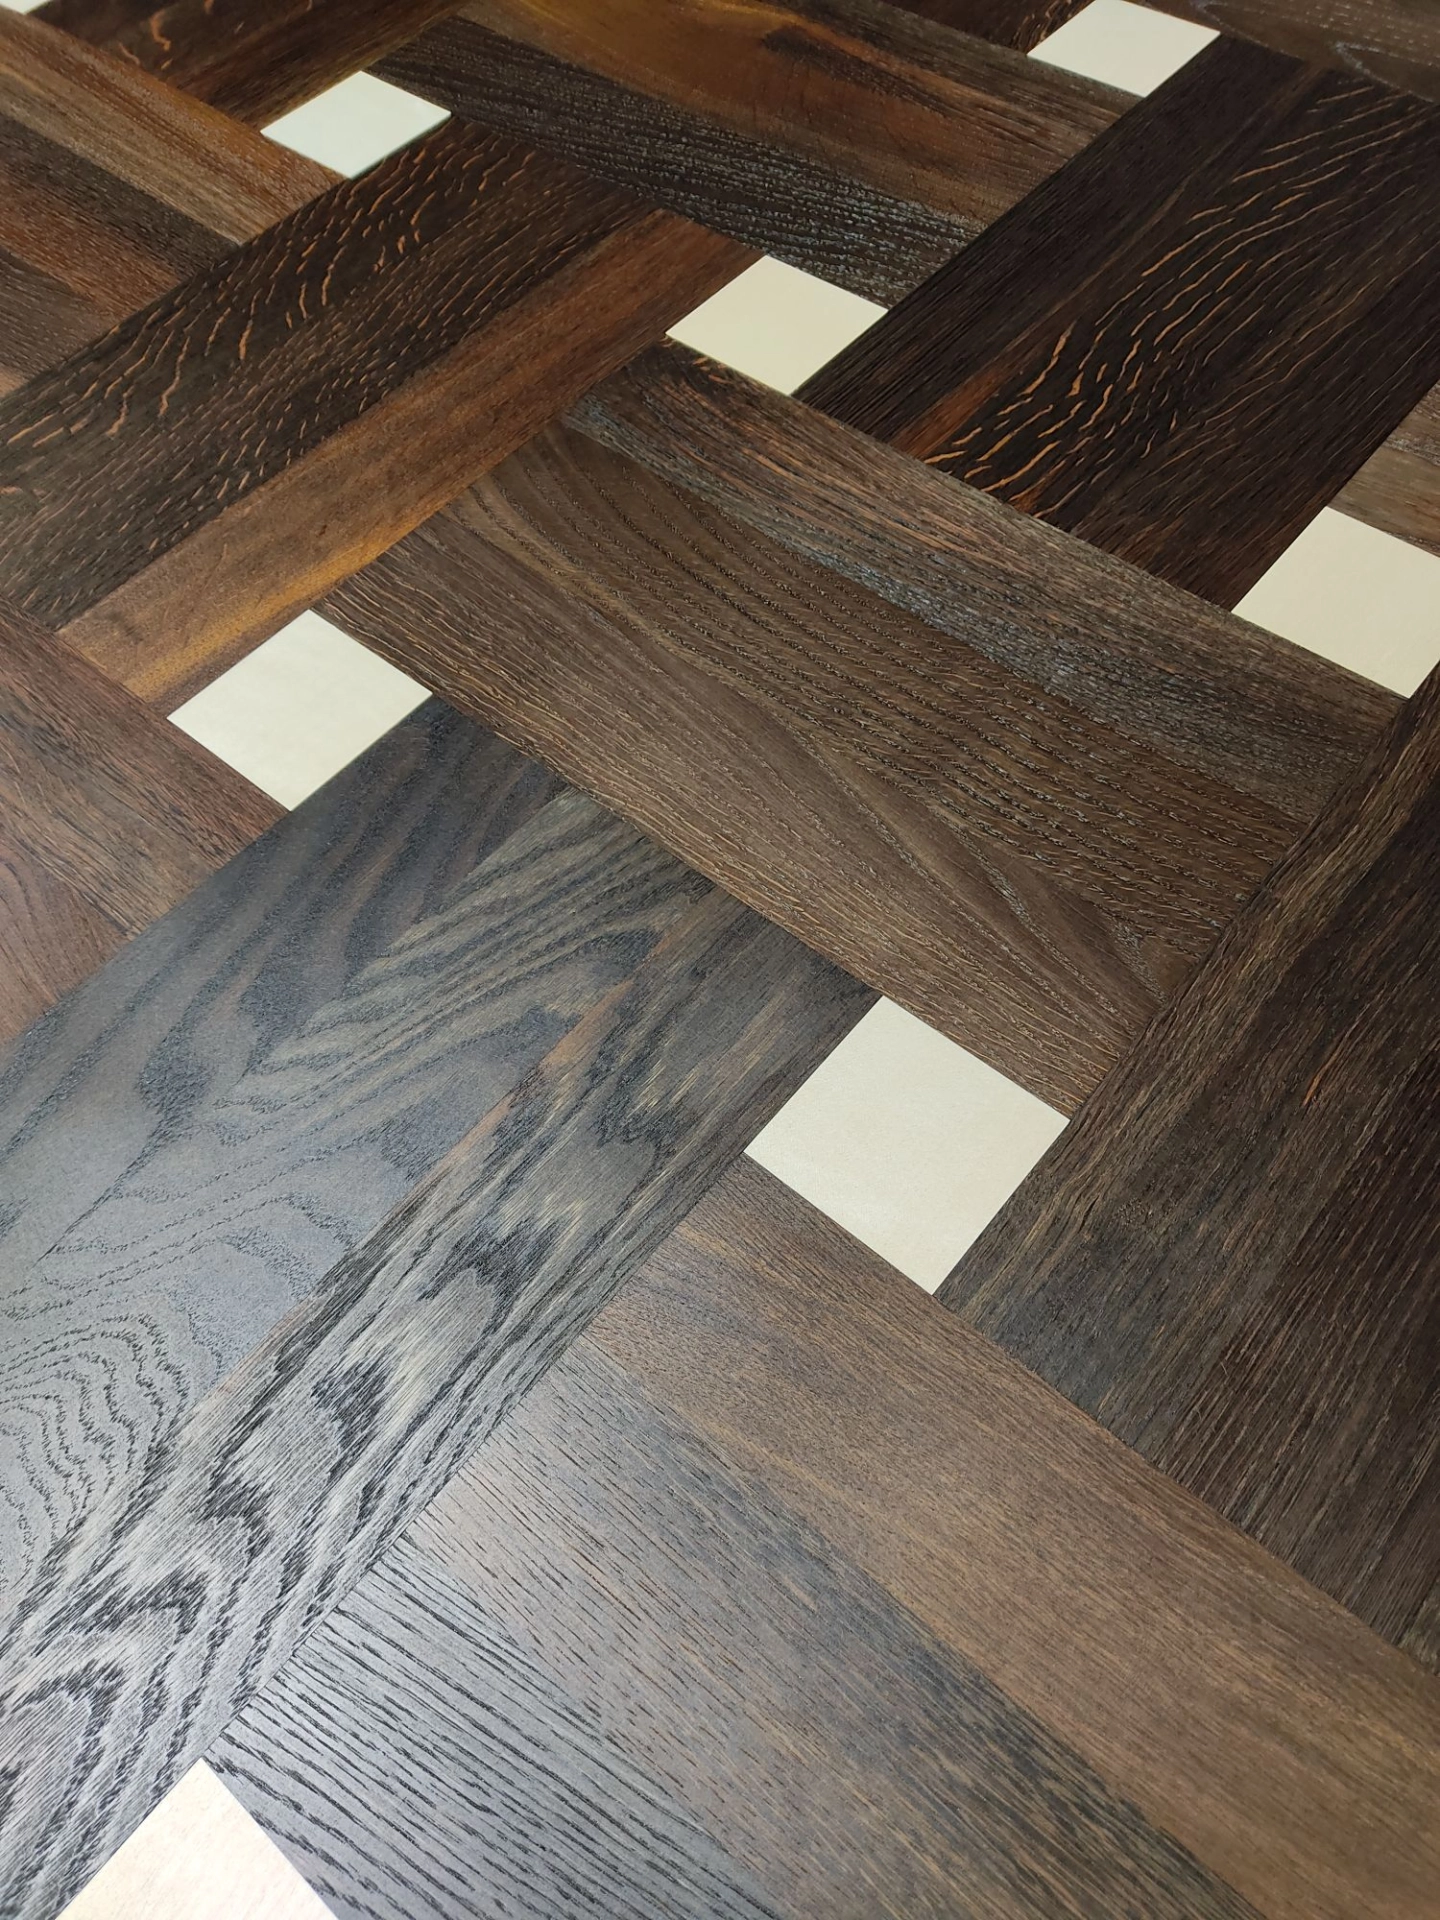
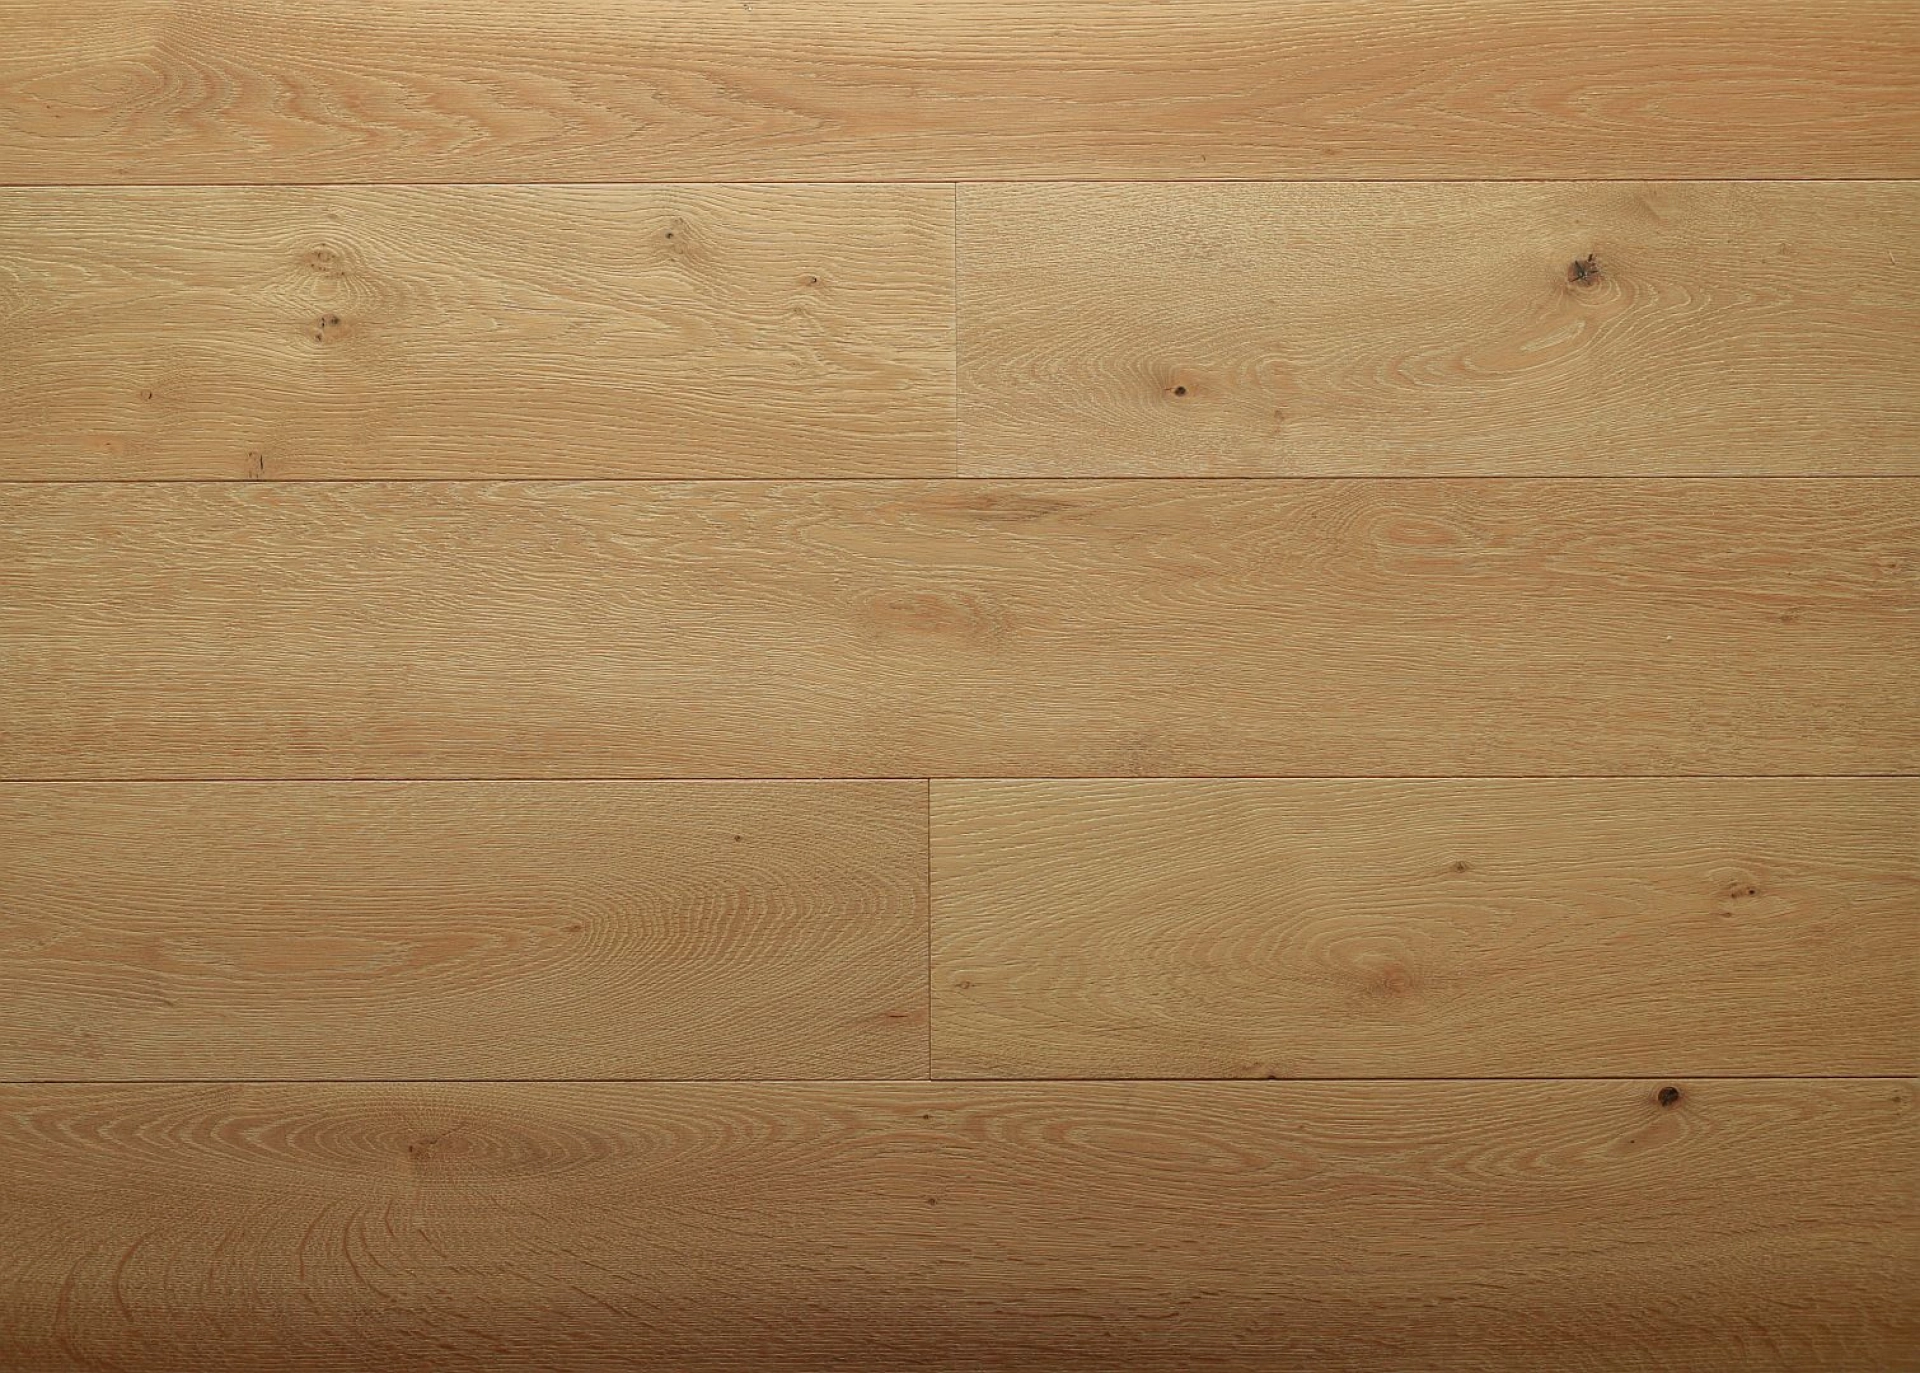
Parquet flooring is a beautiful and durable option that adds warmth, character, and long-term value to any home or commercial space. Whether you are fitting classic herringbone parquet, chevron parquet, or a simpler block pattern, the installation process needs careful planning and precision. At 7braci.com, we specialise in wooden floors and joinery, and in this guide we explain how to install parquet flooring properly for the best possible finish.
What Is Parquet Flooring?
Parquet flooring is made from small pieces of wood arranged in decorative patterns. Unlike standard floorboards, parquet uses blocks or planks laid in repeated designs such as herringbone, basket weave, or brick bond. Because the pattern is visible and highly detailed, accurate installation is essential. Poor preparation or uneven laying can affect both the appearance and performance of the floor.
Tools and Materials You Will Need
Before starting, make sure you have all the right tools and materials. Installing parquet flooring requires more than just the wooden blocks themselves. You will usually need parquet blocks or planks, flooring adhesive, a notched trowel, spacers, a measuring tape, chalk line, saw, rubber mallet, spirit level, adhesive remover, and a roller. If the parquet is unfinished, you may also need sanding equipment, wood filler, primer, and floor finish or sealant.
Step 1: Prepare the Room
Good preparation is the foundation of any successful parquet flooring installation. Start by removing all old flooring, carpet, nails, staples, and debris. The subfloor must be clean, dry, level, and structurally sound. Any loose boards or damaged areas should be repaired before laying the parquet.
It is also important to check the moisture content of the subfloor. Wood is sensitive to moisture, and installing parquet over a damp base can cause warping, lifting, or gaps later on. If needed, use a moisture barrier or damp-proof membrane, especially on concrete subfloors.
Step 2: Acclimatise the Parquet Flooring
Parquet flooring should be left in the room where it will be installed for at least 48 to 72 hours before fitting. This allows the wood to acclimatise to the room’s temperature and humidity. If this step is skipped, the wood may expand or shrink after installation, causing movement in the floor.
Keep the packs flat and unopened if possible, and make sure the room conditions are stable. Ideally, the room should be heated to a normal living temperature before installation begins.
Step 3: Plan the Layout
One of the most important parts of installing parquet flooring is planning the layout. Because parquet patterns are geometric, the floor must be centred and aligned carefully. Start by finding the middle of the room and marking guide lines with a chalk line. This helps ensure the pattern runs straight and symmetrical.
If you are installing herringbone parquet flooring, decide which direction the pattern will run. In many cases, the parquet is laid in the direction of the main light source or towards the longest wall to improve the visual effect. Dry-lay a few pieces first to check the pattern and make adjustments before applying adhesive.
Step 4: Prepare the Adhesive
Most parquet flooring is fixed using a specialist flooring adhesive. Follow the manufacturer’s instructions carefully when mixing and applying it. Use a notched trowel to spread the adhesive evenly over a small area at a time. Do not cover the entire floor at once, as the adhesive may start to cure before the parquet is laid.
Work in manageable sections to maintain control and ensure good bonding. The adhesive should be spread consistently so that each parquet block sits firmly and evenly on the subfloor.
Step 5: Lay the First Rows
The first rows are crucial because they set the direction for the rest of the floor. Place the initial blocks carefully along your chalk line, pressing them into the adhesive with steady pressure. Use spacers if required to maintain expansion gaps around the edges of the room. These gaps allow the wood to expand naturally with changes in humidity.
For patterned parquet such as herringbone, start from the centre line and work outward. Check alignment regularly with a spirit level and measuring tape. A small error at the beginning can become much more noticeable as the floor progresses.
Step 6: Continue Laying the Parquet
Once the first section is in place, continue laying the parquet blocks pattern by pattern. Press each piece firmly into the adhesive and tap gently with a rubber mallet if needed. Maintain consistent joints and make sure the blocks are flush with one another.
Wipe away any excess adhesive immediately before it dries. Keep checking the pattern as you work to ensure it remains straight and evenly spaced. When you reach the edges of the room, measure and cut the final blocks carefully so they fit neatly against the walls or skirting.
Step 7: Leave the Floor to Cure
After the parquet has been laid, leave it to cure fully according to the adhesive manufacturer’s instructions. This may take 24 to 48 hours or longer. Avoid walking on the floor during this time, and keep the room free from dust and heavy traffic. Rushing this stage can damage the bond and affect the final result.
Step 8: Sand and Finish the Floor
If your parquet flooring is supplied unfinished, sanding is usually required after installation. Sanding creates a smooth, level surface and removes any slight differences between the blocks. This should be done carefully using the correct sanding equipment to avoid damaging the wood pattern.
After sanding, apply your chosen finish. This may be oil, lacquer, varnish, or hardwax oil depending on the look and protection level you want. A quality finish enhances the grain, protects the timber, and makes the floor easier to maintain. Allow each coat to dry fully before applying the next.
Common Mistakes to Avoid
One of the most common mistakes when installing parquet flooring is failing to prepare the subfloor correctly. An uneven or damp base can lead to movement and damage. Another issue is poor planning of the layout, which can leave the pattern looking off-centre or uneven. Not allowing the wood to acclimatise is also a frequent problem.
Other mistakes include using too much or too little adhesive, forgetting expansion gaps, and sanding too aggressively. If you want the floor to last and look its best, patience and accuracy are essential.
Should You Install Parquet Flooring Yourself?
While some experienced DIYers may be able to install parquet flooring, it is often a skilled job that requires precision, specialist tools, and knowledge of wood movement. A small mistake in alignment or preparation can affect the whole floor. For large rooms, intricate patterns, or premium finishes, hiring a professional parquet flooring installer is usually the best choice.
Parquet Flooring Installation by 7 Braci
If you are looking for expert help with parquet flooring installation, 7braci.com offers professional wooden flooring and joinery services tailored to your space. From preparation and laying to sanding and finishing, our team can help ensure your parquet floor is installed to a high standard and built to last.
Final Thoughts
Installing parquet flooring is a detailed process that combines careful preparation, accurate layout, and precise fitting. When done properly, parquet creates a stunning feature that can transform any interior. By following the right steps and avoiding common mistakes, you can achieve a floor that is both elegant and durable for years to come.