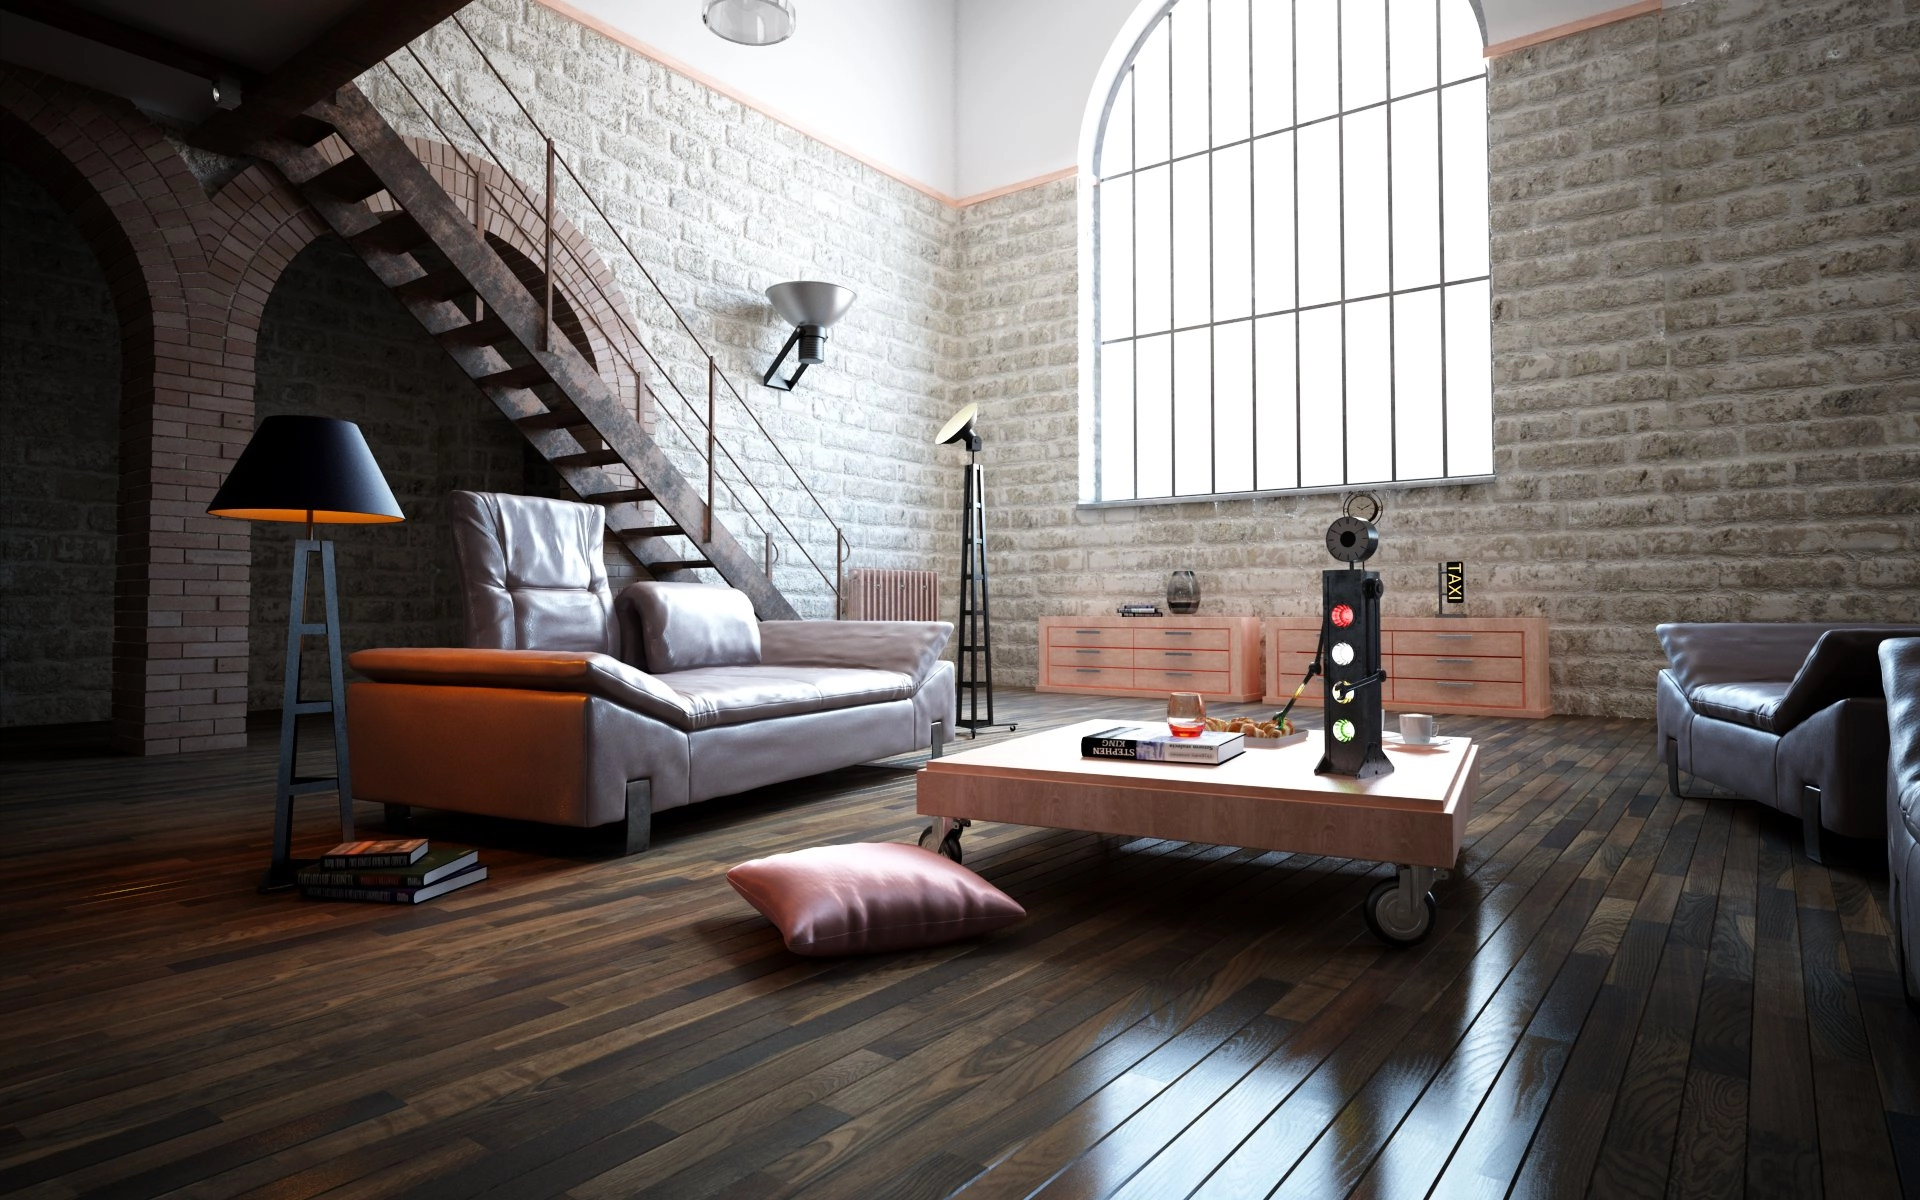
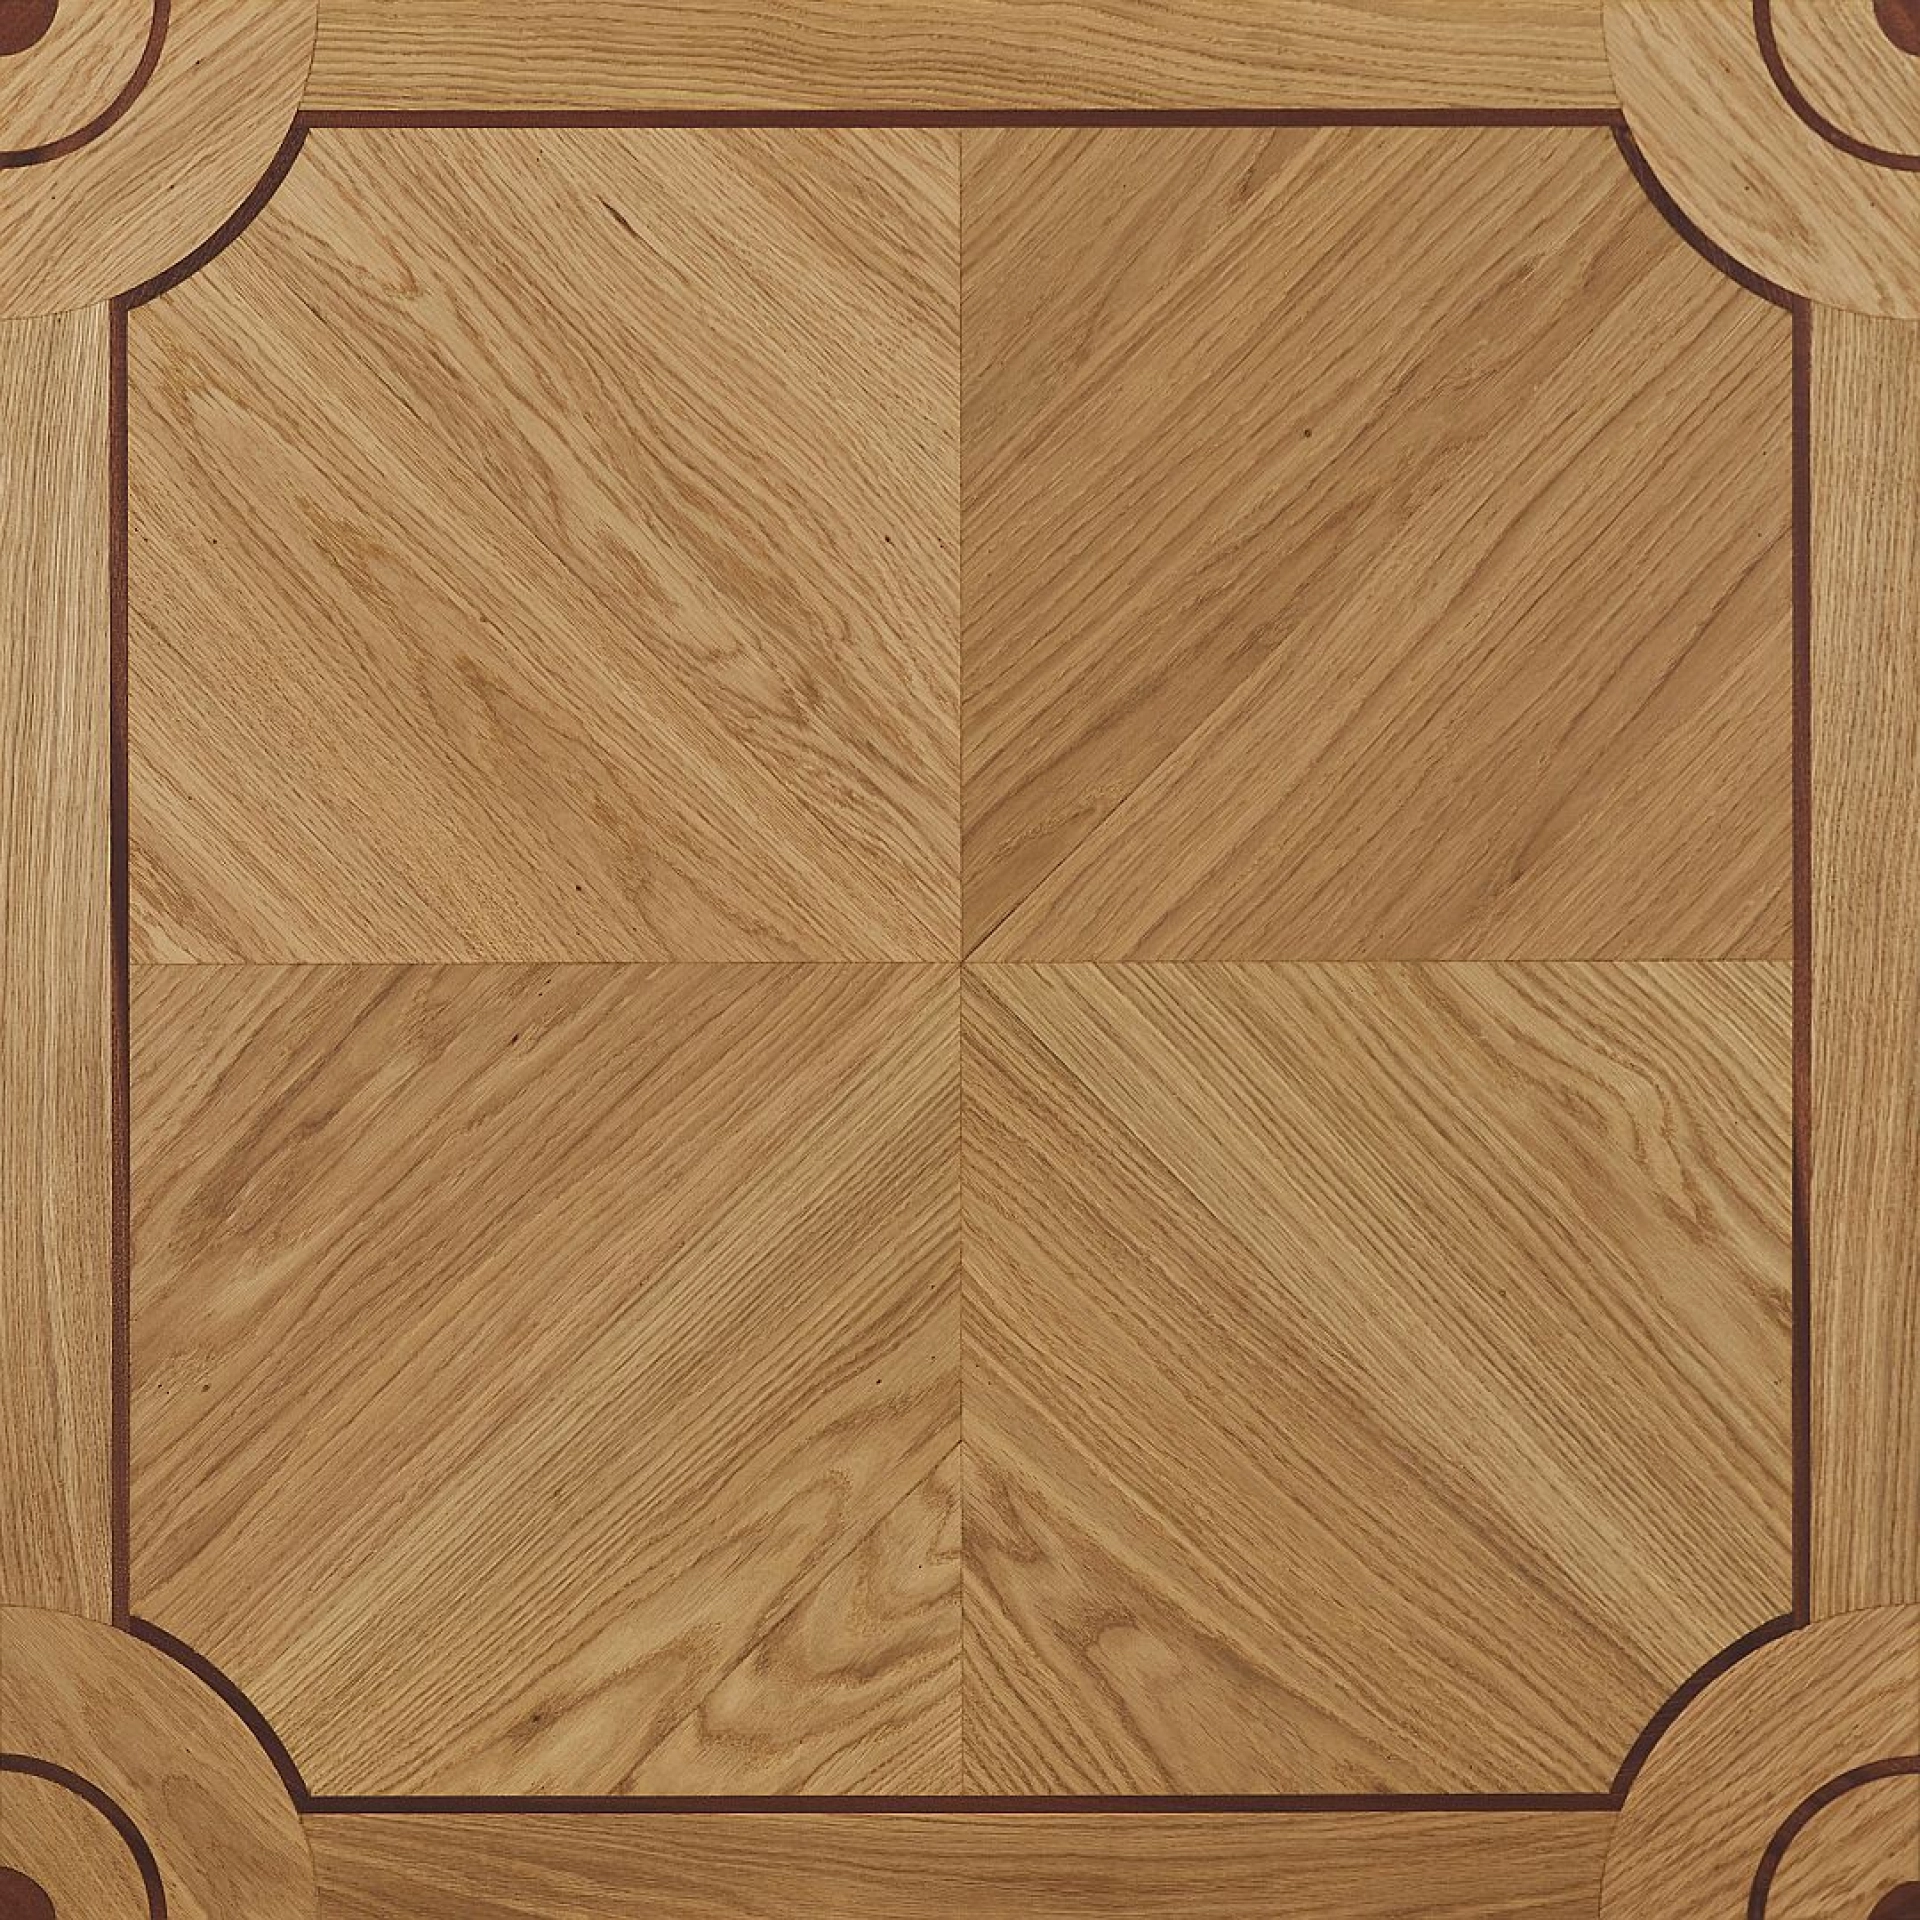
Reclaimed wood flooring is a beautiful, character-rich choice that brings warmth, history, and sustainability to any home. Because it has already aged and dried over many years, it can be a stable and unique flooring option when installed correctly. However, reclaimed timber is often more challenging to work with than new wood, so proper preparation is essential. If you are wondering how to install reclaimed wood flooring, this guide will walk you through the process step by step.
Why Choose Reclaimed Wood Flooring?
Before installing reclaimed wood flooring, it helps to understand why so many homeowners and designers choose it. Reclaimed wood offers a distinctive look with natural patina, nail holes, saw marks, and grain variation that cannot be replicated in new boards. It is also an environmentally friendly option because it reuses existing timber rather than requiring new logging. For homes, offices, and period properties, reclaimed flooring can add authenticity and long-term value.
Check the Condition of the Reclaimed Boards
The first step in installing reclaimed wood flooring is inspecting every board carefully. Reclaimed timber can contain hidden nails, old adhesive, dirt, or damage from previous use. Look for split ends, warped sections, rot, insect activity, and excessive cupping. Boards that are too damaged should be removed or cut down for smaller areas. It is also important to ensure the boards are dry and suitable for interior flooring use. If the timber has been stored in damp conditions, allow time for it to stabilise before installation.
Acclimatise the Wood Before Installation
Acclimatisation is one of the most important parts of installing reclaimed wood flooring. Even old timber can expand or contract when moved into a new environment. Bring the boards into the room where they will be installed and leave them for several days, or ideally longer, so they can adjust to the temperature and humidity of the space. Keep the room heated and ventilated in normal living conditions during this time. This helps reduce the risk of movement, gaps, or buckling after fitting.
Prepare the Subfloor Properly
A level, clean, and dry subfloor is essential for a successful reclaimed wood flooring installation. The subfloor may be concrete, plywood, or an existing wooden base. Begin by removing dust, debris, old adhesives, and loose material. Check for uneven areas and correct them using suitable levelling compounds or sanding where required. Moisture testing is also important, especially on concrete subfloors, because excess damp can damage timber flooring. If needed, fit a damp proof membrane or underlay suitable for the chosen installation method.
Plan the Layout Before Fitting
Careful layout planning will help you achieve a professional finish. Measure the room and decide which direction the boards should run. In most cases, wooden flooring looks best running along the longest wall or in the direction of natural light. Mix boards from different bundles or stacks to balance colour and character variations. Because reclaimed wood often contains different tones and markings, dry-lay a section first to check the visual effect. This allows you to avoid placing too many similar boards together and helps create a more natural appearance.
Choose the Right Installation Method
There are several ways to install reclaimed wood flooring, and the best method depends on the board thickness, subfloor type, and condition of the timber. The most common methods are secret nailing, direct fixing, or floating with adhesive systems. In many traditional settings, secret nailing to a timber subfloor is ideal. On concrete subfloors, a fully bonded adhesive system may be more appropriate. Floating floors are less common for reclaimed timber but may be used in certain engineered or prepared systems. Always follow manufacturer guidance if using a specialist adhesive or underlay.
Fit the First Row Carefully
The first row sets the standard for the rest of the floor, so take your time. Start along the straightest wall, leaving an expansion gap around the perimeter to allow for natural movement. Use spacers to maintain this gap consistently. If the wall is not straight, scribe the boards to fit more accurately rather than forcing them into place. Secure the first row according to your chosen fixing method, making sure the boards are aligned and tightly joined. A well-installed first row makes the rest of the project much easier.
Install the Remaining Boards
As you continue across the room, stagger the end joints to create a stronger and more attractive floor pattern. Avoid lining up joints in adjacent rows. When cutting reclaimed boards, check for hidden nails before using saws or tools, as old metal can damage blades and create hazards. Fit boards tightly together without forcing them, and use suitable tools such as a flooring nailer, adhesive trowel, or tapping block depending on the installation method. Because reclaimed timber may vary in width and thickness, you may need to sort and adjust boards as you go.
Handle Irregularities in Reclaimed Timber
One of the main challenges of reclaimed wood flooring is irregular board shape. Some boards may be slightly bowed, twisted, or uneven. This is normal and part of the character of reclaimed timber, but it must be managed properly. Use clamps, flooring straps, or careful positioning to bring boards into alignment where needed. Minor imperfections can add charm, but significant defects should be removed. If boards vary in thickness, some light planing or sanding may be needed before installation to achieve a smoother overall finish.
Sand and Finish the Floor
Once the reclaimed wood flooring has been installed and any adhesive has fully cured, the floor may need sanding to create an even surface. This step is especially important if the boards have slight height differences or if you want a smoother finish. Sand carefully to preserve the natural character of the timber. After sanding, apply your chosen finish, such as hardwax oil, lacquer, or natural oil. The right finish will protect the wood, highlight its beauty, and make it easier to maintain. Reclaimed flooring often looks best with a finish that enhances the grain without making it appear overly glossy.
Common Mistakes to Avoid
When learning how to install reclaimed wood flooring, avoid rushing the preparation stage. Common mistakes include failing to acclimatise the boards, not checking for moisture, skipping subfloor repairs, and using the wrong fixing method. Another frequent issue is mixing boards without planning, which can create uneven colour patches or visual imbalance. It is also important not to ignore expansion gaps, as this can lead to movement problems later. Taking time to prepare properly will save time, money, and frustration in the long run.
When to Use a Professional Flooring Specialist
While experienced DIYers may be able to install reclaimed wood flooring, many projects are best handled by a professional wooden floor specialist. Reclaimed timber often requires expert assessment, careful sorting, and precise fitting. A specialist can identify hidden defects, recommend the right installation method, and ensure the finished floor is level, secure, and visually consistent. For large spaces, period properties, or premium reclaimed oak flooring, professional installation can make a significant difference to both appearance and durability.
Final Thoughts
Installing reclaimed wood flooring is a rewarding project that can transform a room with character and timeless appeal. The key to success is careful preparation: inspect the boards, acclimatise the timber, prepare the subfloor, and choose the correct fixing method. With the right approach, reclaimed flooring can provide a durable and striking finish that lasts for years. If you want expert help with reclaimed wood flooring installation, 7 Braci can provide specialist advice and professional joinery craftsmanship tailored to your project.