How to Lay Chevron Flooring: A Complete Guide
Chevron flooring is one of the most elegant timber floor patterns you can choose. Its distinctive V-shaped design adds movement, depth, and a premium finish to any room. If you are wondering how to lay chevron flooring, the process requires careful planning, accurate measuring, and a high level of precision. Whether you are a homeowner planning a renovation or a flooring professional looking for a refresher, this guide explains the main steps involved in laying chevron wood flooring correctly.
What Is Chevron Flooring?
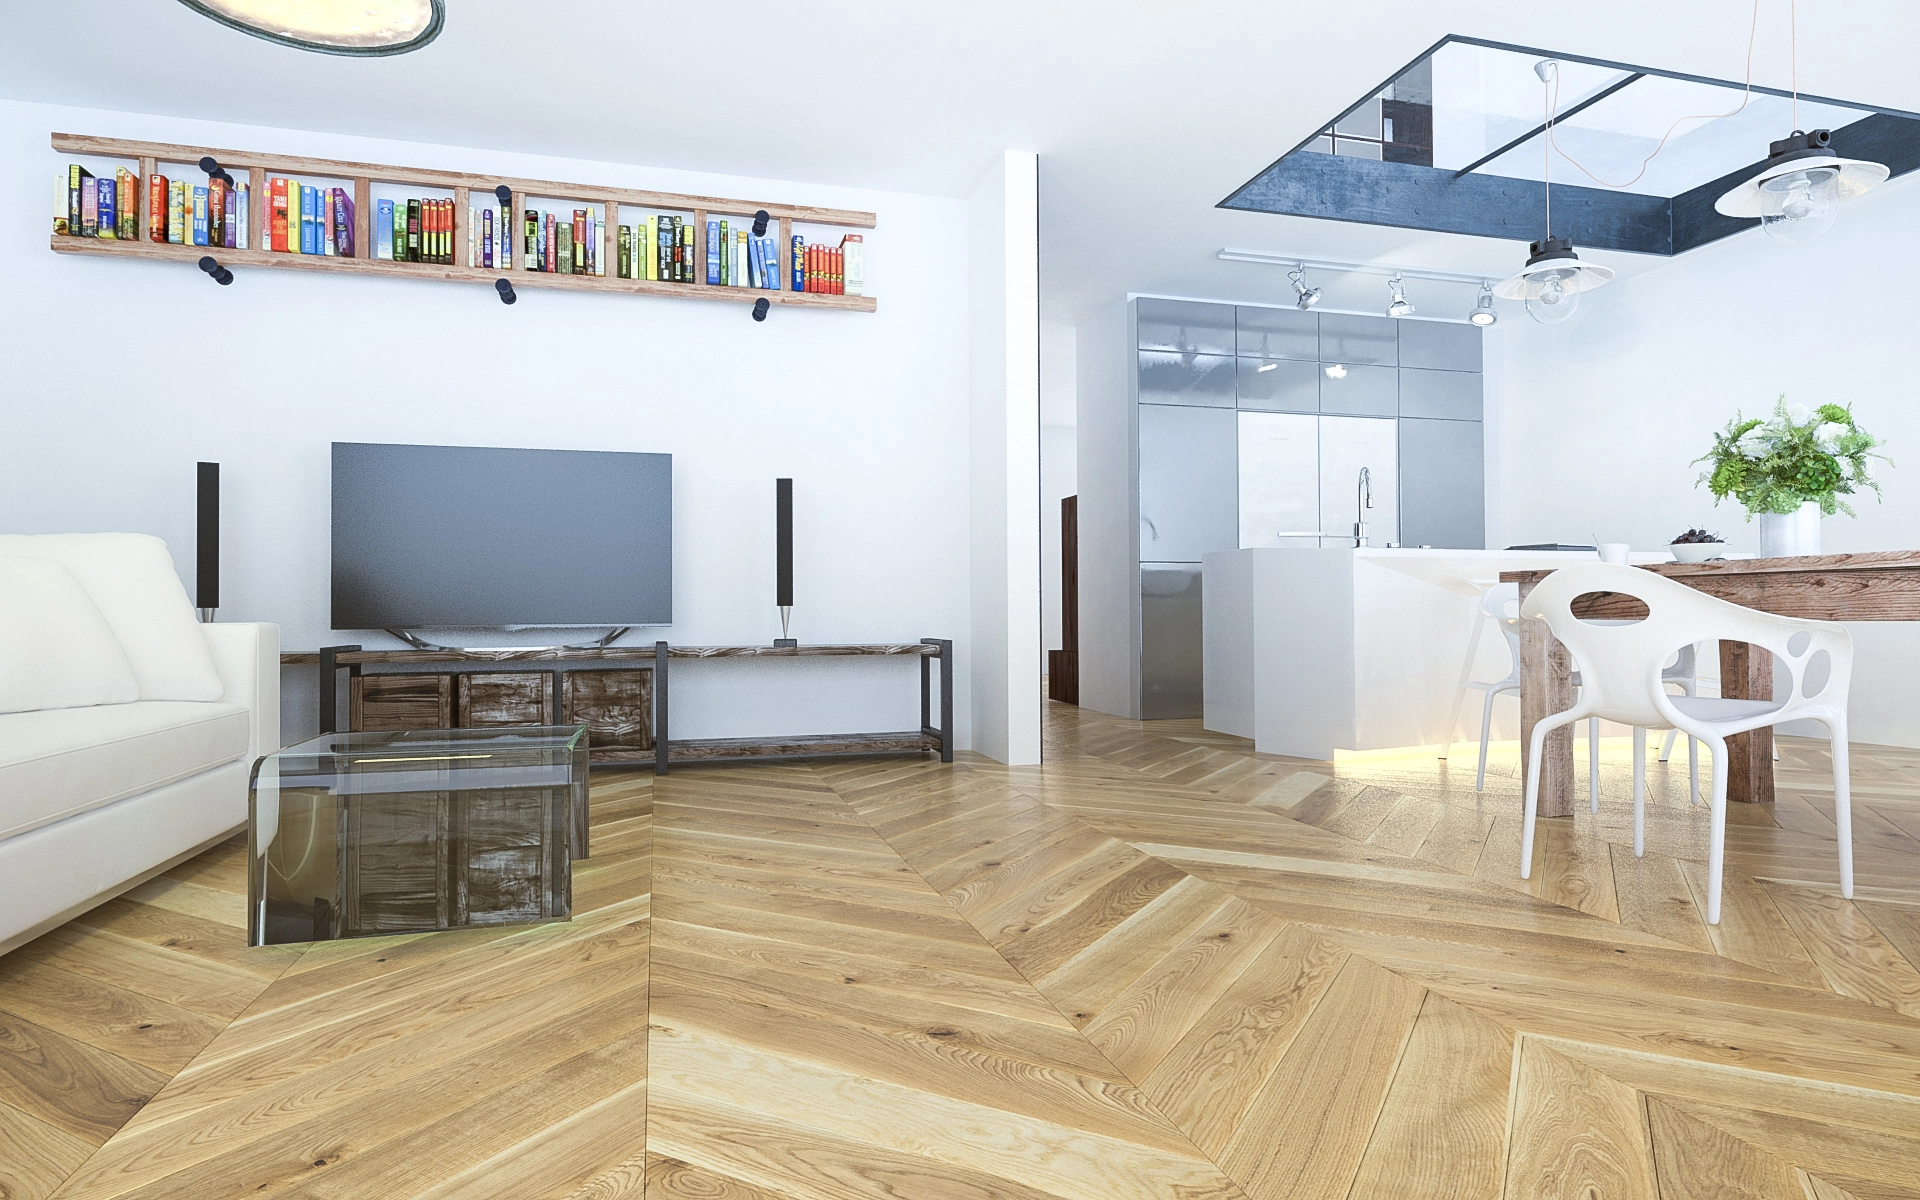
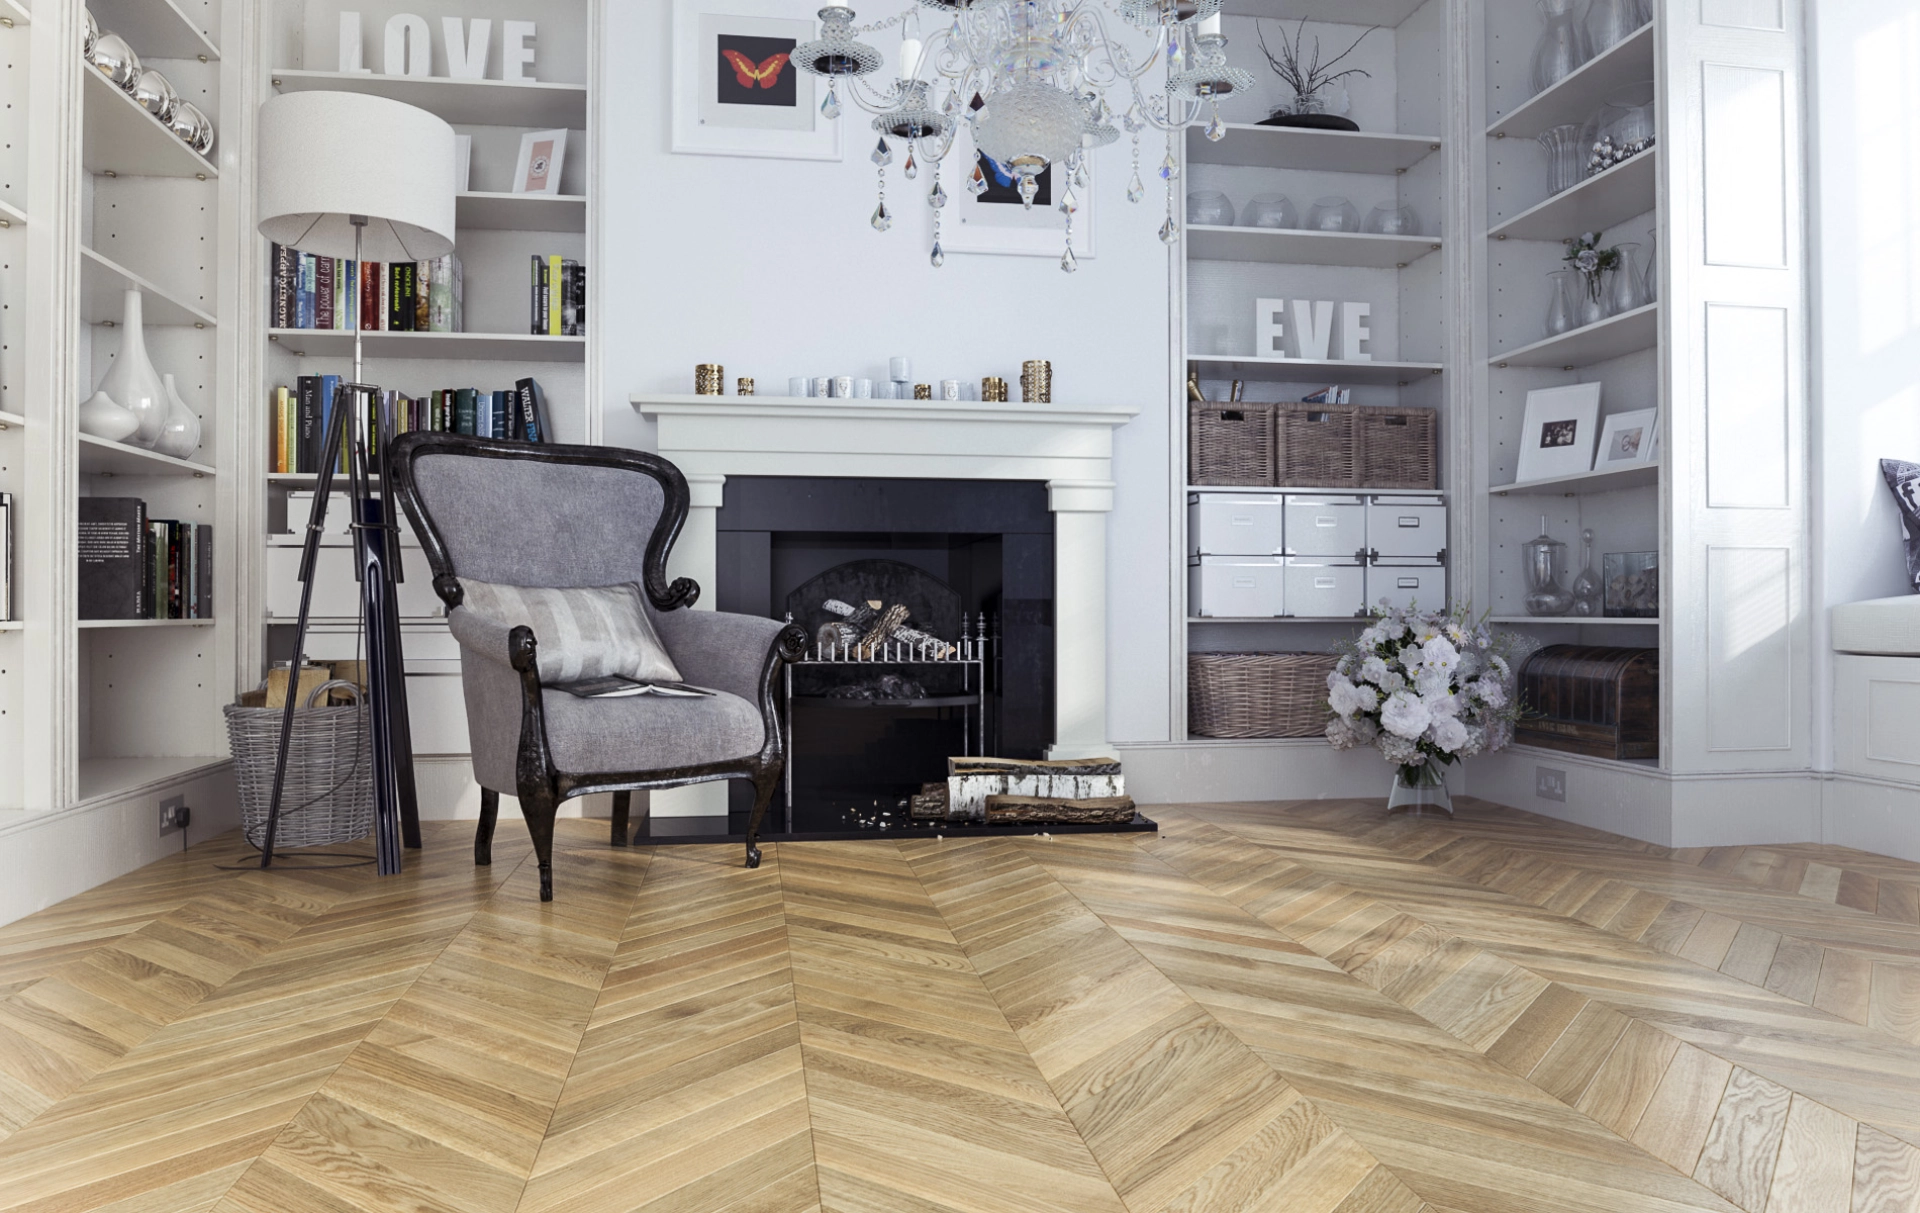
Chevron flooring uses planks cut at an angle so they meet in a continuous zigzag or arrow-like pattern. Unlike herringbone, where planks are laid in a broken staggered design, chevron boards typically meet at a point to form a clean “V” shape. This creates a more structured and striking visual effect. Because the pattern must align perfectly across the room, installing chevron flooring is more technical than fitting straight boards or even standard parquet.
Prepare the Subfloor First
Before you begin laying chevron flooring, the subfloor must be dry, level, clean, and structurally sound. Any dips, bumps, dust, adhesive residue, or moisture issues can affect the finished result. A poorly prepared base will make it difficult to keep the chevron pattern aligned.
If the subfloor is concrete, check moisture levels carefully. If it is timber, make sure all floorboards are secure and there is no movement. In many cases, an underlay or plywood screed layer may be needed to create a suitable surface for installation. The flatter the subfloor, the better the final appearance of your chevron wood flooring.
Acclimatise the Flooring
Wood is a natural material that expands and contracts with changes in temperature and humidity. For this reason, the flooring should be acclimatised in the room where it will be installed for at least 48 to 72 hours, or according to the manufacturer’s instructions. Keep the boxes closed or slightly opened, and store them flat in the room conditions where they will be fitted.
This step helps reduce the risk of gaps, cupping, or movement after installation. It is especially important for engineered wood chevron flooring, which must adapt to the room environment before fitting.
Plan the Layout Carefully
One of the most important parts of how to lay chevron flooring is getting the layout right. Start by finding the centre point of the room. Use a chalk line to mark a straight reference line down the middle. This line will help you keep the pattern symmetrical and ensure the chevron design runs evenly through the space.
It is usually best to dry-lay a section of the floor before fixing anything permanently. This lets you check the angle, spacing, and fit of the boards. It also helps you understand how the pattern will meet the walls, thresholds, and other architectural features.
Because chevron flooring is highly visible, the first rows must be exact. Even a small error at the start can become obvious across the room. For this reason, many people choose to have chevron flooring installed by experienced wooden floor specialists or joinery experts.
Gather the Right Tools and Materials
To lay chevron flooring properly, you will need the correct tools. These typically include a tape measure, chalk line, saw, spacers, adhesive trowel, rubber mallet, spirit level, angle finder, and suitable floor adhesive. Depending on the product, you may also need clamps, a nailer, underlay, or plywood base.
Always use the adhesive and fixing method recommended by the flooring manufacturer. Chevron timber flooring may be installed as a glue-down system, a floating floor, or through another specialist fixing method depending on the product type and subfloor.
Begin in the Centre of the Room
Chevron flooring is usually installed from the centre line outward. Start by placing the first two planks so that their angled ends meet perfectly at the centre point. This creates the first “V” in the pattern. Make sure the boards are aligned exactly with your chalk line before bonding them in place.
Use spacers along the perimeter to allow for expansion gaps. These gaps are essential in any wood flooring installation and should not be omitted. Keep checking alignment as you continue. Since chevron boards are angled, slight movement can quickly affect the symmetry of the whole floor.
Install the Boards Row by Row
Once the first pair is secure, continue adding boards in sequence on each side of the centre line. Work carefully and consistently, checking the fit and angle of every plank before fixing it. Apply adhesive in small sections so it does not dry before the boards are placed.
Press each plank firmly into position and use a mallet if needed to ensure tight joints. Wipe away any excess adhesive immediately. Good bond strength and accurate alignment are essential for a long-lasting chevron wood floor.
As you work outward, regularly check that the pattern remains straight across the room. Small adjustments early on are easier to correct than mistakes discovered near the end of the installation.
Cutting the Edge Pieces
When the chevron pattern reaches the walls, you will need to cut the end boards to fit. Measure carefully and mark each plank before cutting. Because rooms are rarely perfectly square, edge pieces often need individual adjustments.
Leave the required expansion gap around all edges, then cover it later with skirting boards or beading. Never force chevron planks tightly against the wall, as this can lead to movement and damage over time.
Finishing the Floor
Once the floor is installed, allow the adhesive to cure fully before walking on it or moving furniture back into the room. This may take several hours or longer depending on the product used. After curing, remove spacers and fit skirting or trim where needed.
If the flooring is unfinished, it may need sanding, sealing, oiling, or lacquering. Finished chevron flooring may only require cleaning and light maintenance. Always follow the care instructions supplied by the manufacturer.
Common Mistakes to Avoid
There are several common mistakes people make when laying chevron flooring. The biggest is poor layout planning. If the centre line is not accurate, the whole floor can appear off balance. Another issue is starting on an uneven subfloor, which can cause visible lippage or movement.
Using the wrong adhesive, failing to acclimatise the wood, or neglecting expansion gaps can also cause serious problems. Because chevron flooring is such a precise design, rushing the installation usually leads to visible flaws. Taking time at the preparation stage is essential.
Should You Hire a Professional?
While it is possible to learn how to lay chevron flooring, it is a specialist installation. The angled cuts, exact alignment, and need for a flawless finish mean that many property owners choose professional fitting. A skilled wooden floor specialist or joinery team can ensure the pattern is straight, the joints are tight, and the final result matches the quality of the flooring itself.
If you want a premium finish for your home or commercial space, professional installation is often the best choice. This is especially true for large rooms, unusual layouts, or high-end timber floors where precision matters.
Final Thoughts
Knowing how to lay chevron flooring starts with careful preparation, accurate marking, and a patient, methodical approach. From subfloor preparation and acclimatisation to setting the first point and continuing the pattern across the room, every stage must be done with precision. When installed correctly, chevron wood flooring creates a timeless, elegant finish that adds value and character to any interior.
For the best results, consider working with experienced wooden floor specialists who understand the detail required for chevron flooring installation. A perfectly laid chevron floor is not just a surface — it is a feature that transforms a room.