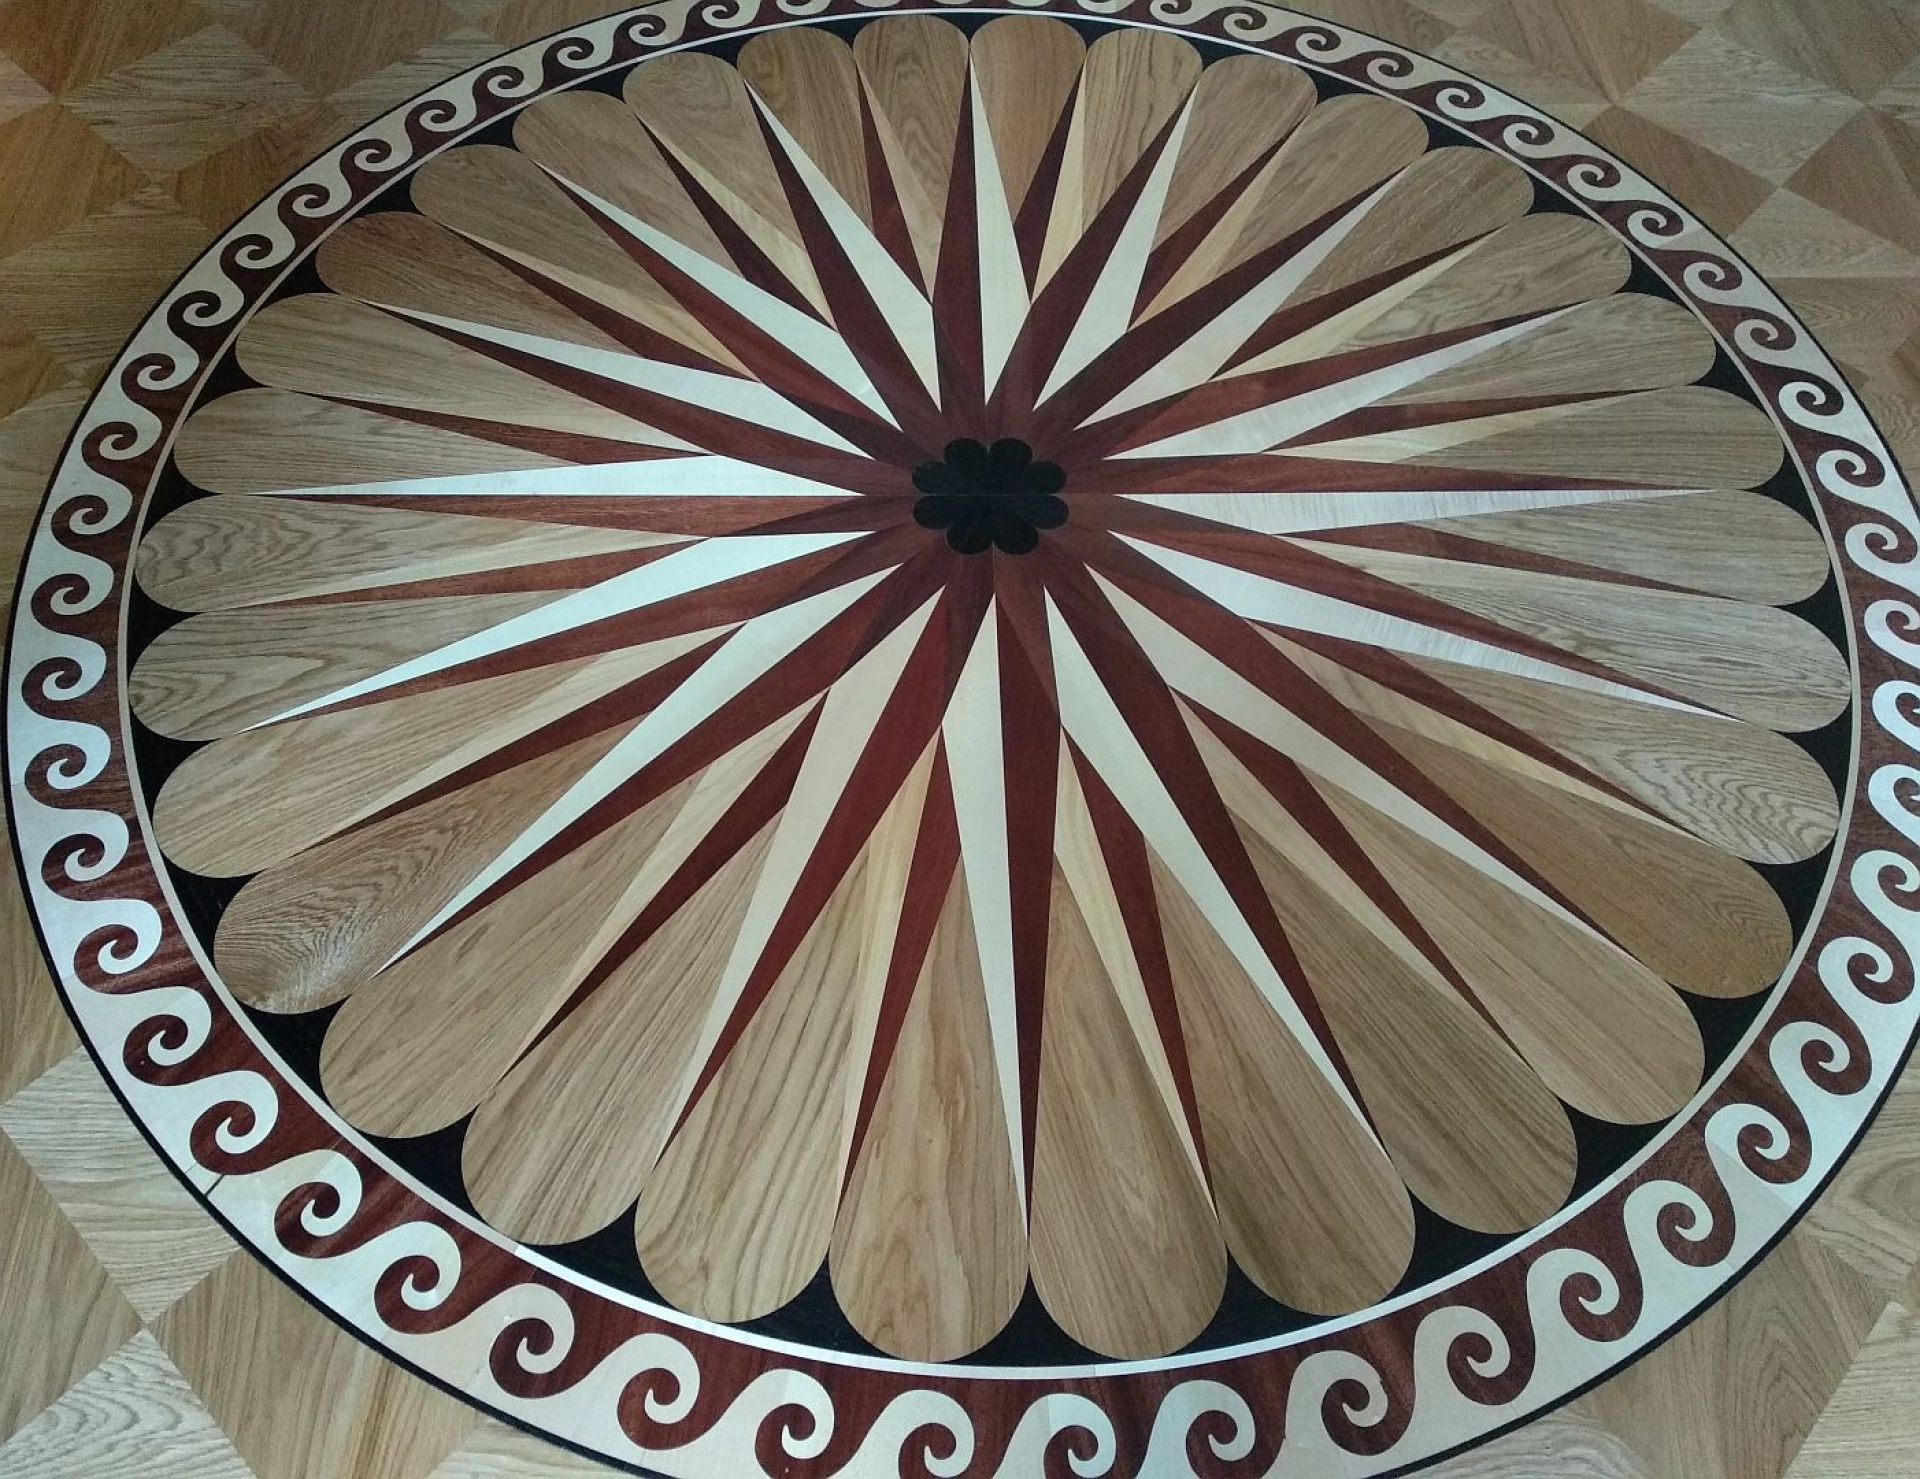
Oak flooring is one of the most popular choices for homes and commercial interiors because it is strong, timeless, and adds real value to a property. Whether you are fitting solid oak boards or engineered oak flooring, the installation process must be done carefully to ensure a long-lasting, attractive finish. At 7braci.com, we specialise in wooden floors and joinery, so we know that the key to a successful oak floor installation is proper preparation, accurate fitting, and attention to detail.
Before You Start: Check the Type of Oak Flooring
Before installing oak flooring, it is important to know which product you have. Solid oak flooring is made from one piece of timber and usually needs more careful moisture control. Engineered oak flooring has a real oak top layer over a stable core, making it more suitable for areas with changing humidity or underfloor heating. Both options look beautiful, but the fitting method may vary depending on the product and the subfloor.
Always check the manufacturer’s instructions before beginning. These will tell you whether the floor should be nailed, glued, floated, or secret-fixed. Choosing the wrong installation method can lead to movement, gaps, or damage over time.
Acclimatise the Oak Flooring
One of the most important steps when installing oak flooring is acclimatisation. The timber needs time to adjust to the temperature and humidity of the room where it will be fitted. Bring the flooring into the room at least 48 to 72 hours before installation, and keep the packs unopened or slightly opened as recommended by the supplier.
This helps reduce the risk of expansion or shrinkage after fitting. If the oak flooring is installed too quickly, the boards may move, cup, or gap once they settle into the room environment.
Prepare the Subfloor Properly
A quality oak floor can only perform well if the subfloor underneath is clean, dry, level, and structurally sound. Remove any old floor coverings, nails, dust, and debris. If the surface is uneven, it may need levelling before installation begins. A poor subfloor can cause squeaking, movement, or visible imperfections in the finished floor.
For concrete subfloors, check moisture levels carefully using the correct moisture testing methods. If required, install a damp proof membrane to protect the timber from rising moisture. For wooden subfloors, make sure the boards or plywood are securely fixed and free from movement.
Gather the Right Tools and Materials
Installing oak flooring requires the correct tools for accuracy and safety. You will typically need a tape measure, pencil, spacers, saw, mallet, tapping block, spirit level, adhesive or nails depending on the fitting method, and a suitable underlay if required. If you are using engineered oak flooring as a floating floor, the underlay is often essential for sound reduction and comfort.
It is also important to leave expansion gaps around the edges of the room. Oak is a natural material and will expand and contract with changes in temperature and humidity. Spacers help maintain this gap during installation.
Plan the Layout Before Fitting
Before laying the first board, plan the direction of the floor. In most cases, oak flooring looks best when laid in the direction of the main light source or along the longest wall in the room. This helps create a more balanced and spacious appearance.
Measure the room carefully and work out the width of the final row before starting. This avoids ending up with a very narrow board at the opposite wall, which can look untidy. If needed, trim the first row so that the first and last rows are more evenly balanced.
How to Install Oak Flooring Step by Step
Start by placing spacers between the boards and the wall to maintain the expansion gap. Lay the first row straight and check that it is perfectly aligned, as this row will set the line for the rest of the floor. Any error at the beginning will affect the entire installation.
If you are using a floating system, connect the boards using the click-lock mechanism or tongue-and-groove system as specified. Tap boards gently into place using a tapping block and mallet if needed, but avoid forcing them. If the floor is being glued down, apply the adhesive in manageable sections and press each board firmly into position. For nailed or secret-fixed solid oak floors, use the correct fixings and secure each board into the subfloor or joists.
Stagger the end joints of each row to create a natural appearance and improve structural stability. A random stagger pattern is usually best. Avoid lining joints up in a repeated pattern, as this can weaken the floor and make it look less professional.
Continue laying the boards row by row, checking alignment as you go. Use a spirit level to ensure the floor remains even. Cut boards carefully to fit around door frames, pipes, and awkward corners. A jigsaw or suitable flooring saw is often needed for detailed cuts.
Leave Expansion Gaps Around the Room
Oak flooring must have an expansion gap around the entire perimeter of the room, usually 10 to 15mm depending on the product and room size. This gap allows the wood to move naturally without pushing against the walls or lifting at the edges. The gap will later be covered by skirting boards or matching beading.
Do not forget to leave expansion space around fixed objects such as pipes, columns, and built-in units. These small details are essential for a durable and problem-free floor.
Fit the Final Row and Finish the Edges
The last row often needs to be trimmed lengthways to fit the remaining space. Measure carefully and cut each board to size, taking the expansion gap into account. A pull bar can help secure the final boards into place where access is tight.
Once the floor is laid, remove all spacers and install skirting boards or edge trims to hide the expansion gap. If the floor is unfinished oak, it may need sanding, sealing, oiling, or lacquering depending on the desired look and level of protection.
Common Mistakes to Avoid
Some of the most common mistakes when installing oak flooring include failing to acclimatise the boards, ignoring moisture levels, not leaving enough expansion space, and starting with an uneven first row. Another common issue is using the wrong adhesive or underlay, which can affect the performance of the floor.
Taking time to prepare properly will save money and avoid future repairs. Oak flooring is an investment, so it should be installed with care and precision.
Should You Install Oak Flooring Yourself?
While some experienced DIYers may be confident enough to fit oak flooring themselves, professional installation is often the best choice for the highest quality finish. A specialist flooring and joinery team can assess the subfloor, choose the correct fixing method, and ensure the boards are laid beautifully and securely.
At 7braci.com, we understand that every floor is different. Our wooden floor specialists and joinery experts can help with oak flooring installation, repairs, custom finishes, and matching details that make your floor look exceptional.
Oak Flooring Installation for a Lasting Finish
Installing oak flooring correctly ensures a floor that is strong, stylish, and built to last for years. With proper preparation, accurate fitting, and attention to moisture and movement, oak flooring can transform any room. If you want a flawless result and professional craftsmanship, choosing an experienced wooden floor specialist is always a smart investment.
If you are planning to install oak flooring and want expert support, 7braci.com can help with advice, joinery, and professional floor fitting services tailored to your project.