Installing parquet flooring on concrete is a great way to add warmth, style, and long-lasting value to your home. Whether you are planning a classic herringbone pattern or a more modern parquet layout, the success of the project depends on careful preparation and the right installation method. At 7braci.com, we know that concrete subfloors can provide an excellent base for parquet flooring, but only if they are dry, level, and properly prepared before installation.
Can Parquet Flooring Be Installed on Concrete?
Yes, parquet flooring can be installed on concrete, and in many cases it is one of the best subfloors for it. Concrete offers stability and strength, but it also presents specific challenges such as moisture, uneven surfaces, and temperature changes. Because parquet is usually made from natural wood, it reacts to moisture and movement. This means the concrete must be tested and prepared correctly before any boards or blocks are fitted.
The most important factor is moisture control. If the concrete slab contains too much moisture, it can damage the wood, cause cupping, warping, or adhesive failure. This is why professional floor fitting services always begin with proper moisture testing and subfloor assessment.
What You Need Before Starting
Before installing parquet flooring on concrete, make sure you have the correct materials and tools. You will typically need parquet blocks or boards, a suitable wood flooring adhesive, a moisture barrier or primer if required, spacers, a trowel, a saw, a tape measure, a chalk line, a straight edge, and a floor roller or weighted block for pressing the floor into the adhesive.
You should also have a way to test the moisture content of the concrete. In many cases, a professional moisture meter or calcium carbide test is recommended. If the slab is new, allow it to fully cure before starting installation. Concrete that looks dry on the surface may still hold moisture deeper inside.
Step 1: Check the Concrete Subfloor
The first step is to inspect the concrete carefully. It must be clean, dry, solid, and level. Remove any dust, paint, old adhesive, oil, or loose debris. Even small particles can stop the adhesive from bonding properly. If the floor has cracks, holes, or low spots, these should be repaired with a suitable smoothing compound or levelling screed.
Check the flatness of the surface using a straight edge. If the concrete is uneven, the parquet flooring may move, creak, or fail to sit properly. Parquet requires a smooth and consistent base for the pattern to look correct and for the floor to last.
Step 2: Test for Moisture
Moisture testing is one of the most important parts of installing parquet flooring on concrete. Wood and moisture do not mix well, so this step should never be skipped. If the moisture level is too high, you may need to wait longer for the slab to dry or apply a damp-proof membrane. In some cases, a specialist moisture barrier system is required before laying the floor.
If you are unsure about moisture levels, it is always best to consult a wooden floor specialist. At 7braci.com, we recommend treating moisture control as a priority, not an optional extra.
Step 3: Acclimatise the Parquet Flooring
Before fitting, the parquet flooring should be left in the room where it will be installed for several days. This allows the wood to acclimatise to the temperature and humidity of the space. Natural wood expands and contracts, so leaving it in the room helps reduce movement after installation.
Store the packs flat, unopened if possible, and make sure the room is at normal living conditions. The heating and ventilation should already be set to how the room will be used in everyday life.
Step 4: Plan the Layout
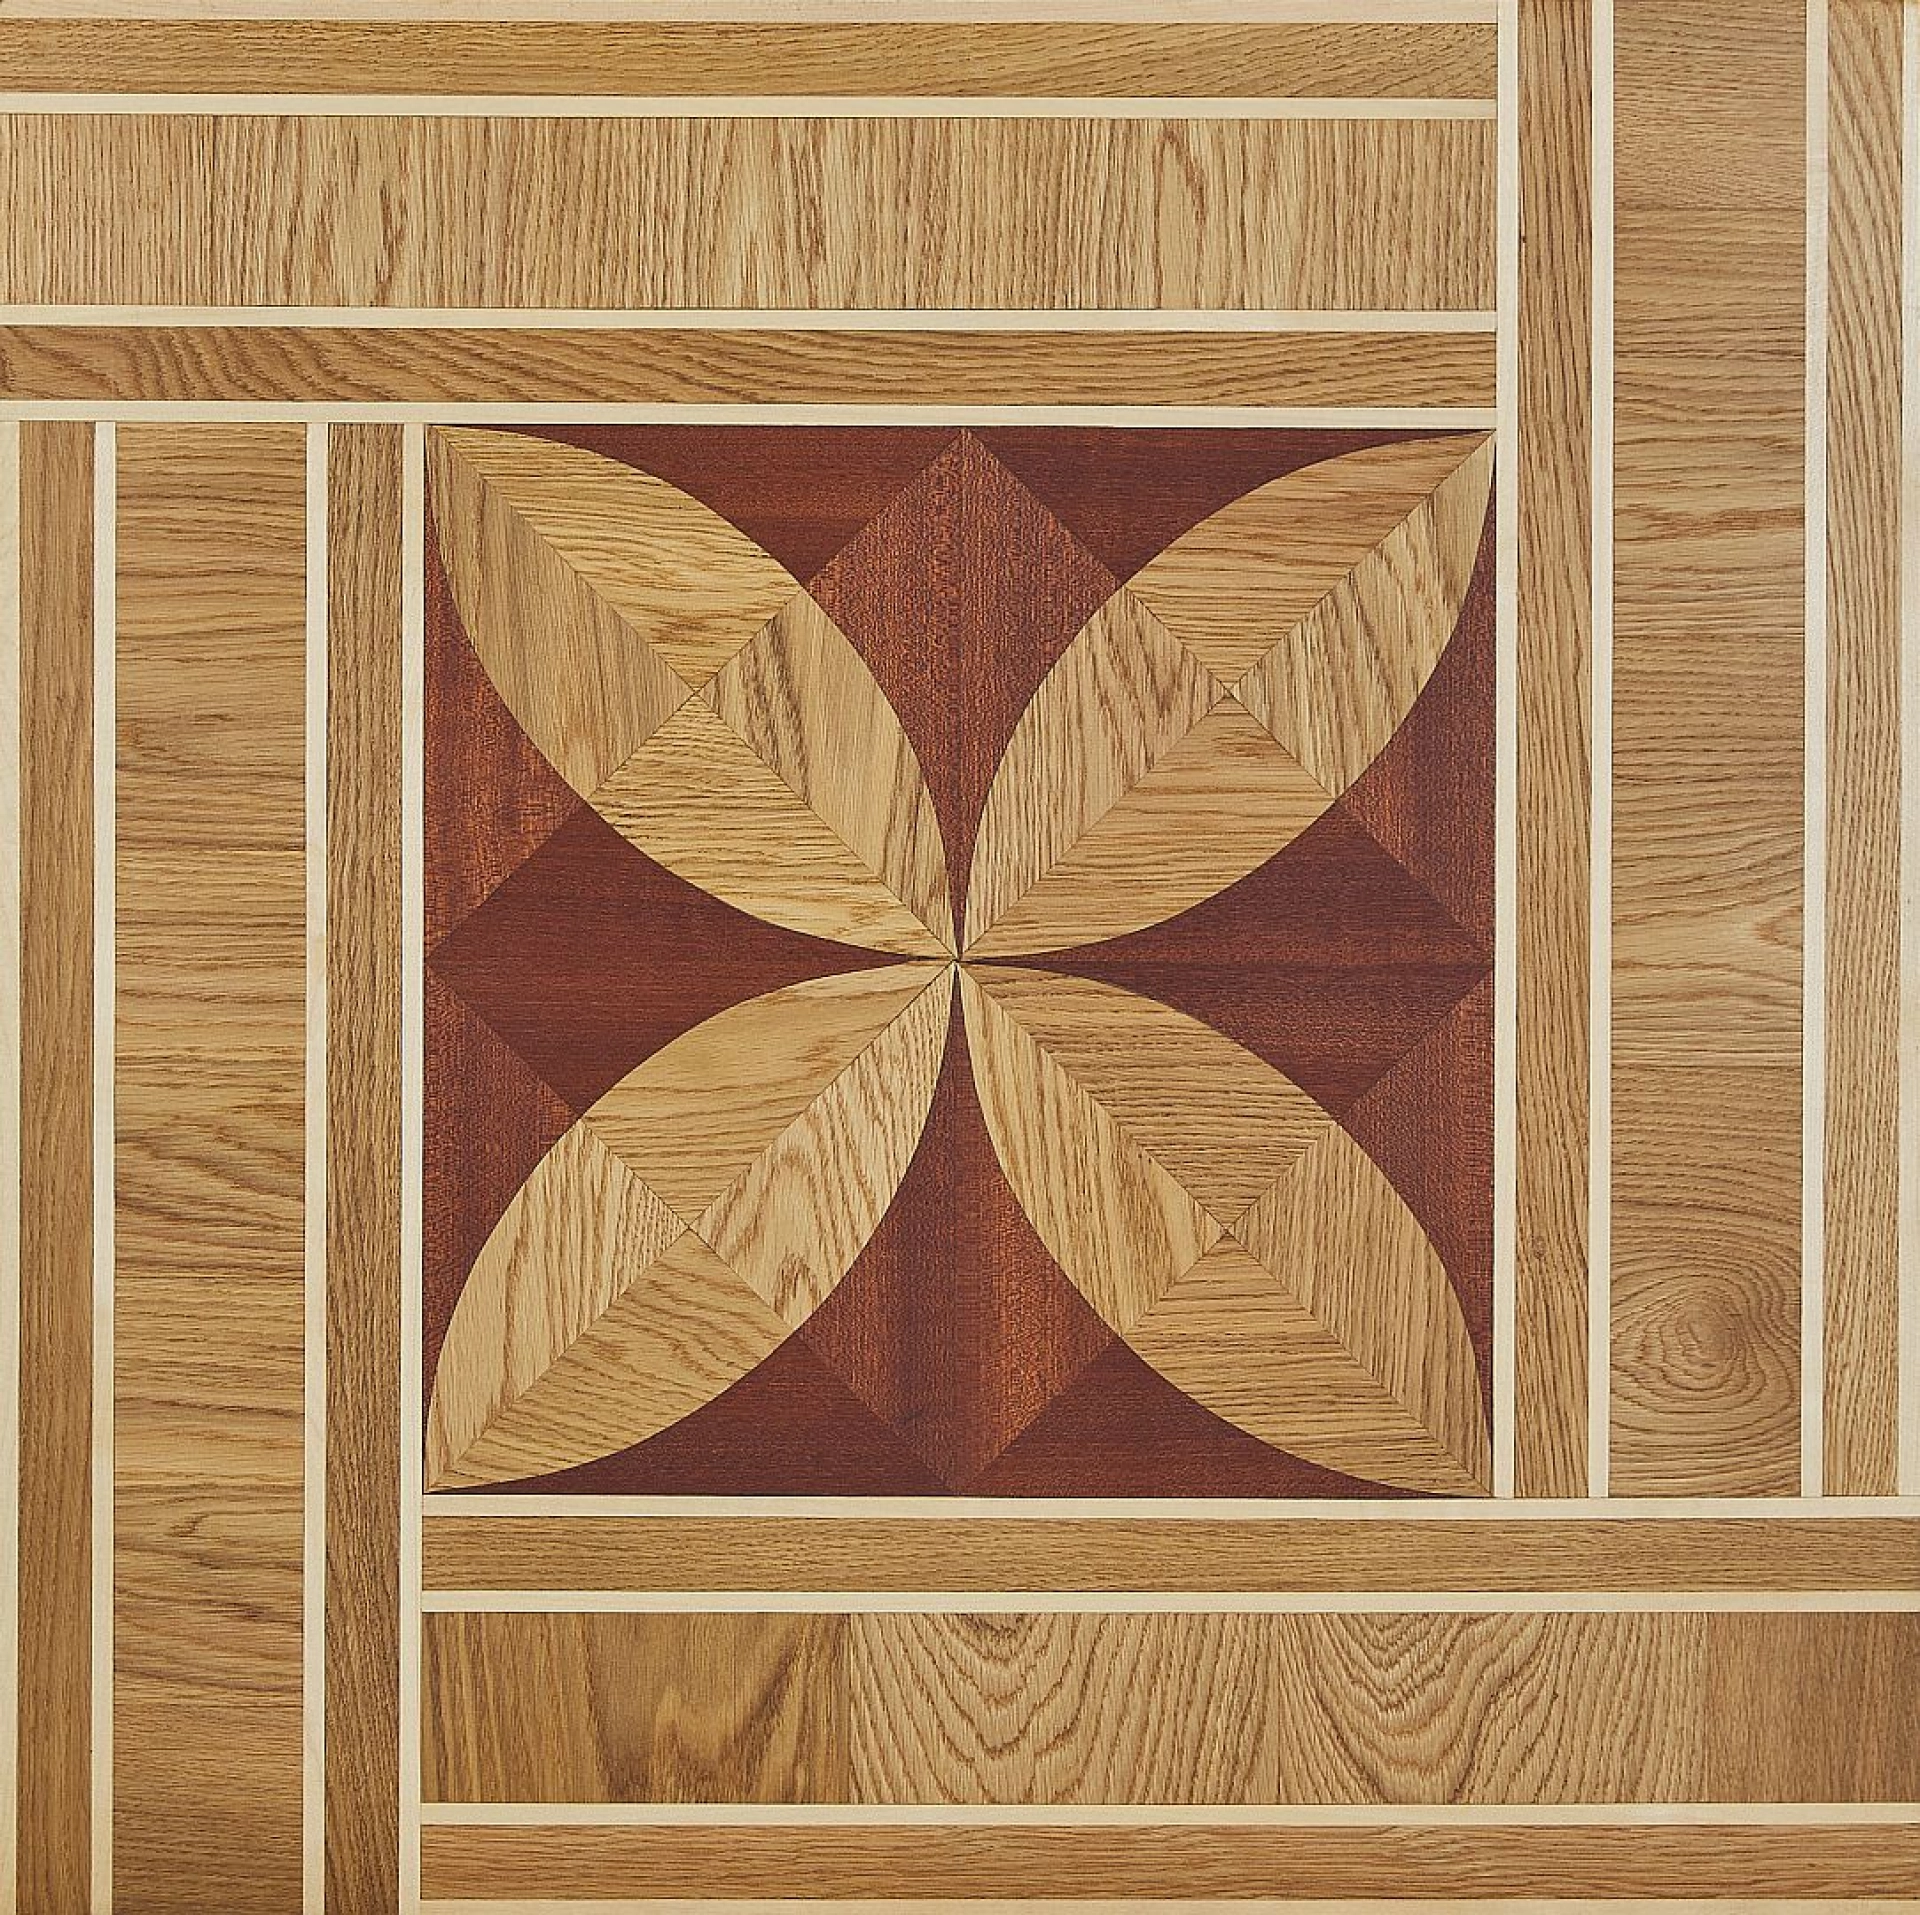
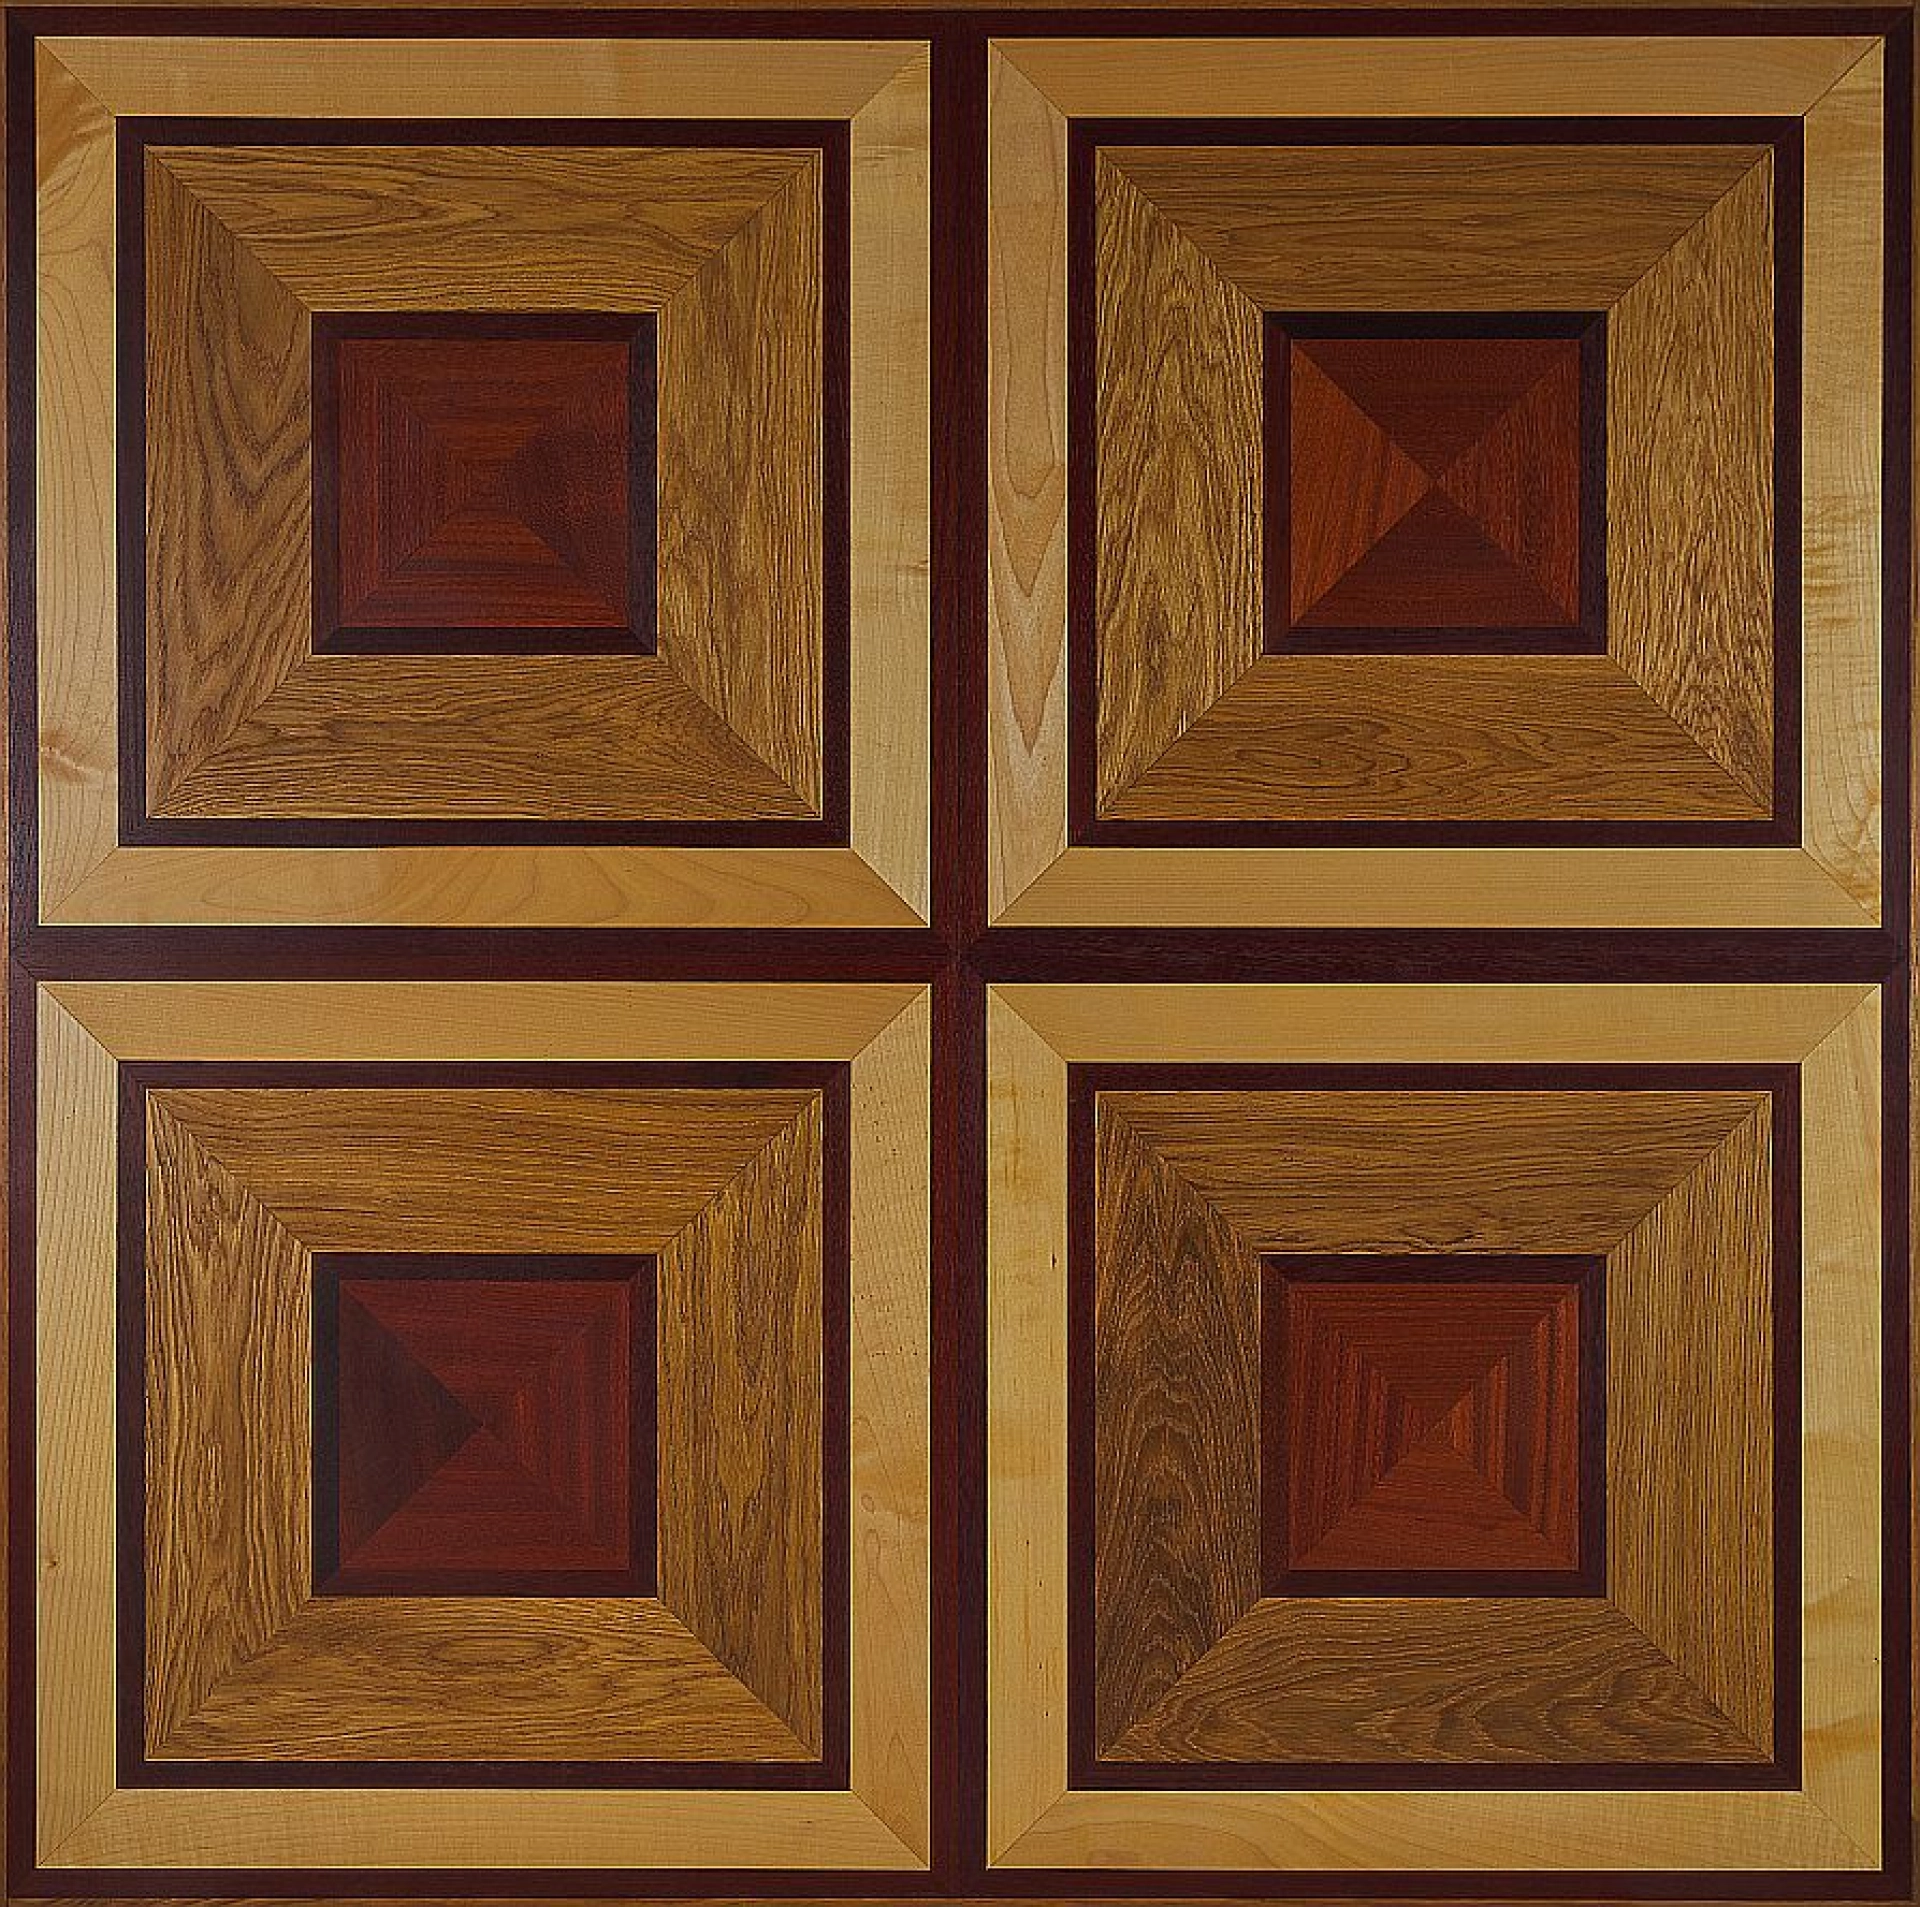
Parquet flooring is known for its decorative patterns, so planning the layout is essential. Start by measuring the room and finding the centre point. Use a chalk line to create reference lines so the pattern stays straight and balanced. This is especially important for herringbone parquet, basket weave, or other geometric designs.
Take time to dry-lay a few rows before applying adhesive. This helps you check how the pattern will look at the edges and whether you need to cut the first row or adjust the starting point. A well-planned layout makes the finished floor look more professional and symmetrical.
Step 5: Apply the Adhesive
Once the floor is prepared and the layout marked, you can start applying the adhesive. Use a high-quality adhesive recommended for parquet flooring on concrete. Spread it evenly with the correct notched trowel, working in small sections so the adhesive does not start to cure before the blocks are laid.
Press each parquet block firmly into place according to your chosen pattern. Keep checking alignment as you work. Spacers should be used around the edges to allow for expansion gaps, which are essential for all wooden flooring installations.
Step 6: Fit the Parquet Flooring
Lay the parquet carefully, following the pattern line by line. If you are installing herringbone parquet, make sure the angles are consistent and the pattern remains straight across the room. Tap each section gently into position if needed, but do not damage the surface. A floor roller or weighted block can help ensure good contact with the adhesive.
Work steadily and clean off any adhesive that squeezes up between joints before it hardens. Keeping the joints clean will improve the final appearance and make sanding and finishing easier later on.
Step 7: Allow the Floor to Cure
After installation, the floor must be left to cure for the period recommended by the adhesive manufacturer. Avoid walking on it too early or placing furniture on it before it has fully bonded. Curing time is important because it allows the adhesive to create a strong, stable connection between the parquet and the concrete slab.
If the parquet is unfinished, the floor may then need sanding, sealing, staining, or oiling. Some parquet flooring is prefinished, in which case this step may not be necessary.
Common Mistakes to Avoid
One of the biggest mistakes when installing parquet flooring on concrete is ignoring moisture. Another common problem is fitting the wood onto an uneven or dirty subfloor. Poor layout planning can also ruin the appearance of the finished floor, especially in patterned designs like herringbone.
It is also important to use the correct adhesive. Not every flooring adhesive is suitable for parquet or for bonding wood directly to concrete. Choosing the wrong product can lead to movement, hollow spots, or floor failure over time.
Why Professional Installation Is Recommended
While some experienced DIYers may be able to install parquet flooring on concrete, professional installation is often the best option. Parquet is a precision flooring product, and the quality of the result depends on accurate preparation, pattern alignment, and moisture control. A specialist joinery and wooden flooring company can ensure the floor is fitted correctly and built to last.
At 7braci.com, we understand the craftsmanship involved in parquet installation. From preparing the concrete subfloor to fitting intricate wooden patterns, expert workmanship makes a noticeable difference in both appearance and durability.
Conclusion
Installing parquet flooring on concrete is absolutely possible, but it must be done with care. The key steps are testing for moisture, making sure the concrete is level and clean, acclimatising the wood, planning the layout, and using the right adhesive. When completed correctly, parquet flooring creates a beautiful, durable finish that enhances any space.
If you are looking for wooden floor specialists or expert joinery services, 7braci.com can help you achieve a professional parquet flooring installation on concrete that looks great and performs well for years to come.