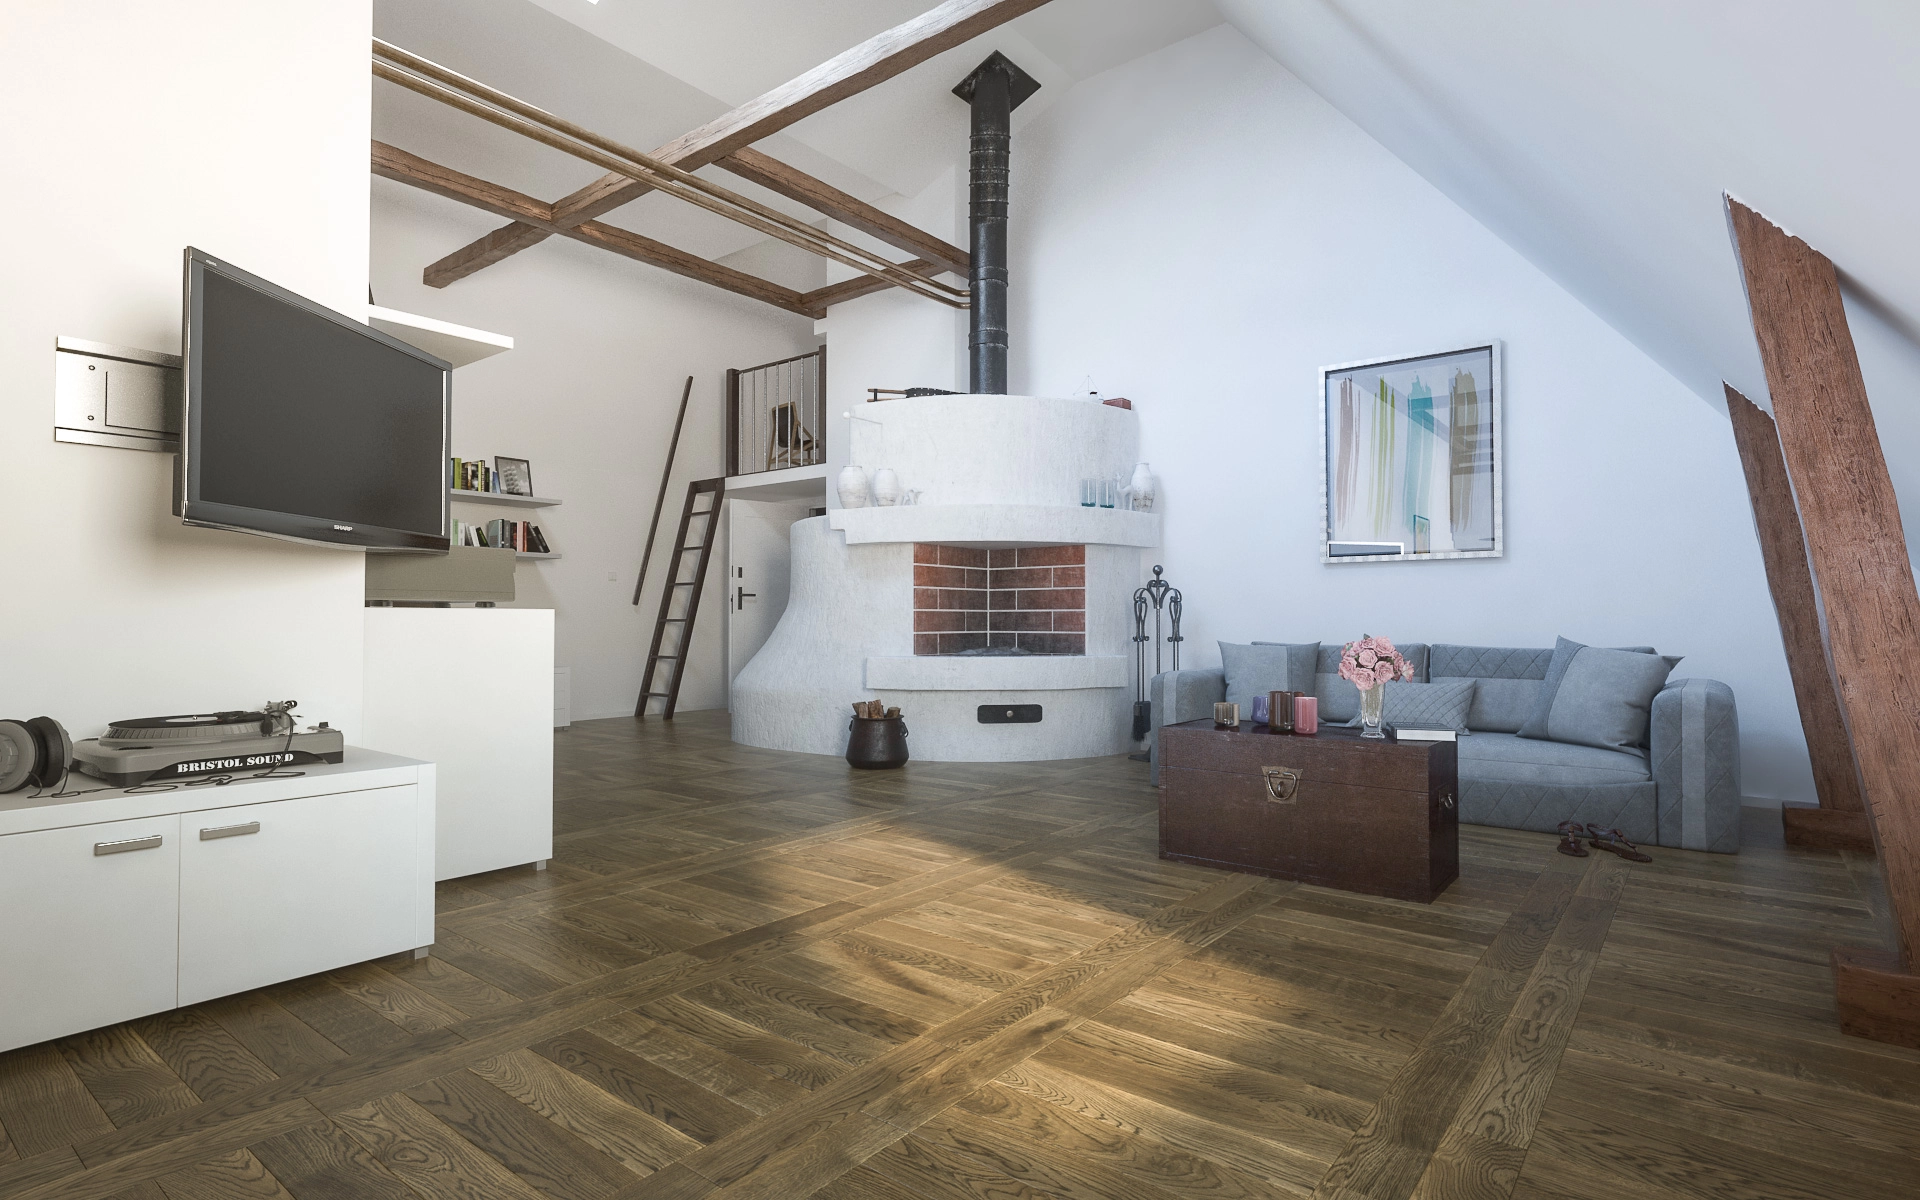
Solid wood flooring is one of the most durable and attractive flooring options for any home. It adds warmth, character, and long-term value, making it a popular choice for living rooms, hallways, bedrooms, and even commercial spaces. If you are considering a new timber floor, it is important to understand that installing solid wood flooring requires careful preparation, the right tools, and a methodical approach. At 7braci.com, as Wooden Floor Specialists and Joinery experts, we know that a well-installed solid wood floor can last for decades when fitted correctly.
What You Need to Know Before Installation
Before you begin installing solid wood flooring, it is essential to confirm that the product is suitable for your space. Solid wood flooring is made from a single piece of timber, which means it naturally expands and contracts with changes in temperature and humidity. For this reason, it must be installed in a stable indoor environment. It is generally best suited to above-ground rooms, and extra care should be taken in kitchens and other areas where moisture levels may fluctuate.
The most important first step is allowing the wood to acclimatise. This means storing the unopened packs of flooring in the room where they will be installed for at least 48 to 72 hours, or longer if recommended by the manufacturer. This helps the timber adjust to the room’s temperature and humidity, reducing the risk of movement after installation.
Prepare the Subfloor Properly
A successful solid wood flooring installation starts with a clean, dry, level subfloor. Whether you are working over timber joists, plywood, or a screed base, the surface must be structurally sound and free from dust, debris, and moisture. Any uneven areas should be levelled before fitting begins, as imperfections in the subfloor can cause squeaking, movement, or visible gaps in the finished floor.
Moisture testing is especially important. Solid wood flooring should only be installed when the moisture content of the subfloor is within an acceptable range. If you are installing over a concrete base, a damp proof membrane may be required. Over timber floors, loose boards should be secured and any damaged sections replaced before proceeding.
Choose the Right Installation Method
There are several ways to install solid wood flooring, and the best method depends on the type of subfloor and the product being used. The most common methods are secret nailing, screwing, or laying over an appropriate plywood base. In many cases, solid wood flooring is not floated like engineered flooring because it needs to be fixed securely to allow for natural movement while maintaining stability.
For timber subfloors, secret nailing through the tongue of the board is a traditional and reliable method. For concrete bases, a plywood subfloor is often installed first, then the solid wood is fixed to the plywood. Always check the manufacturer’s instructions before choosing the method, as installation recommendations can vary by product thickness and board profile.
Tools and Materials You Will Need
To install solid wood flooring correctly, you will need a number of essential tools and materials. These typically include a tape measure, chalk line, saw, spacers, nail gun or flooring cleats, hammer, adhesive if required, underlay or membrane, and a moisture meter. A pull bar, tapping block, and spirit level can also be useful for ensuring a precise fit.
It is also important to have enough flooring on site before starting. We recommend ordering at least 10% extra to allow for waste, cuts, and future repairs. Matching trim, skirting, and thresholds should also be planned in advance for a polished finish.
Plan the Layout Before You Begin
Careful planning helps create a professional-looking result. Start by deciding which direction the boards should run. In most rooms, solid wood flooring is laid in the same direction as the longest wall or in line with the main source of natural light. This can help the room look larger and more balanced. In homes with floor joists, boards are often installed at right angles to the joists for added strength and support.
Measure the room and dry-lay a few boards first to check the layout. This helps you avoid ending up with very narrow boards at the final wall, which can look unattractive and be difficult to fit. If necessary, adjust the starting point so the first and last rows are of a similar width.
How to Install the First Row
The first row is the most important because it sets the line for the entire floor. Begin by placing spacers between the boards and the wall to create an expansion gap of around 10 to 15 mm. This gap allows the wood to expand naturally without causing damage. Do not skip this step, as solid wood flooring needs room to move.
Lay the first board with the tongue facing the wall and make sure it is perfectly straight. If the wall is not straight, you may need to scribe the first row to follow the shape of the wall while keeping the visible edge straight. Secure the first row according to the chosen fixing method, taking care not to damage the boards.
Continue Laying the Flooring
Once the first row is in place, continue fitting the remaining boards row by row. Stagger the end joints so they do not line up, as this improves both strength and appearance. A random stagger pattern usually looks best and helps the floor perform properly over time.
When joining boards, use a tapping block or pull bar to ensure a snug fit without damaging the edges. If you are nailing the boards, place fixings through the tongue at the correct angle and spacing. If adhesive is being used in any part of the installation, apply it evenly and work in manageable sections to prevent it from drying before the boards are fitted.
Cut Around Obstacles and Finish Edges
Most rooms contain obstacles such as door frames, radiator pipes, or awkward corners. These must be carefully measured and cut so the flooring fits neatly around them. A jigsaw or multitool is often useful for precise cuts. Around pipework, leave a small expansion gap and use pipe collars or neat finishing accessories to conceal it.
When you reach the final row, measure and cut the boards to fit, again allowing for the expansion gap. A pull bar can help draw the last row into position. Once all boards are installed, remove the spacers and fit skirting boards or scotia trim to cover the expansion gap. Do not fix skirting directly to the floor, as this can restrict movement.
Sanding, Sealing, and Finishing
Some solid wood floors are supplied prefinished, while others require sanding and sealing after installation. If your floor is unfinished, it will need sanding to create a smooth surface before applying varnish, oil, or lacquer. This step helps protect the wood and enhances its natural beauty. Always follow proper sanding techniques and use a suitable finish for the intended use of the room.
Prefinished floors are quicker to complete and can usually be used sooner after installation. However, they still require careful cleaning and correct aftercare to maintain their appearance.
Common Mistakes to Avoid
One of the most common mistakes when installing solid wood flooring is failing to acclimatise the boards properly. Another is not leaving enough expansion gap around the perimeter. Using the wrong installation method or fitting over an unsuitable subfloor can also lead to problems such as buckling, gaps, or squeaks.
It is also important not to rush the installation. Solid wood flooring is a premium product, and accuracy is essential for a long-lasting result. If you are unsure about moisture levels, subfloor preparation, or fixing methods, it is always best to seek professional advice.
Should You Install Solid Wood Flooring Yourself?
While a confident DIYer may be able to install solid wood flooring in a straightforward room, it is often best left to experienced professionals, especially for larger spaces or complex layouts. A professional fitter will ensure the subfloor is properly prepared, the boards are installed correctly, and the final finish is clean and durable.
At 7braci.com, we specialise in wooden floors and bespoke joinery, helping customers achieve beautiful results with solid wood flooring that is fitted to the highest standard. Whether you need supply, installation, restoration, or custom joinery work, expert craftsmanship makes all the difference.
Conclusion
Installing solid wood flooring is a skilled process that requires proper preparation, accurate fitting, and attention to detail. From acclimatising the boards and preparing the subfloor to laying the final row and applying the finish, every step matters. Done correctly, solid wood flooring provides a timeless look and exceptional durability that can enhance your property for many years.
If you are planning a solid wood flooring project and want expert help, 7braci.com can provide professional advice and installation services tailored to your space.