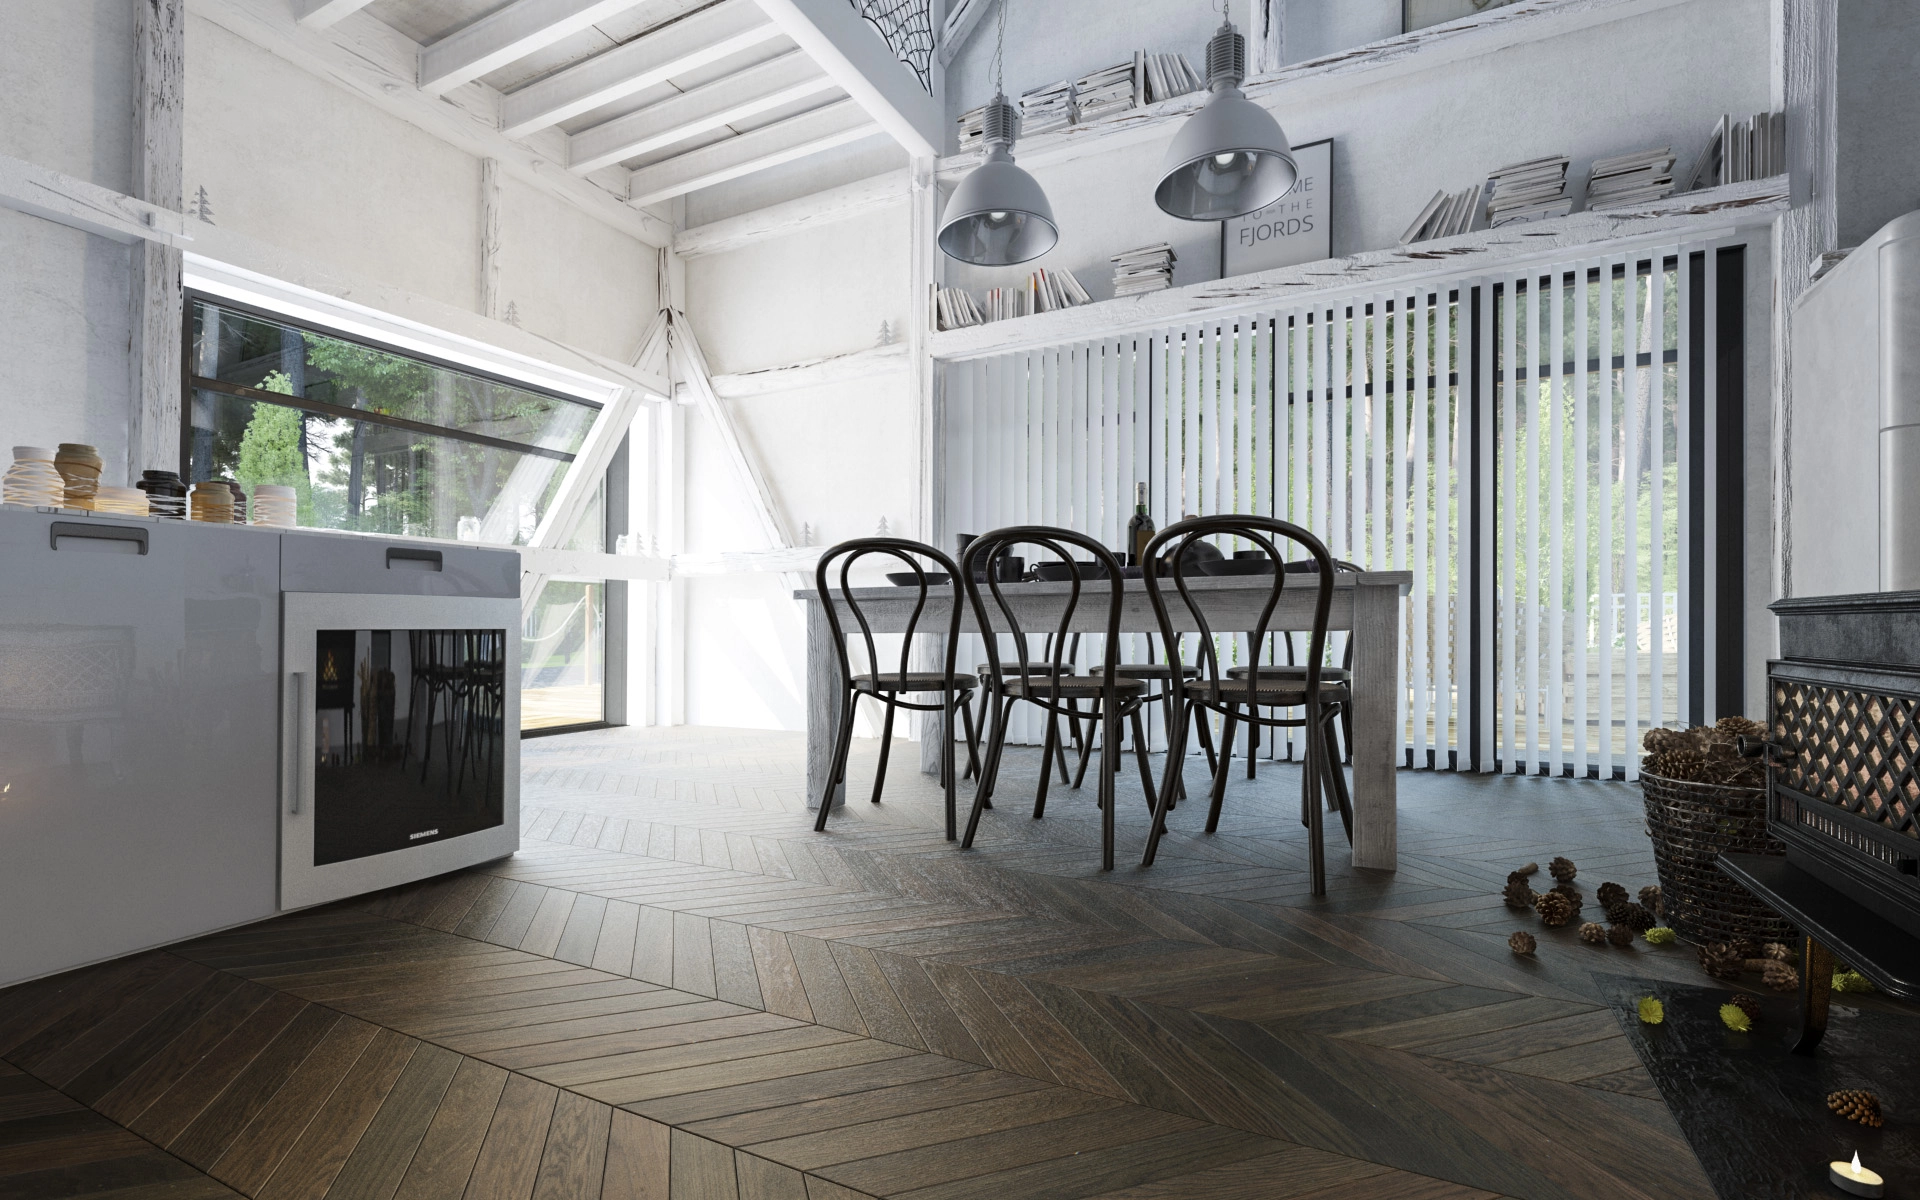
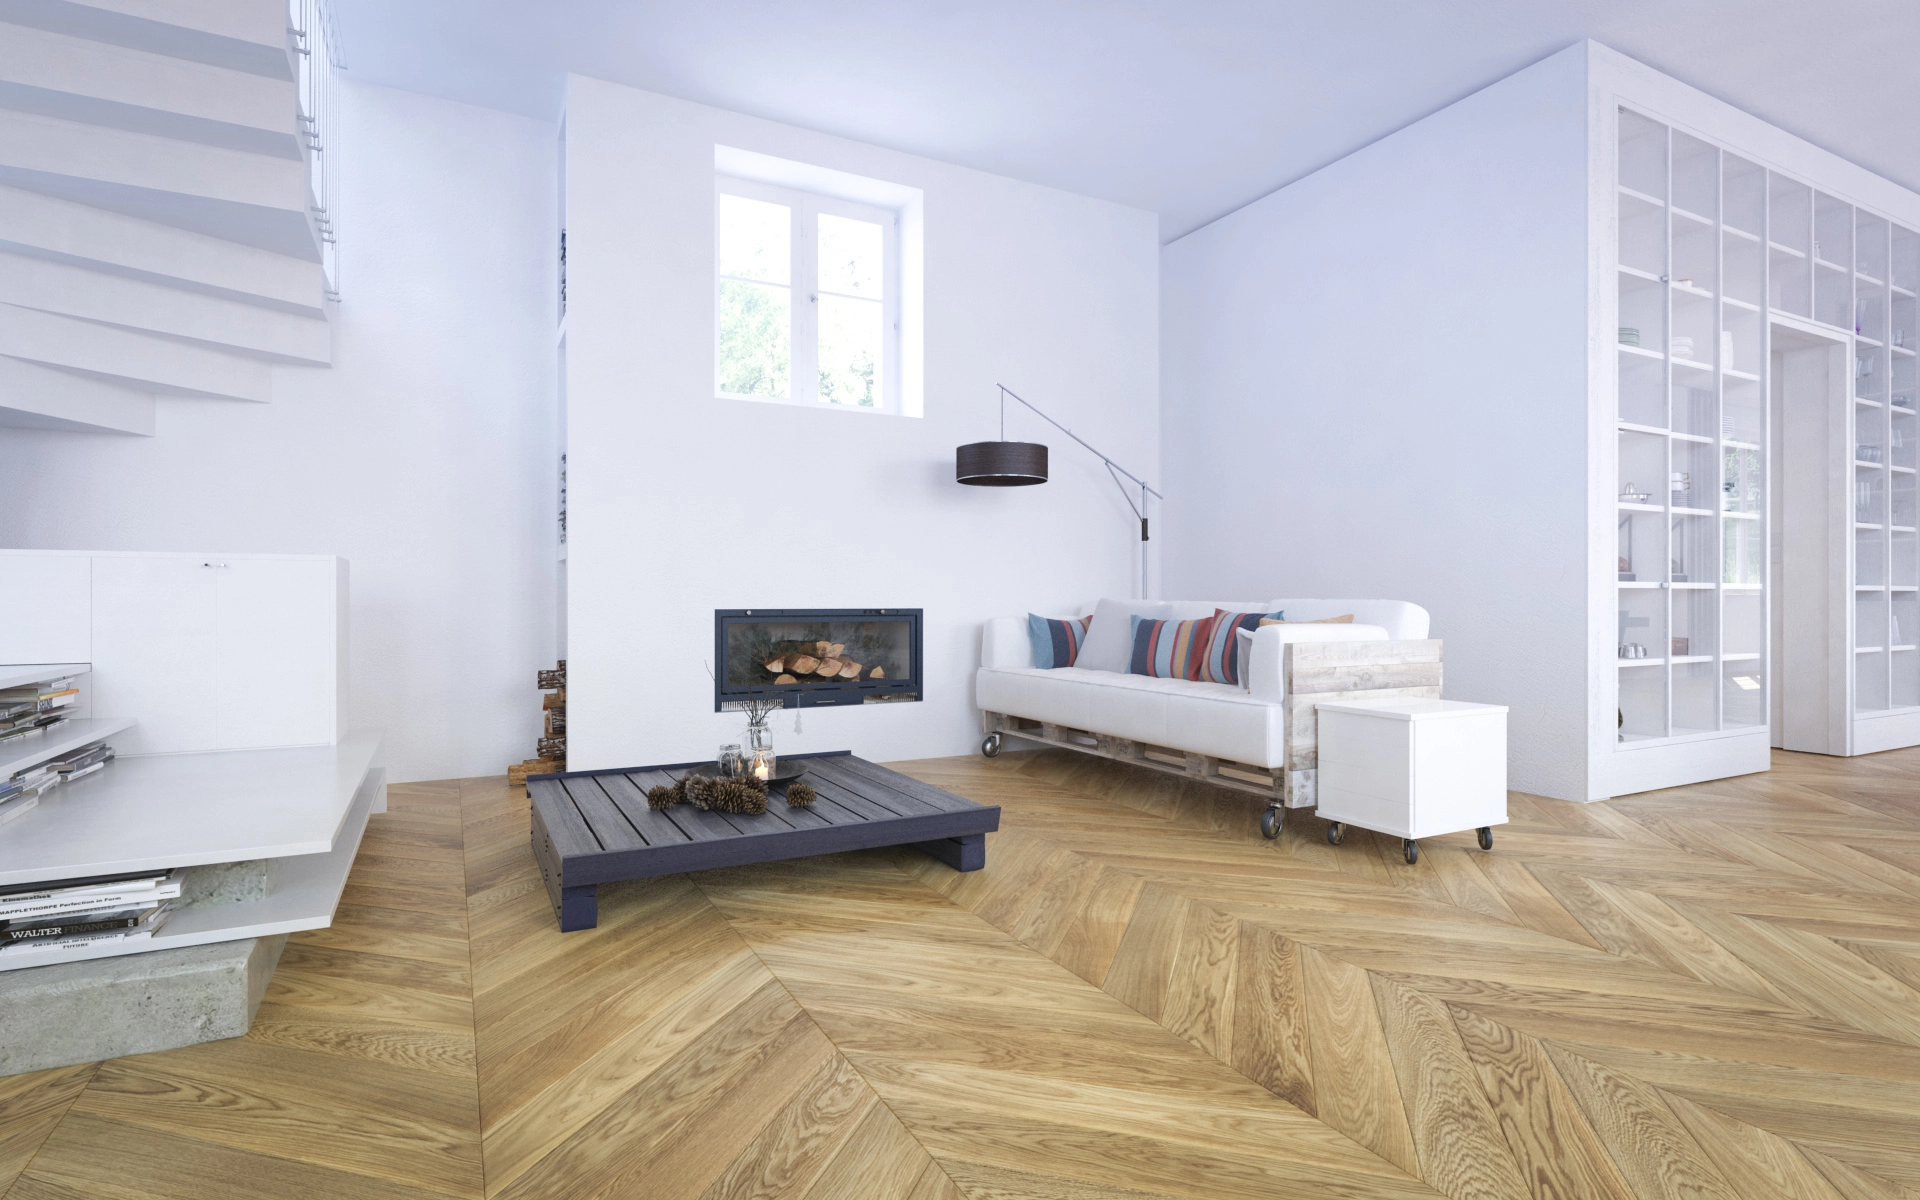
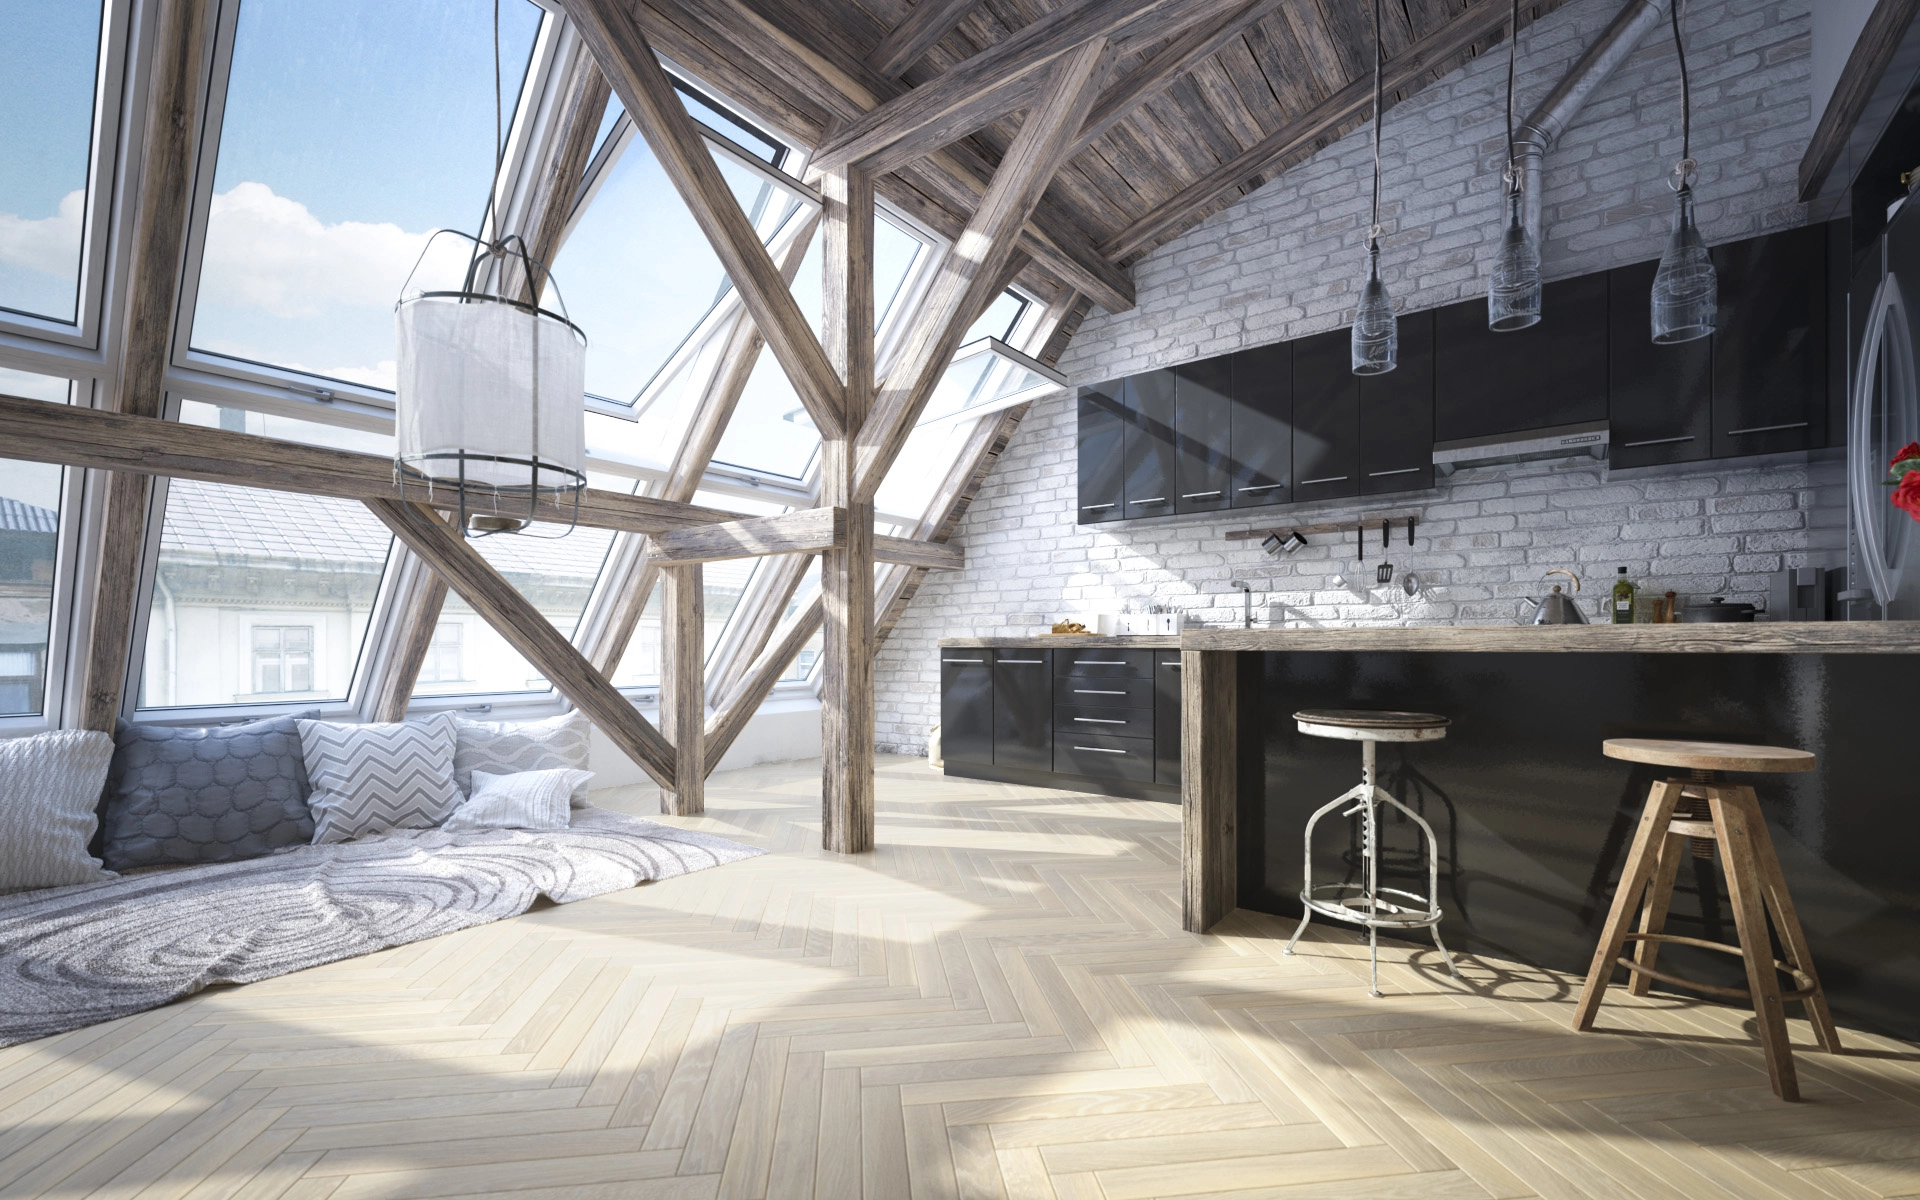
Measuring correctly for wood flooring is one of the most important steps in any flooring project. Whether you are planning engineered wood flooring, solid wood flooring, or a parquet design, accurate measurements help you order the right amount of material, avoid costly mistakes, and reduce waste. At 7braci.com, our experience as wooden floor specialists and joinery experts shows that careful preparation always leads to a better finish.
If you are wondering how to measure for wood flooring, the process is straightforward once you understand the basics. You need to measure the total floor area, account for room shape, add extra material for waste and cuts, and consider the laying pattern. This guide explains each step clearly so you can calculate your flooring needs with confidence.
Why Accurate Wood Flooring Measurements Matter
Ordering too little flooring can delay your project and cause problems if your chosen product is no longer available from the same batch. Ordering too much can increase costs unnecessarily. Because wood flooring is a natural product, slight variations in colour, grain, and batch can occur. This is why ordering the correct amount first time is essential.
Accurate measurements also help when planning installation. Wood flooring should be allowed to acclimatise before fitting, and knowing the exact quantity needed helps your installer schedule the job efficiently. If you are fitting the flooring yourself, good measurements will also help you estimate trims, underlay, adhesive, and tools.
What You Need Before You Start
Before you begin measuring for wood flooring, gather a tape measure, notepad, pencil, and calculator. For larger or more complex spaces, graph paper can help you sketch the room accurately. If the room has alcoves, chimney breasts, bay windows, or irregular corners, it is useful to draw a simple floor plan first.
You should also decide which type of wood flooring you are using. Different products may have different waste factors depending on board size, plank length, and installation method. For example, a herringbone or chevron pattern usually creates more waste than a straight plank layout. Knowing the product in advance helps you measure more accurately.
Step 1: Measure the Length and Width of the Room
For a simple rectangular room, measure the length and width in metres or feet. Take the measurements at the widest points of the room. If the room is not perfectly square, measure at several points to make sure you capture the full size accurately. Floors are often not perfectly straight, especially in older properties.
Once you have the length and width, multiply them together to calculate the total area. For example, a room that is 5 metres long and 4 metres wide equals 20 square metres. If you are working in feet, multiply the length by the width to find the total square footage.
Step 2: Measure Irregular Spaces Separately
Many rooms are not simple rectangles. If your floor includes alcoves, recesses, bay windows, or built-in features, divide the space into smaller sections. Measure each section separately and then add the areas together. This method gives you a much more accurate result than trying to estimate the room as one shape.
For example, if a room has a main rectangular area and a small alcove, calculate each part individually. Measure the main section, calculate its area, then measure the alcove and add the two totals. If there is a fireplace hearth or another fixed feature that will not be covered by flooring, subtract that area from the total.
Step 3: Allow for Waste and Cutting
When measuring for wood flooring, you must always allow for waste. This is the extra material needed for cutting, trimming, pattern matching, and board selection. For standard straight plank installations, a waste allowance of 10% is usually recommended. For more complex layouts, such as herringbone, diagonal patterns, or rooms with many angles, you may need 12% to 15% or more.
Waste is important because every room has offcuts and not every board will be usable in the same way. A few damaged pieces, end cuts, or boards used for matching lengths can quickly add up. Adding the correct waste allowance ensures you have enough flooring to complete the job without interruption.
Step 4: Consider the Board Direction
The direction in which the wood flooring will be laid can affect both appearance and material usage. In many rooms, boards are laid parallel to the longest wall or in the direction of the main light source. This creates a more natural and balanced look. However, the chosen direction may influence how much cutting is required.
If you are fitting flooring across multiple rooms, think about how the boards will flow from one area to another. Measuring each room carefully and planning the direction in advance helps you reduce waste and achieve a more consistent finish throughout the property.
Step 5: Measure Doorways and Transitional Areas
Doorways, hallways, and connecting spaces can be easy to overlook when measuring for wood flooring. If your project includes several rooms, measure each area individually and include any transitional spaces where the flooring will continue. This is especially important if you want a continuous floor throughout the home.
You should also check whether the flooring will run beneath doors, wardrobes, kitchen units, or appliances. In some cases, flooring may only extend to a certain point, while in others it may need to continue underneath fixed fittings. Accurate planning at this stage helps avoid under-ordering.
How to Measure for Wood Flooring in a Room with Stairs or Open Plan Areas
Open plan spaces require special attention because they often combine multiple shapes and zones. Measure the entire open area as a whole, then break it down into smaller sections if needed. This is especially useful if different zones will have different flooring layouts or transitions.
If your project includes stairs, you will need separate measurements for each tread and riser. Stair flooring is usually calculated differently from standard room flooring, so it is best to consult a specialist. At 7braci.com, we often advise customers to seek professional guidance for stairs, landings, and complex joinery details.
Common Mistakes to Avoid
One of the most common mistakes is measuring only one point in the room and assuming all walls are perfectly straight. Another frequent error is forgetting to add waste or ignoring irregular shapes. Measuring in the wrong unit, such as mixing metres and centimetres, can also cause major problems when ordering wood flooring.
It is also important not to forget hidden areas. Spaces under radiators, fitted furniture, or kitchen plinths may still need flooring depending on the installation method. Always check the full room layout before placing your order.
Should You Order a Little Extra?
Yes, in most cases it is wise to order slightly more than the exact calculated amount. Having a small surplus is helpful if a board becomes damaged during fitting or if a future repair is needed. Because wood flooring products can vary between batches, keeping spare boards from the original order is especially valuable.
For best results, store any leftover flooring in a dry, safe place after installation. This gives you matching material if repairs or extensions are ever required later on.
When to Speak to a Wood Flooring Specialist
If your room has an unusual shape, you are fitting a patterned floor, or you simply want peace of mind before ordering, speaking to a wood flooring specialist is a smart decision. Professional advice can help you avoid expensive mistakes and make sure your flooring is measured, ordered, and installed correctly.
At 7braci.com, we combine wooden floor expertise with high-quality joinery knowledge to help customers achieve beautiful, long-lasting results. Whether you need advice on measurements, product selection, or installation planning, a specialist can make the process easier from start to finish.
Final Thoughts
Measuring for wood flooring does not need to be complicated. Start by measuring the length and width of the room, break down irregular spaces into smaller sections, and always add a suitable waste allowance. With careful planning, you can order the right amount of wood flooring and avoid unnecessary delays or extra costs.
If you are planning a new wooden floor and want expert support, 7braci.com is here to help. Accurate measuring is the first step toward a professional finish, and with the right guidance, your new floor will look beautiful for years to come.