Herringbone flooring is one of the most popular choices for homeowners looking to add timeless style, movement, and value to a space. Whether you are fitting engineered wood flooring, solid wood, or a high-quality laminate alternative, the herringbone pattern can transform a room with a classic, elegant finish. At 7braci.com, as wooden floor specialists and joinery experts, we know that a successful herringbone installation depends on careful planning, accurate measurements, and the right fitting method.
This guide explains how to lay herringbone flooring step by step, including preparation, layout, installation, and finishing. If you are planning a DIY project or want to understand the process before hiring a professional flooring installer, this article will help you get started.
What Is Herringbone Flooring?
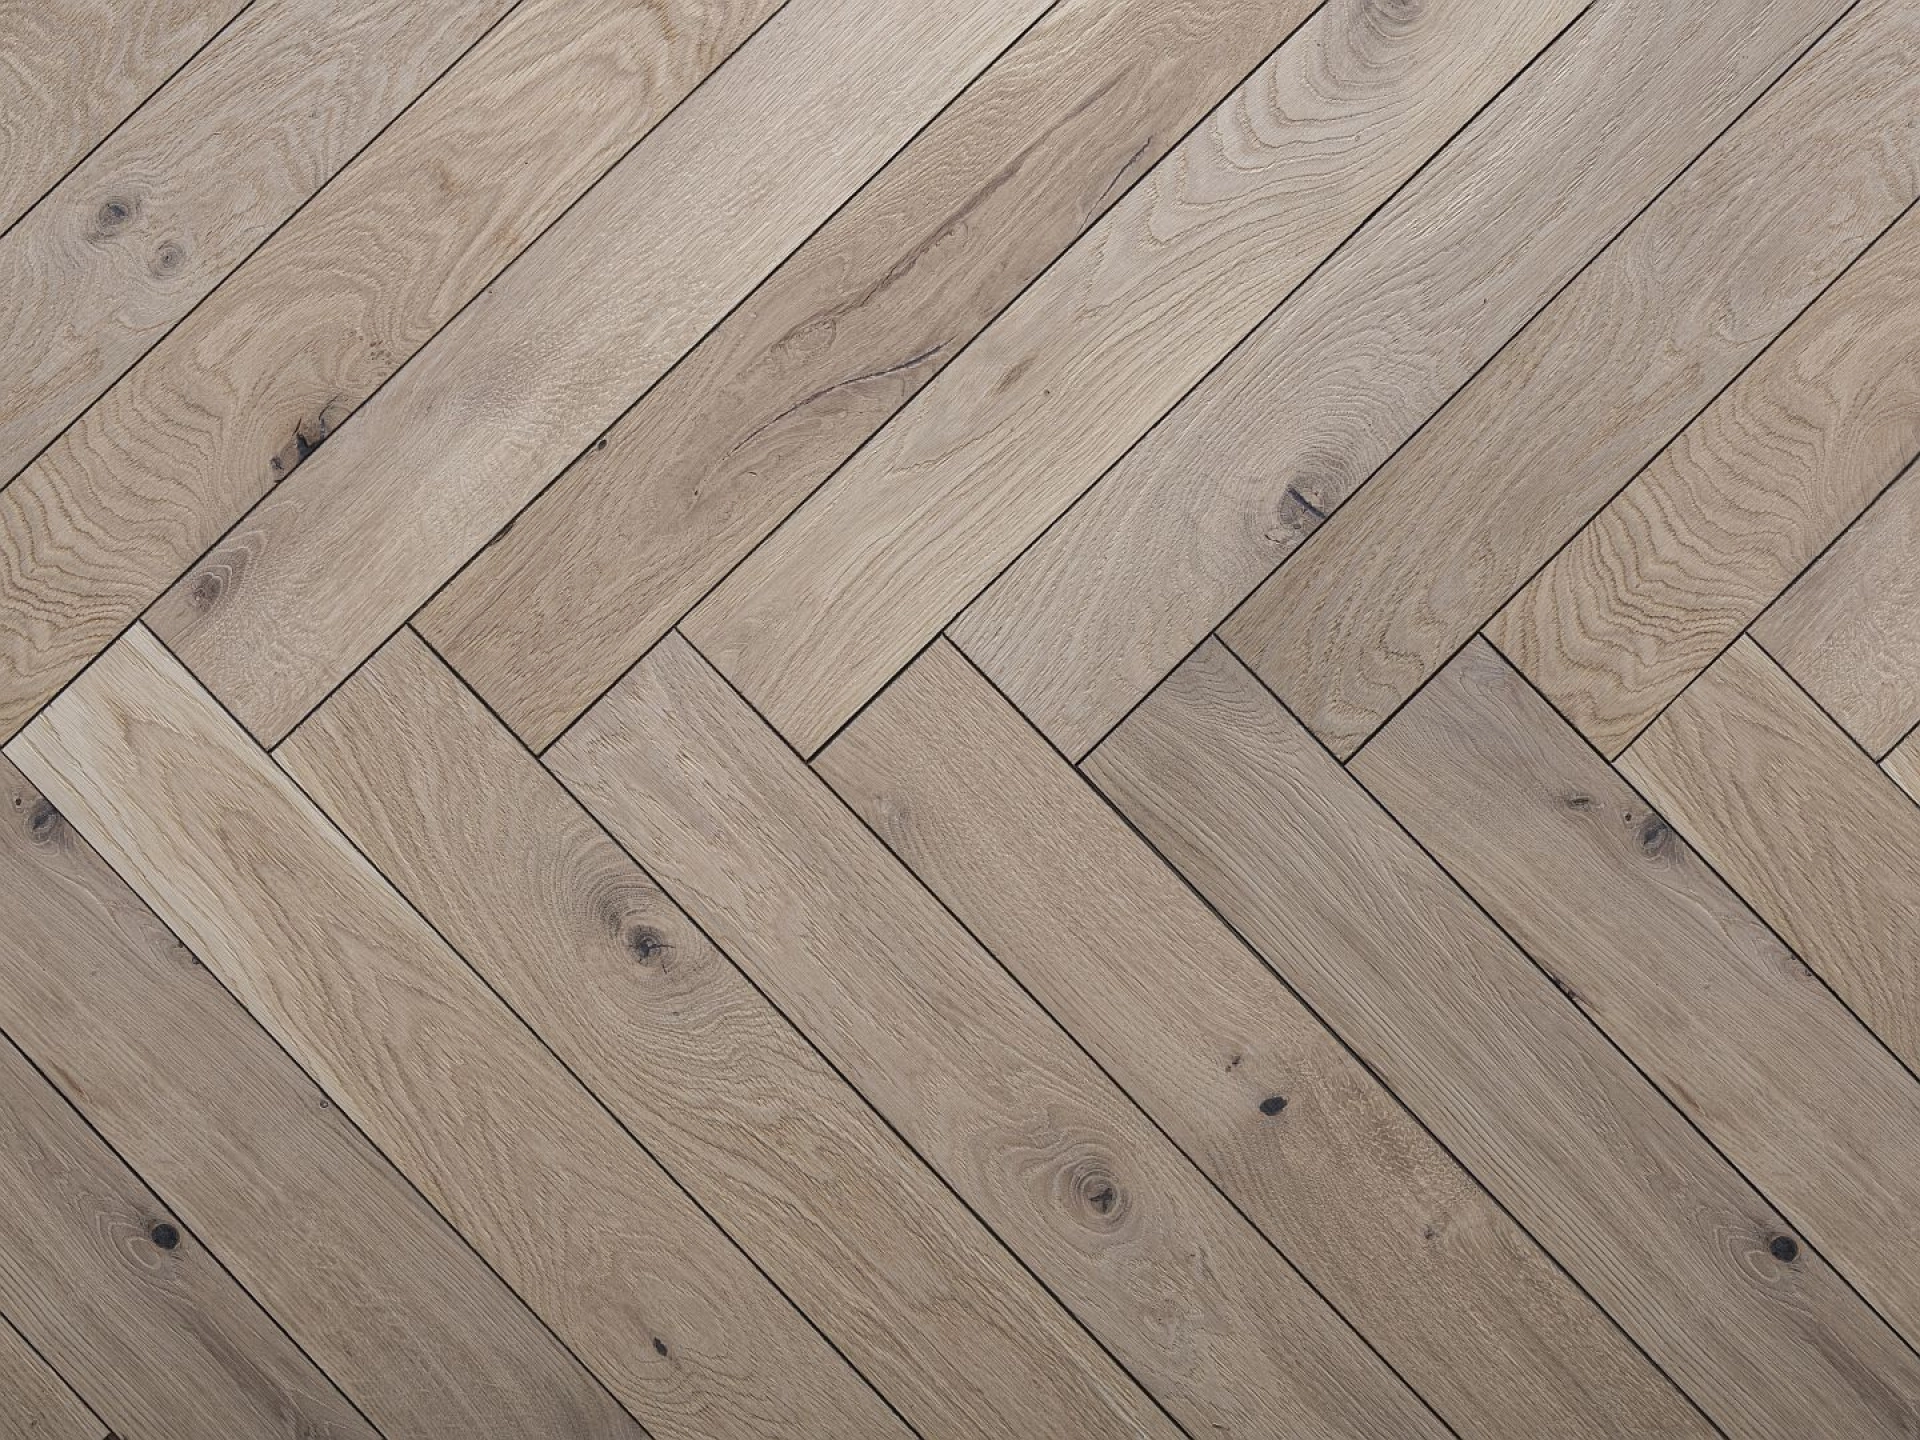
Herringbone flooring is a parquet-style pattern where rectangular planks are laid in a zigzag arrangement, with each board meeting the next at a 90-degree angle. This creates a distinctive “broken V” design that gives the floor depth and character. It is different from chevron flooring, where the ends are cut at an angle and meet in a continuous point.
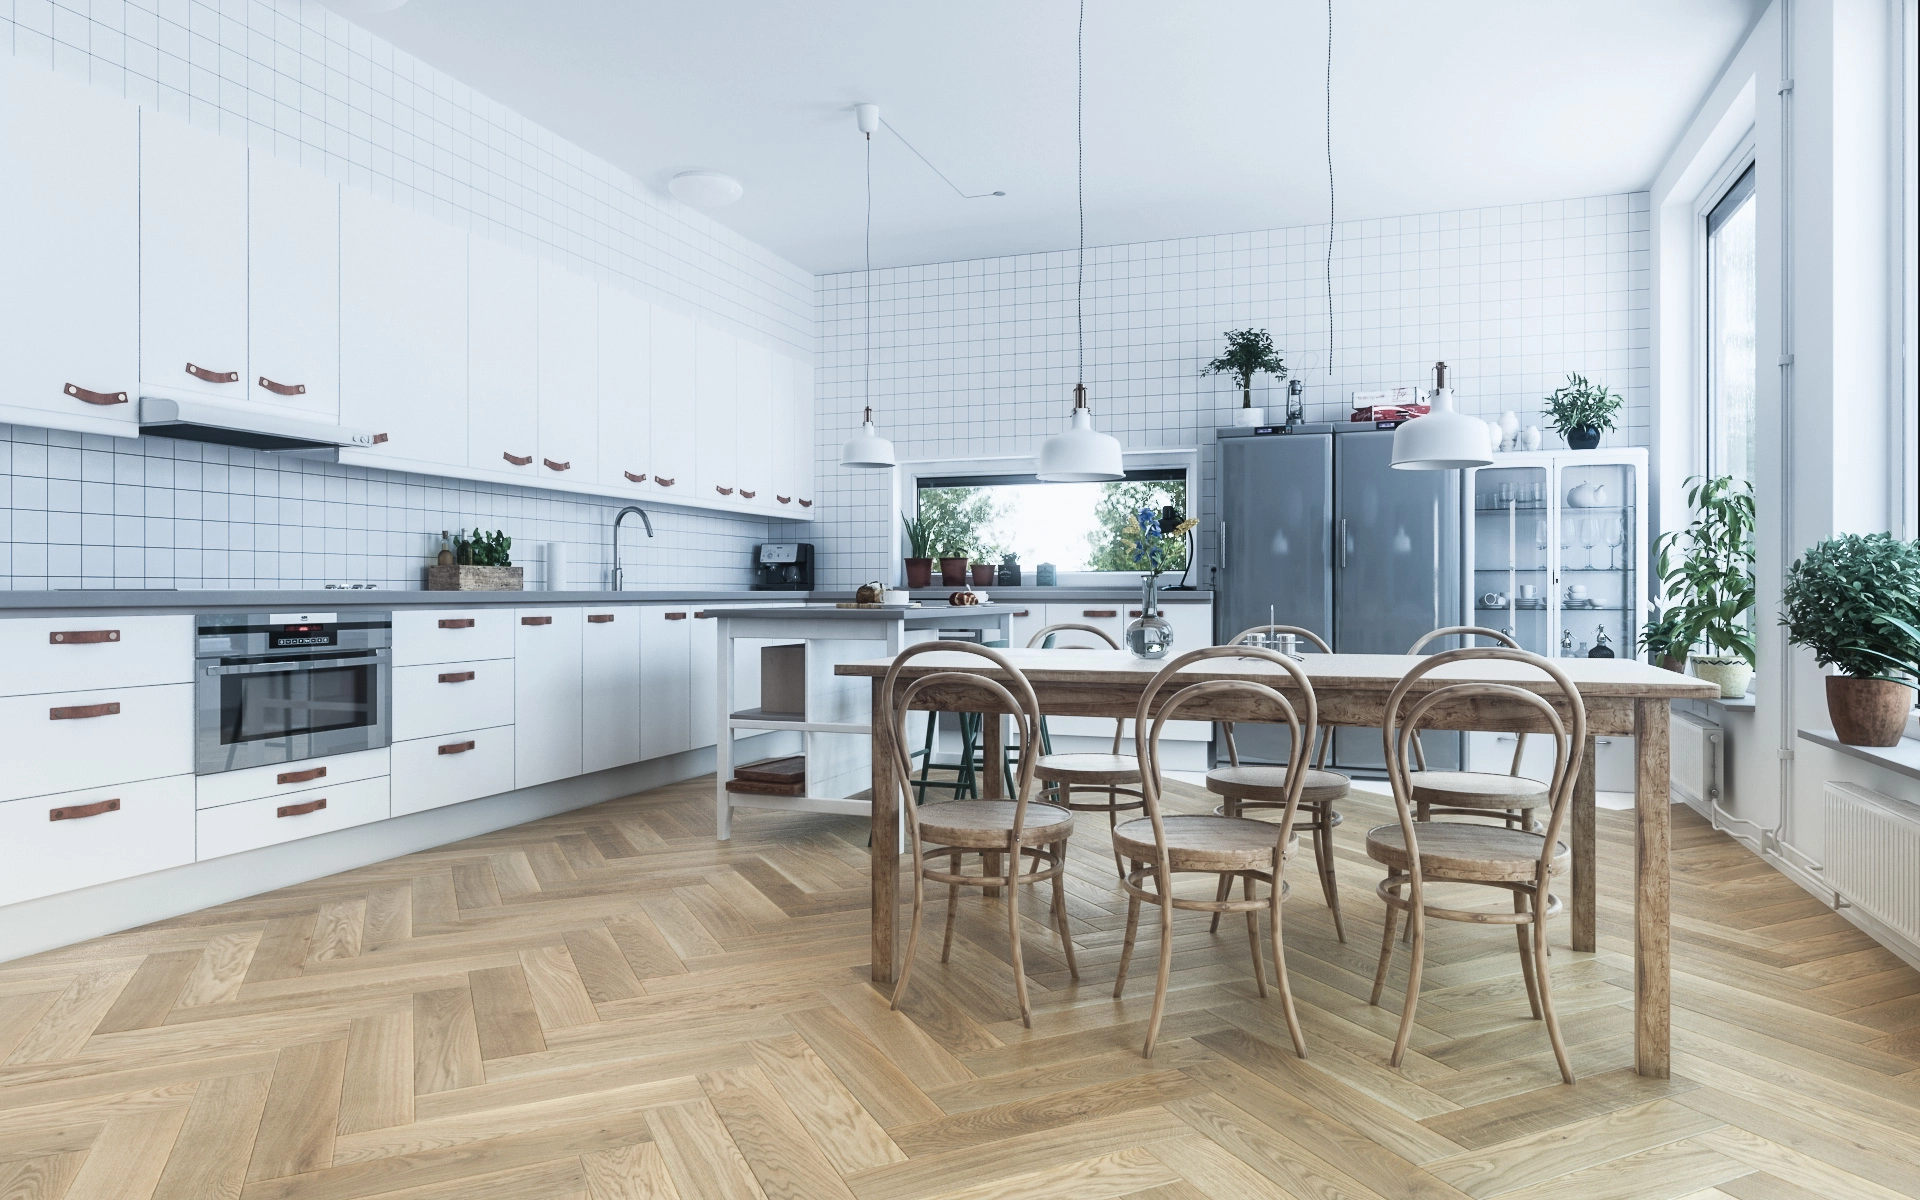
Herringbone floors work well in living rooms, hallways, dining rooms, bedrooms, and even kitchens when the right flooring material is chosen. They suit both traditional and modern interiors and are often used to create a premium finish in residential and commercial spaces.
Tools and Materials You Will Need
Before you begin, make sure you have everything required for the job. Having the right tools will make the installation smoother and reduce the chance of mistakes.
You will typically need herringbone flooring boards, underlay or adhesive depending on the flooring type, a tape measure, chalk line, spirit level, pencil, spacers, saw, hammer, pull bar, tapping block, flooring adhesive if using glue-down installation, and a suitable trowel. For engineered wood flooring, a moisture barrier may also be required depending on the subfloor.
If you are fitting herringbone wooden flooring over underfloor heating, always check that the product is suitable and follow the manufacturer’s guidelines carefully.
Prepare the Subfloor First
The most important part of laying herringbone flooring is preparing the subfloor. The surface must be clean, dry, level, and structurally sound. Any dust, old adhesive, loose boards, or uneven areas should be removed or repaired before installation begins.
If the subfloor is uneven, the pattern may not line up correctly and gaps may appear between boards. A level surface is essential for a professional result. For concrete subfloors, check moisture levels before starting. For timber subfloors, make sure there is no movement or squeaking.
Acclimatising the flooring is also important. Leave the boards in the room for at least 48 hours, or as recommended by the manufacturer, so they can adjust to the room’s temperature and humidity.
Plan the Layout Carefully
Herringbone flooring requires precise planning before the first plank is laid. Unlike straight plank flooring, the pattern must be centred and aligned correctly to avoid uneven edges or awkward cuts at the walls.
Start by finding the centre point of the room. Use a chalk line to create a clear reference line from the centre of the room to the main focal point or entrance. Many installers begin from the centre and work outwards, which helps keep the pattern balanced on both sides.
It is also a good idea to dry lay a few rows before fixing anything permanently. This allows you to check the pattern, confirm the angle, and see how the boards will finish at the edges of the room. Taking time at this stage can save a lot of problems later.
How to Lay Herringbone Flooring Step by Step
Once the subfloor is prepared and the layout is marked, you can begin installation. If you are using a glue-down method, apply adhesive to a small section of the floor at a time to stop it drying too quickly. If you are using a floating system, follow the manufacturer’s locking or click-fit instructions carefully.
Begin with the first two boards at a right angle to each other, forming the base of the herringbone pattern. One board will sit vertically and the other horizontally, creating the first “V” shape. Make sure they are aligned exactly to your chalk line, as every board after this will follow the same pattern.
Continue adding boards in alternating directions, checking the alignment regularly. Use spacers around the room’s perimeter to allow for expansion gaps. This is essential for wood flooring, as it allows the floor to move naturally with changes in temperature and humidity.
As you move across the room, you will need to cut boards at the edges. Measure each piece carefully before cutting, and always double-check the angle and direction of the pattern. A neat edge finish is one of the main signs of a high-quality installation.
Keep pressing each board firmly into place and use a tapping block if needed to ensure tight joints. Wipe away any excess adhesive immediately before it dries. Work methodically across the floor, checking often that the pattern remains straight and balanced.
Common Mistakes to Avoid
One of the most common mistakes when laying herringbone flooring is starting without a proper layout plan. If the centre line is not marked accurately, the pattern can drift and look uneven across the room.
Another mistake is failing to prepare the subfloor correctly. Even small bumps or dips can become visible once the floor is finished. Poor acclimatisation can also lead to gaps, cupping, or movement after installation.
Rushing the cuts around the perimeter is another issue. Herringbone flooring relies on precision, so take your time when measuring and trimming the end pieces. It is always better to check twice and cut once.
Finishing the Floor
After the flooring is installed, remove spacers and fit skirting boards or edging trims to cover the expansion gap. If required, clean the floor using the manufacturer’s recommended method. Some wooden floors may also need sealing, oiling, or lacquering depending on the product and finish.
Allow the floor to settle before placing heavy furniture back into the room. Using protective pads under furniture legs will help prevent scratches and keep the surface in good condition.
Should You Hire a Professional Flooring Specialist?
While it is possible to lay herringbone flooring as a DIY project, it is a more advanced installation than standard plank flooring. The pattern demands accuracy, patience, and experience. If you want a perfect finish, hiring a professional wooden floor specialist is often the best option.
At 7braci.com, our joinery and flooring expertise means we can help with everything from subfloor preparation to precision fitting and finishing. Professional installation is especially recommended for larger rooms, complex layouts, stairs, or spaces with underfloor heating.
Final Thoughts
Learning how to lay herringbone flooring starts with good preparation, careful planning, and attention to detail. When installed correctly, herringbone wood flooring creates a stunning feature that can last for many years. From choosing the right materials to getting the layout perfect, every stage matters.
If you want a stylish, durable, and expertly fitted herringbone floor, 7braci.com is here to help with professional wooden flooring and joinery services designed to deliver exceptional results.