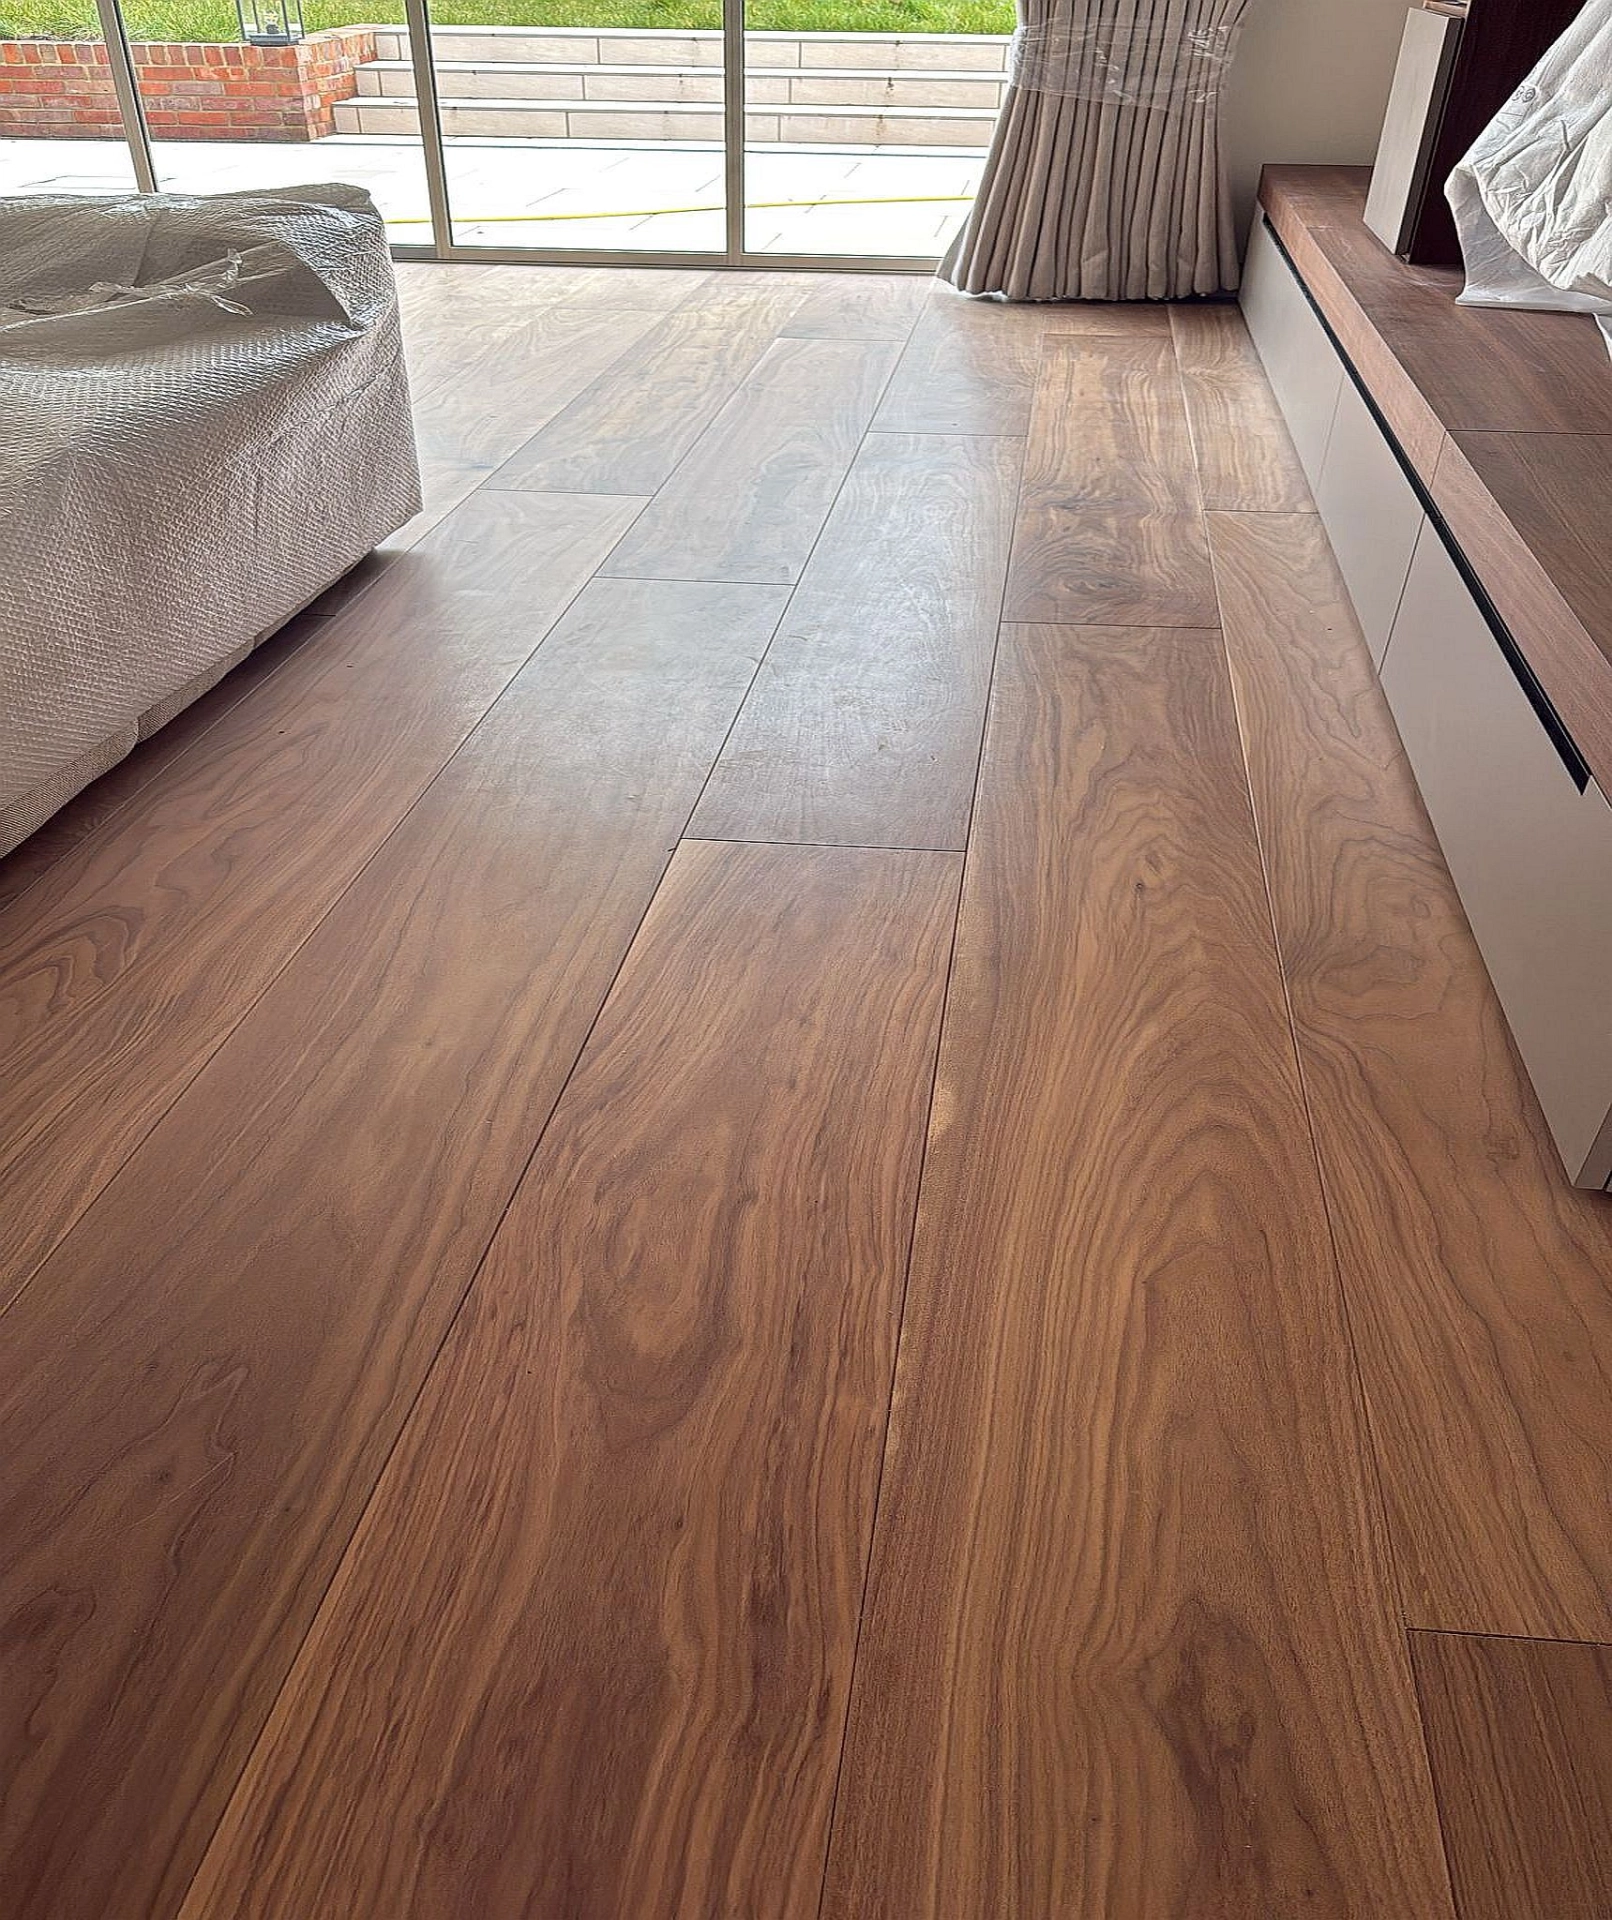
Herringbone flooring is one of the most elegant and timeless wood floor patterns, but the key to a successful installation is getting the start point right. If you begin incorrectly, the whole pattern can drift off line, creating uneven borders, awkward cuts, and a finish that looks unprofessional. At 7braci.com, as wooden floor specialists and joinery experts, we know that herringbone flooring is all about precision, planning, and patience.
If you are wondering how to start herringbone flooring, the answer is simple: start with accurate room preparation, establish a perfectly straight reference line, and dry-lay the pattern before fixing anything down. The first rows determine the alignment of the entire floor, so this stage must be done carefully.
Why the Starting Point Matters
Herringbone flooring works by laying individual blocks at alternating right angles to create the signature zig-zag effect. Unlike straight plank flooring, the pattern depends on symmetry and accuracy from the very first block. If the start line is not square to the room or not aligned with the main visual focus, the pattern can appear uneven even if the floor is installed well.
A correct starting point helps you achieve balanced borders, clean edges, and a visually centred floor. This is especially important in hallways, open-plan rooms, and period properties where a handmade wood floor should complement the architecture rather than fight against it.
Prepare the Subfloor First
Before you even think about laying the first piece, the subfloor must be clean, dry, level, and structurally sound. Herringbone flooring highlights imperfections more than many other floor types, so any bumps, dips, or movement will show up quickly. Concrete subfloors should be tested for moisture, while timber subfloors need to be stable and properly fixed.
As wooden floor specialists, we always recommend checking the room for moisture, unevenness, and debris. Remove old adhesive, fill low spots, and sand down high points. If the surface is not prepared properly, the pattern may shift during installation and the finished floor may not last as long as it should.
Find the Main Sight Line of the Room
The best way to start herringbone flooring is to establish the room’s main sight line. This is the direction people will notice first when entering the space. In many rooms, this is the longest wall, the main entrance, or the natural centre line of the room.
Once you identify the visual centre, use a chalk line or laser to mark a straight reference line. This line becomes your guide for the entire layout. For classic herringbone, the first blocks are usually arranged at a 90-degree angle around this centre line, depending on the desired pattern direction and border design.
Dry-Lay the Pattern Before Fixing
One of the most important steps in starting herringbone flooring is dry-laying a section of the floor. This means placing the blocks without adhesive or nails to check the pattern, spacing, and direction. Dry-laying allows you to see how the herringbone will sit in the room and whether the first rows will create even borders on both sides.
During this stage, you can make adjustments before committing to the installation. Check that the blocks line up correctly, that the angles are consistent, and that the layout does not leave tiny slivers of wood at the walls. A good dry layout saves time, materials, and frustration later.
Start from the Centre or a Key Reference Point
In many professional installations, herringbone flooring starts from the centre of the room or from a primary reference point such as a fireplace, doorway, or central axis. Starting from the centre helps keep the floor balanced and symmetrical, especially in larger spaces.
To do this, mark the centre line of the room and then set out the first “V” or zig-zag formation using a try square. The first few blocks must be placed perfectly because every following row builds from them. If you are working in a hallway or long narrow room, you may need to start from a central line running lengthways to keep the design visually straight.
Use a Starter Row or Border Guide
Many flooring professionals use a starter row, straight edge, or border guide to help begin the installation. This gives the herringbone blocks a stable point of reference and helps prevent the pattern from drifting. The first pieces are usually fixed carefully to the subfloor, then the rest of the pattern is built outward.
In some cases, a border strip or edging detail is installed first. This is common in premium wood flooring designs and can improve the overall appearance of the room. A border can also help hide minor wall irregularities and create a more polished finish.
Check the Direction of the Blocks
When starting herringbone flooring, the direction of each block is crucial. Each piece must be placed at the correct angle, usually 45 or 90 degrees depending on the block size and layout style. If the first blocks are reversed or shifted, the pattern will not lock together properly.
Always confirm the intended direction before applying adhesive. Some homeowners prefer the pattern to run toward the main window, while others want it to lead from the entrance into the room. The direction should enhance the shape of the space and support the overall design of the property.
Use the Correct Adhesive and Spacing
Once the layout is confirmed, the floor can be fixed using the appropriate adhesive for the subfloor and wood type. It is important not to use too much adhesive, as this can cause mess and movement during setting. The blocks should be pressed firmly into place with consistent spacing and alignment.
Expansion gaps around the edge of the room are also essential. Wood is a natural material and will expand and contract with changes in temperature and humidity. Leaving the correct perimeter gap protects the floor and helps maintain long-term stability.
Common Mistakes to Avoid
One of the biggest mistakes when starting herringbone flooring is assuming the wall is straight. In many homes, walls are not perfectly square, so measuring from the wall alone can create a floor that looks crooked. Always rely on a reference line, not just the wall.
Another common error is failing to dry-lay before installation. Without a trial layout, it is easy to end up with uneven border cuts or a pattern that feels off-centre. Rushing the first rows is also a problem. If the beginning is slightly out, the error grows across the floor and becomes much more noticeable at the far end of the room.
Professional Tips for a Better Finish
For the best results, acclimatise the wood before fitting so it adjusts to the room conditions. Use high-quality blocks with consistent dimensions, because even small variations can affect alignment. Work in manageable sections and check the layout regularly with a straight edge or laser.
At 7braci.com, we always recommend planning the border detail before installing the main field. This makes it easier to balance the design and avoid last-minute adjustments. A well-prepared herringbone floor should look intentional, even, and beautifully centred from the moment you step into the room.
When to Use a Specialist
Although DIY installation is possible for experienced fitters, herringbone flooring is one of the most technical wood floor patterns. If you want a flawless result, especially in a large room or a high-end property, it is worth using an experienced wooden floor specialist or joinery team.
A professional installer will know how to start herringbone flooring correctly, account for room shape, handle subfloor issues, and create clean borders. This saves time and reduces the risk of costly mistakes. For homeowners looking for a premium finish, expert installation is often the best investment.
Final Thoughts
Knowing how to start herringbone flooring is the foundation of a successful installation. The process begins with careful subfloor preparation, accurate measuring, a straight reference line, and a dry layout to confirm the pattern. From there, the first blocks must be placed with precision so the rest of the floor stays aligned and balanced.
Whether you are planning a new wood floor for a home, renovation, or commercial space, the start point will determine the quality of the final result. For expert advice, installation, and joinery support, 7braci.com can help you achieve a beautiful herringbone floor that stands the test of time.